MM660 Installation Instructions 24
BLK
15
FUSE
BAT T +
BAT T -
1 2 3 4
ON
STATUS
LEARN RMT
RECEIVER
LEARN
MAST LIMIT
LEARN
SLV LIMIT
OFF
SOFT START OFF
WARNING OFF
OPEN PULL
SLV OPEN DLY.
MODE1 OFF
MODE2 OFF
ON
ON
PUSH
SIMULT.
ON
ON
120 MIN MAX
CHARGING
PWR IN
GTO RCVR.
WHT
BLU
BRN
ORG
RED
BLK
GRN
WHT
BLU
BRN
ORG
RED
BLK
GRN
COM
GRN
BLK
RED
CYCLE
SAFETY
EXIT
SHADOW
OPEN
EDGE
COM
MASTER OPERATOR2ND OPERATOR
CONTROL INPUTS
AUTO CLOSE TIME STALL FORCE
CLOSE
EDGE
1 2 3 4 5 6 7
POWER
INPUTS
LOCK
PWR
AUX
R LY
CONTROL OUTPUTS
GTO 18VOLT
TRANSFORMER
OR SOLAR
Correct
Wrong Wrong
4
BLK
15
FUSE
BAT T +
BAT T -
CHARGING
PWR IN
WHT
BLU
BRN
ORG
RED
BLK
GRN
WHT
BLU
BRN
ORG
RED
BLK
GRN
COM
COM
MASTER OPERATOR2ND OPERATOR
AUTO CLOSE TIME
1 2 3 4 5 6 7
POWER
INPUT
LOCK
PWR
AUX
R LY
CONTROL OUTPUTS
GTO 18VOLT
TRANSFORMER
OR SOLAR
POWER
INPUT
LOCK
PWR
AUX
R LY
CONTROL OUTPUTS
GTO 18VOLT
TRANSF. OR
SOLAR PANEL
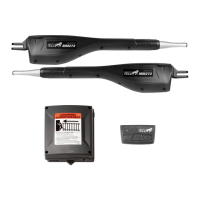
3
Secure with terminal screws.
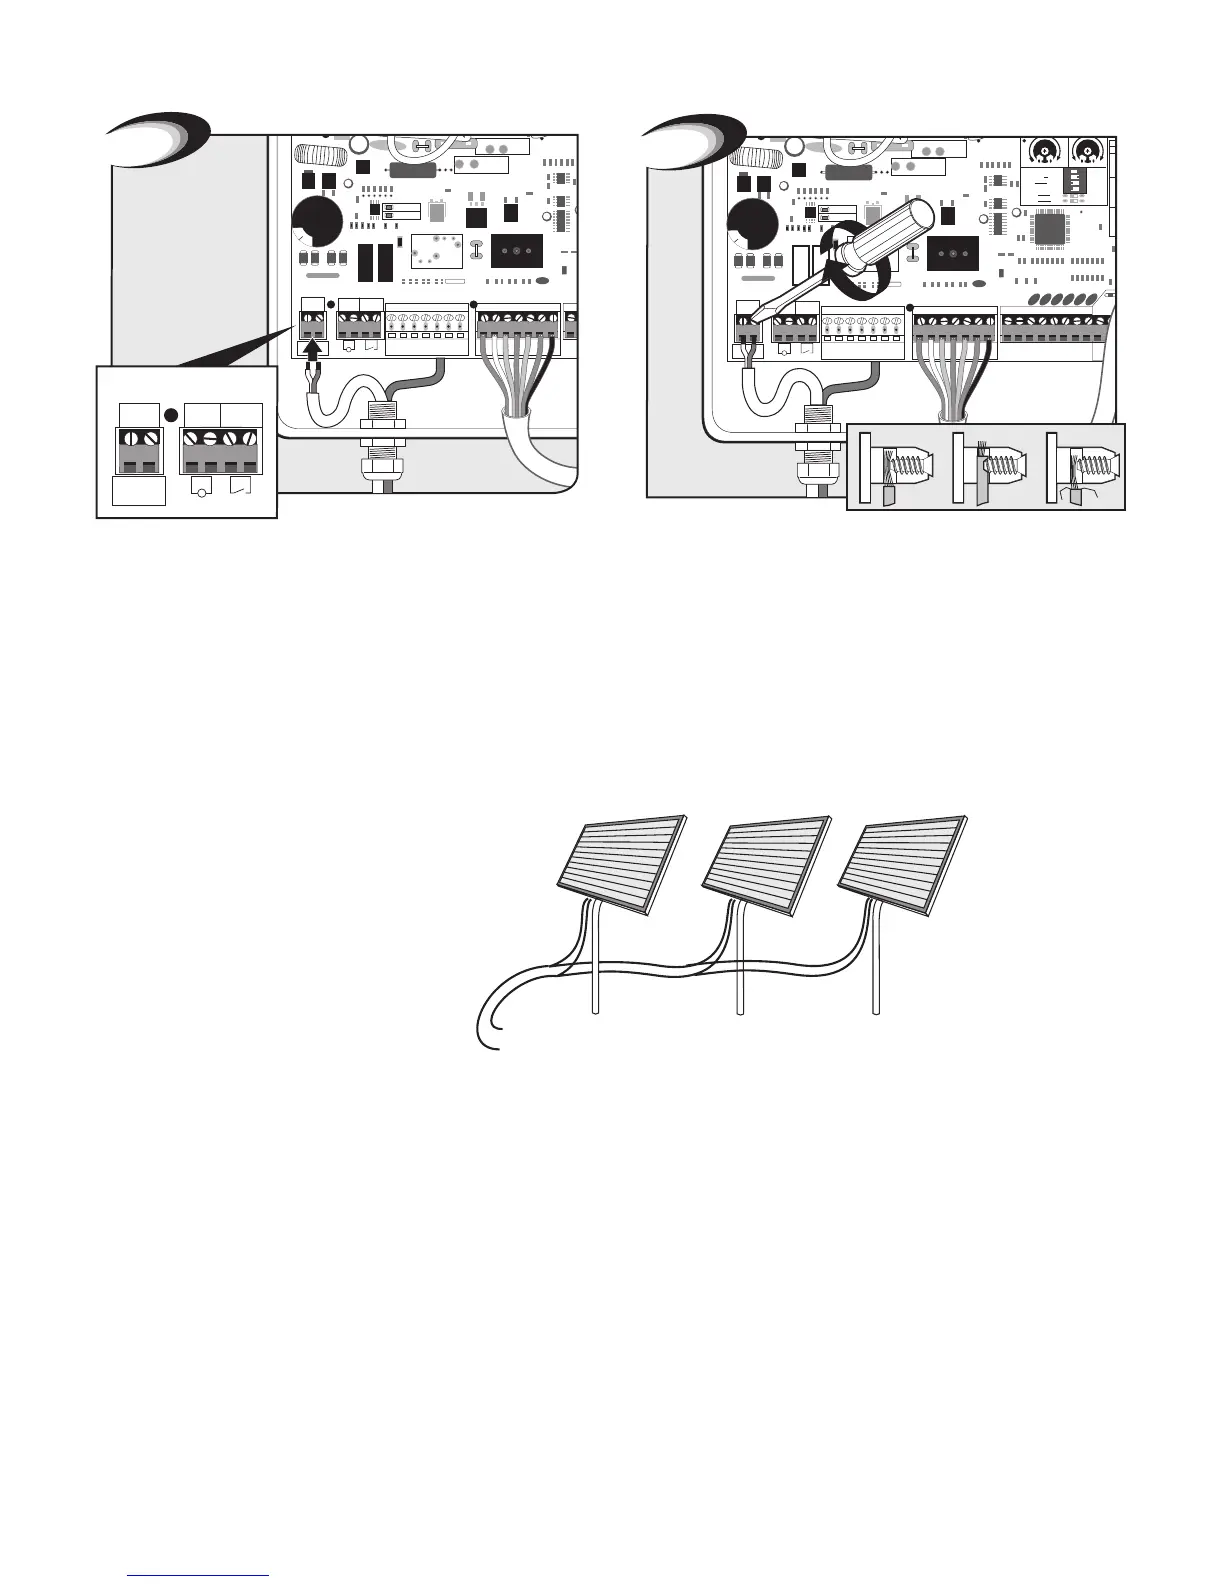
Solar Panel Installation
Multiple Panel Installations
RED
RED
BLACK
BLACK
attach wires to POWER INPUT terminals marked
“GTO 18VOLT TRANSF. OR SOLAR PANEL” on the control board.
(wire color does not matter on this terminal connection)
Solar Panels connect in PARALLEL
NOTE: If using multiple panels,
wire in parallel as shown in diagram
to right. All connections should be
weatherproofed using weatherproof
splice kits available at hardware and
electrical supply stores.
Insert one wire into each 18VAC terminal. The Mighty Mule
power input is not polarized. The wires can be inserted into
either terminal regardless of color.