OM-181 712 Page 13
4-4. 14-Pin Plug Information
Pin* Pin Information
AJ
B
K
I
C
L
NH
D
M
G
E
F
A Contact output signal.
B Input control to energize weld contactor. Contact closure to A completes 24 volts AC contactor
control circuit.
G Circuit common for 24 volts AC circuit.
*The remaining pins are not used.
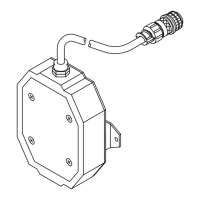
4-5. Connecting WC24 To A Millermatic 200 Or Spoolmate 200
. To connect WC24 to a MIllermatic 200 or Spoolmate 200 use Adapter Cord Kit 042 236.
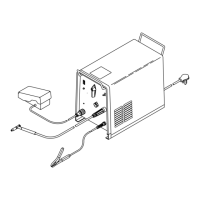
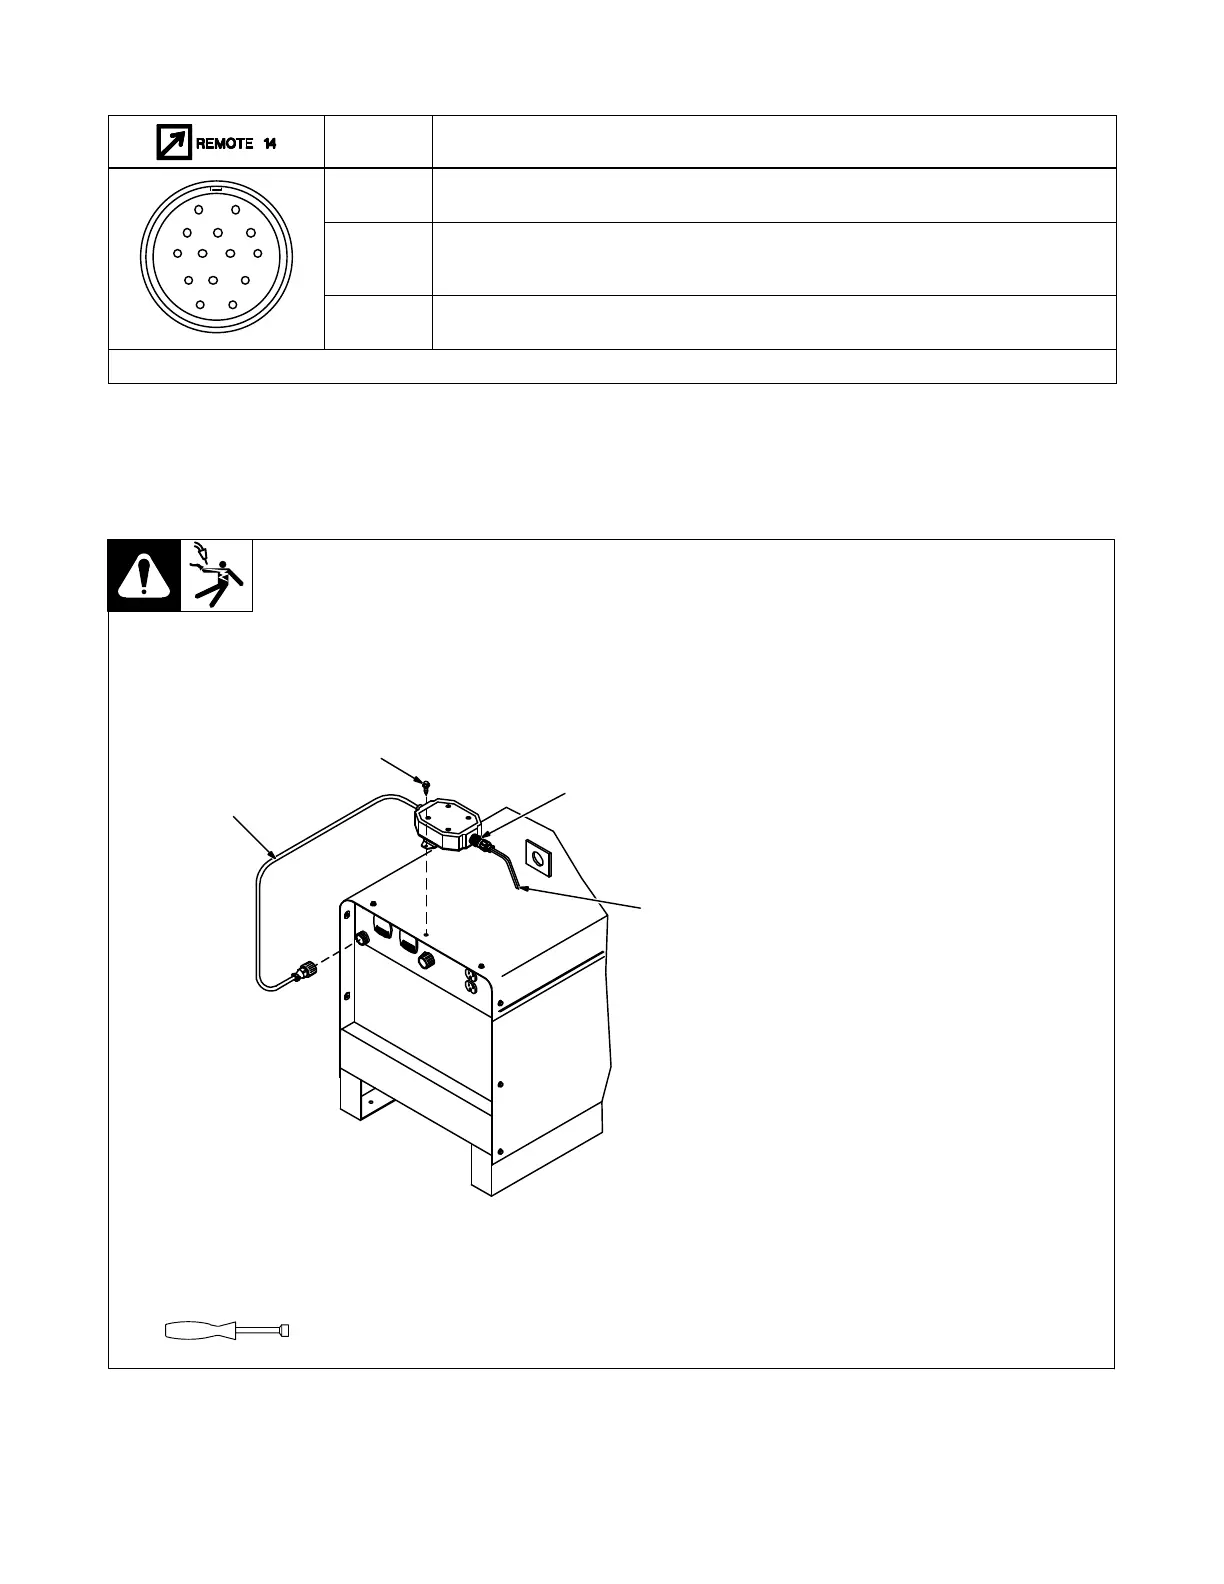
4-6. Weld Control Connections
Ref. 151 355
1 14-Pin Plug PLG4 And
Interconnecting Cord
Insert plug into 14-socket recep-
tacle on welding power source, and
tighten threaded collar.
2 Welding Power Source Top Or
Side Panel Screw
Install unit onto welding power
source.
3 Gun Control Receptacle
4 Gun/Feeder Control Cord And
10-Pin Plug
Insert 10-pin plug from gun/feeder
into receptacle, and tighten
threaded collar. (See gun/feeder
Owner’s Manual).
Tools Needed:
1/4 in.
2
1
3
4
 Loading...