USE AND MAINTENANCE MANUAL
6.10. STARTING PRODUCTION
4. Connect the power cable to the mains.
5. Fit the dosing unit, die and selected nozzles.
6. Turn the main switch to "ON".
7. Place the dough in the hopper.
8. Make sure the emergency stop push-button has not been pressed and that the guards are not open.
9. Pressurize.
10. Select or create the work program.
11. Start production by pressing the enabling push-button, followed by the start push-button.
The machine works continuously with the automatic start command; the operator must load
and unload the trays, considering that a distance of at least 5 cm must be kept between them
during loading.
If the next tray is loaded onto the belt conveyor at a distance that is higher than the value set
for the Tray Exiting Space parameter, belt movement stops automatically and the user must
press the Start push-button to restart production.
6.10.1. PLACE THE DOUGH IN THE HOPPER
12. Press the stop push-button to halt the machine.
13. Lift the hopper guard.
14. Place the dough in the hopper.
15. Close the hopper guard.
For better machine operation we recommend loading the hopper to a maximum of 60-70% of
its volume.
6.10.2. PRESSURIZING THE SYSTEM
In order to adjust the dosage from the first rows, pressurize the dough before the start of each production cycle.
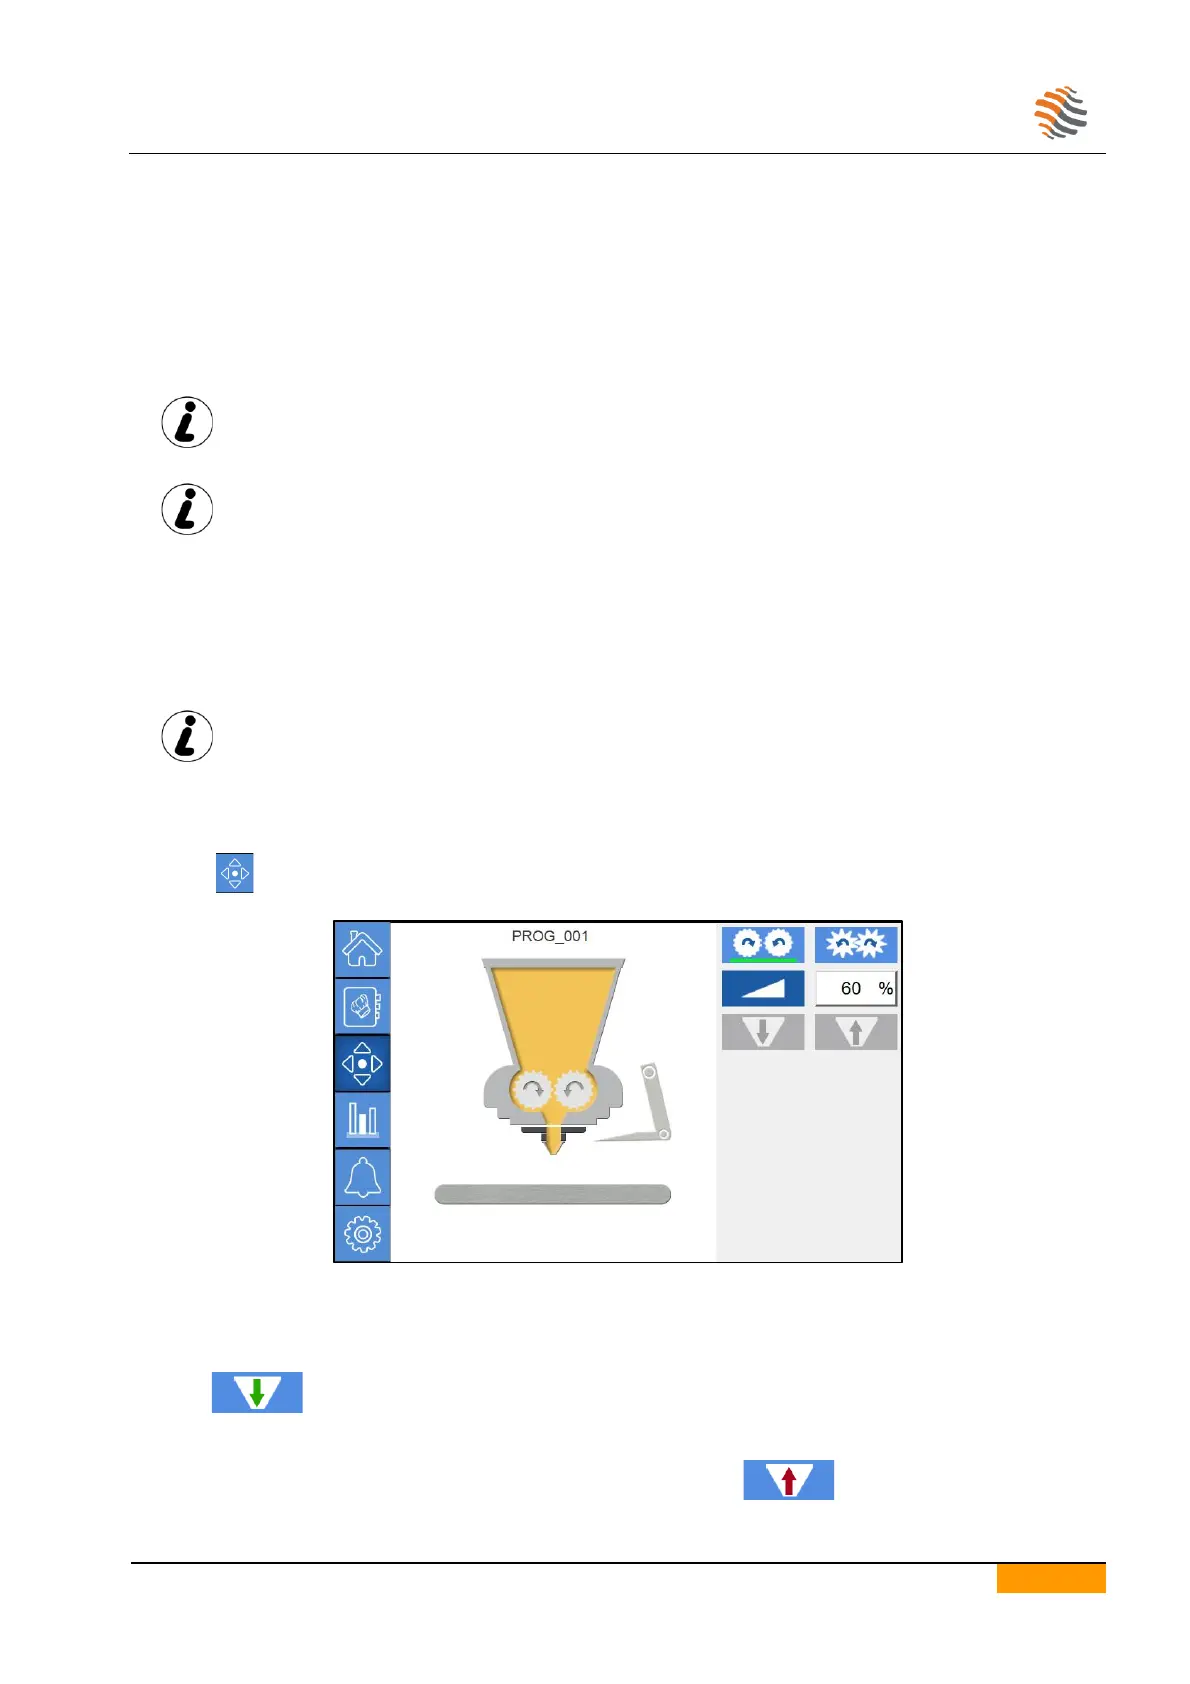
Press the icon to access the manual movements page.
Manually insert a tray under the dosing unit.
Press the enable push-button.
Press the start push-button.
Select the type of dosing unit in the dosage menu.
Keep the icon pressed.
Release the icon when the product in the hopper begins exiting from the nozzles.
To prevent unwanted product drips at the end of the procedure, keep the icon pressed for a few seconds.
 Loading...