- 3 -
• If you use the clear ink according to the procedures in this Guide, the settings will be made so
that good-quality images are obtained, with the specified quality feel. Sometimes however, the
image quality may be poor due to the media material or other factor. If this happens, make the
setting changes below and carry out test printing.
1.
Turn on the printer’s power.
• Wait until “Local” is displayed on the panel.
2.
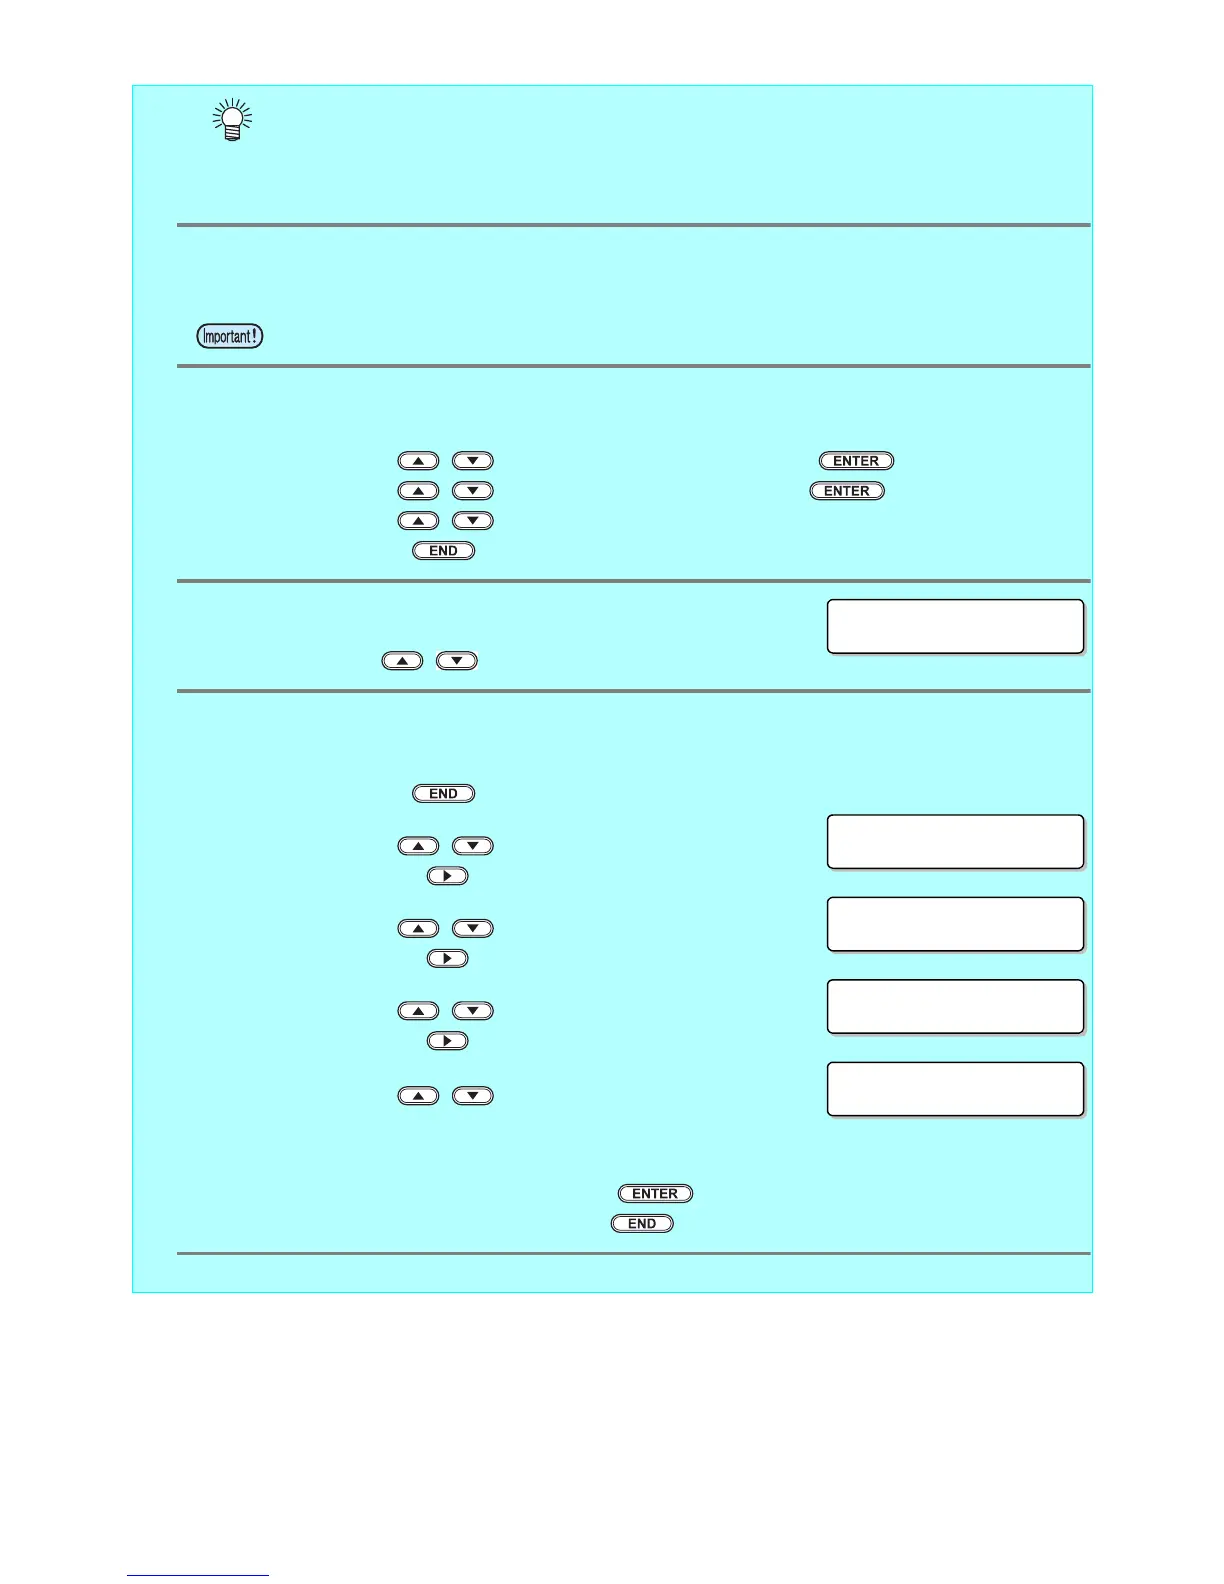
Select [MAPS2] on the panel, as follows:
(1) With “Local” displayed, press the [FUNCTION] key.
(2) Use the , key to select [SETUP], then press the key.
(3) Use the , key to select [MAPS], then press the key.
(4) Use the , key to select [MAPS2].
(5) Press the key.
3.
Select “MANUAL” for [MAPS2], as follows:
• Use the , key to select “MANUAL”.
4.
After setting to “MANUAL”, make the settings for the ink colors, as fol-
lows.
(1) Press the key.
(2) Make the setting for [COLOR], as follows.
Use the , key to set PATTARN to “AUTO”.
Then press .
(3) Make the setting for [SPOT], as follows.
Use the , key to set PATTARN to “AUTO”.
Then press .
(4) Make the setting for [CLEAR], as follows.
Use the , key to set PATTARN to “AUTO”.
Then press .
(5) Now make the detailed settings for [CLEAR] , as follows.
Use the , key to change the TYPE/LV value.
Changing this value will change the clear ink image quality.
As a rough guide, use “Type1 60%” for Glossy Print, and “Type2 100%” for Matte
Print.
After making the setting, press the key.
(6) Return to “Local”, by pressing the key several times.
• If the power is already on, have “Local” displayed on the panel.

 Loading...


