5-50 Image Optimization
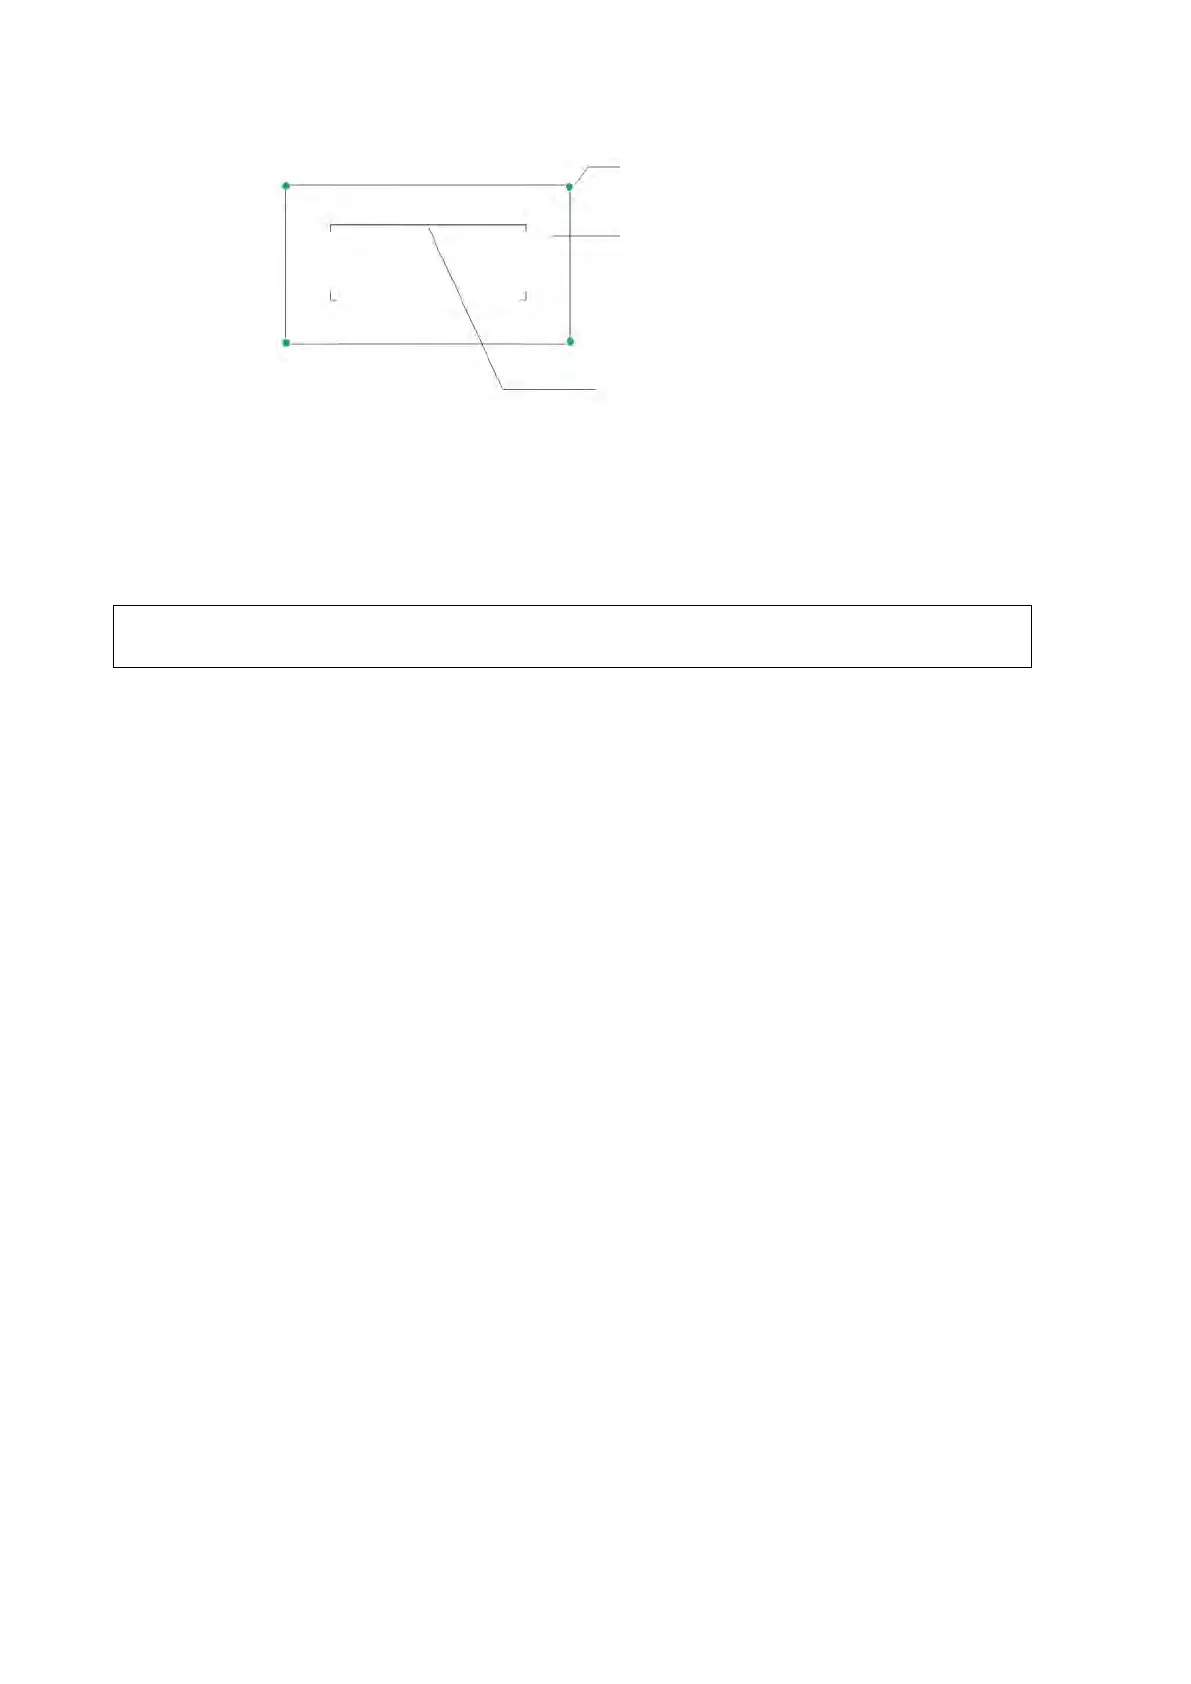
Tap the corner (green dot) of the ROI and drag to change the size.
Tap inside the ROI box and drag to change the position.
Tap the cut plane and drag to change the curved VOI position.
For setting the ROI, be sure to:
Set the ROI on the 2D image with the largest section area of the target area.
Set the ROI a little larger than the fetal head.
When defining an ROI, try to eliminate useless data so as to reduce the volume data
and shorten the time for image storing, processing and rendering.
4. Select a render mode through the image menu.
Rocked mode: set [Angle] parameter.
Linear mode: set [Distance] parameter.
5. Tap[Update](at the bottom-left part of the operating panel) to start the 3D image acquisition.
The system enters 3D image viewing status when the acquisition is completed. Or, end the
acquisition by tapping [Freeze] or [Update].
In image viewing status, you can perform VOI setting and other operations. For details, see
“5.15.2.3 Smart 3D Image Viewing.”
6. Exit Smart 3D.
Tap[Update] or [Freeze] to return to Smart 3D image acquisition preparation. Or, tap[B] or
[Smart 3D] to enter B mode.