12-16 Setup
12.2.1 Exam Mode Preset
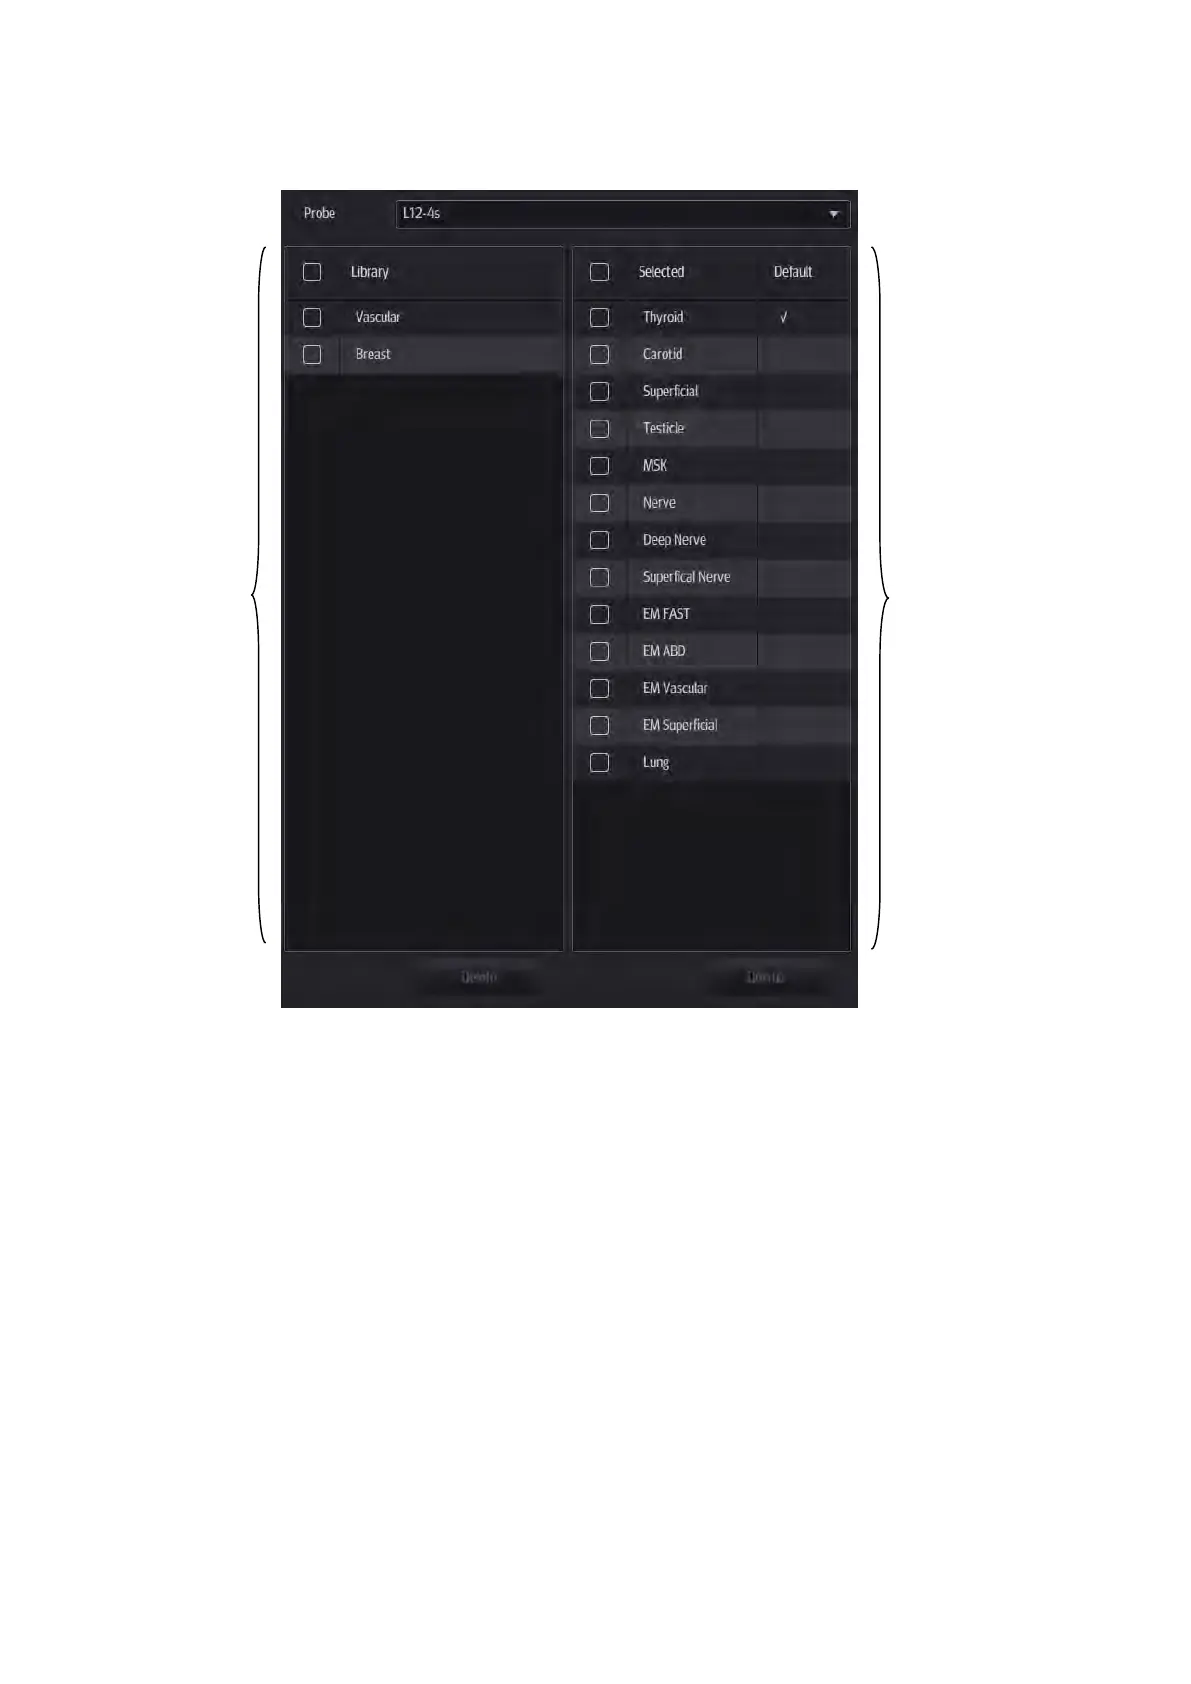
You can assign available exam modes for probes.
1. Select the probe model in the drop-down list beside Probe column.
2. Check current configured exam modes:
On the left side, you can view all the available exam modes in the exam library for the probe.
On the right side, you can view the current exam modes assigned to the probe.(Tapping
[Probe] on the left side of the operating panel to see the list.)
3. Tap and hold any exam mode until it floats, then you can:
Drag the exam mode from “Library” column to “Selected” column to make the exam mode
available for the probe.
Drag the exam mode from “Selected” column to “Library” column to make the exam mode
unavailable for the probe.
4. Change default exam mode or delete user-defined exam mode if necessary:
Tap [Delete] to delete a user-defined exam in the Exam Mode Library area. See “5.1.3
Quickly Saving Image Settings” for details about creating a user-defined exam mode.
Tap [Default] to set a selected exam mode as the default exam mode. The default exam
mode is marked by a “√”.
5. Tap [Save] to save the settings or tap [Cancel] to cancel changes you made.