Probes and Biopsy 13-55
Controls are as follows:
Select the desired needle from the drop-down list.
You can set the most frequently used needle to a
favorite one. For example, after selecting a needle,
turns into , which indicates that the selected needle
becomes a favorite one.
After it is ticked, only the favorite needles are displayed
on the needles list.
After it is ticked, the system adjusts focus position
automatically according to the position of the needle tip,
and enable or disable ExFOV function.
Tap to enter the accompanying demo video menu to
help to learn the operations of eSpacial Navi quickly.
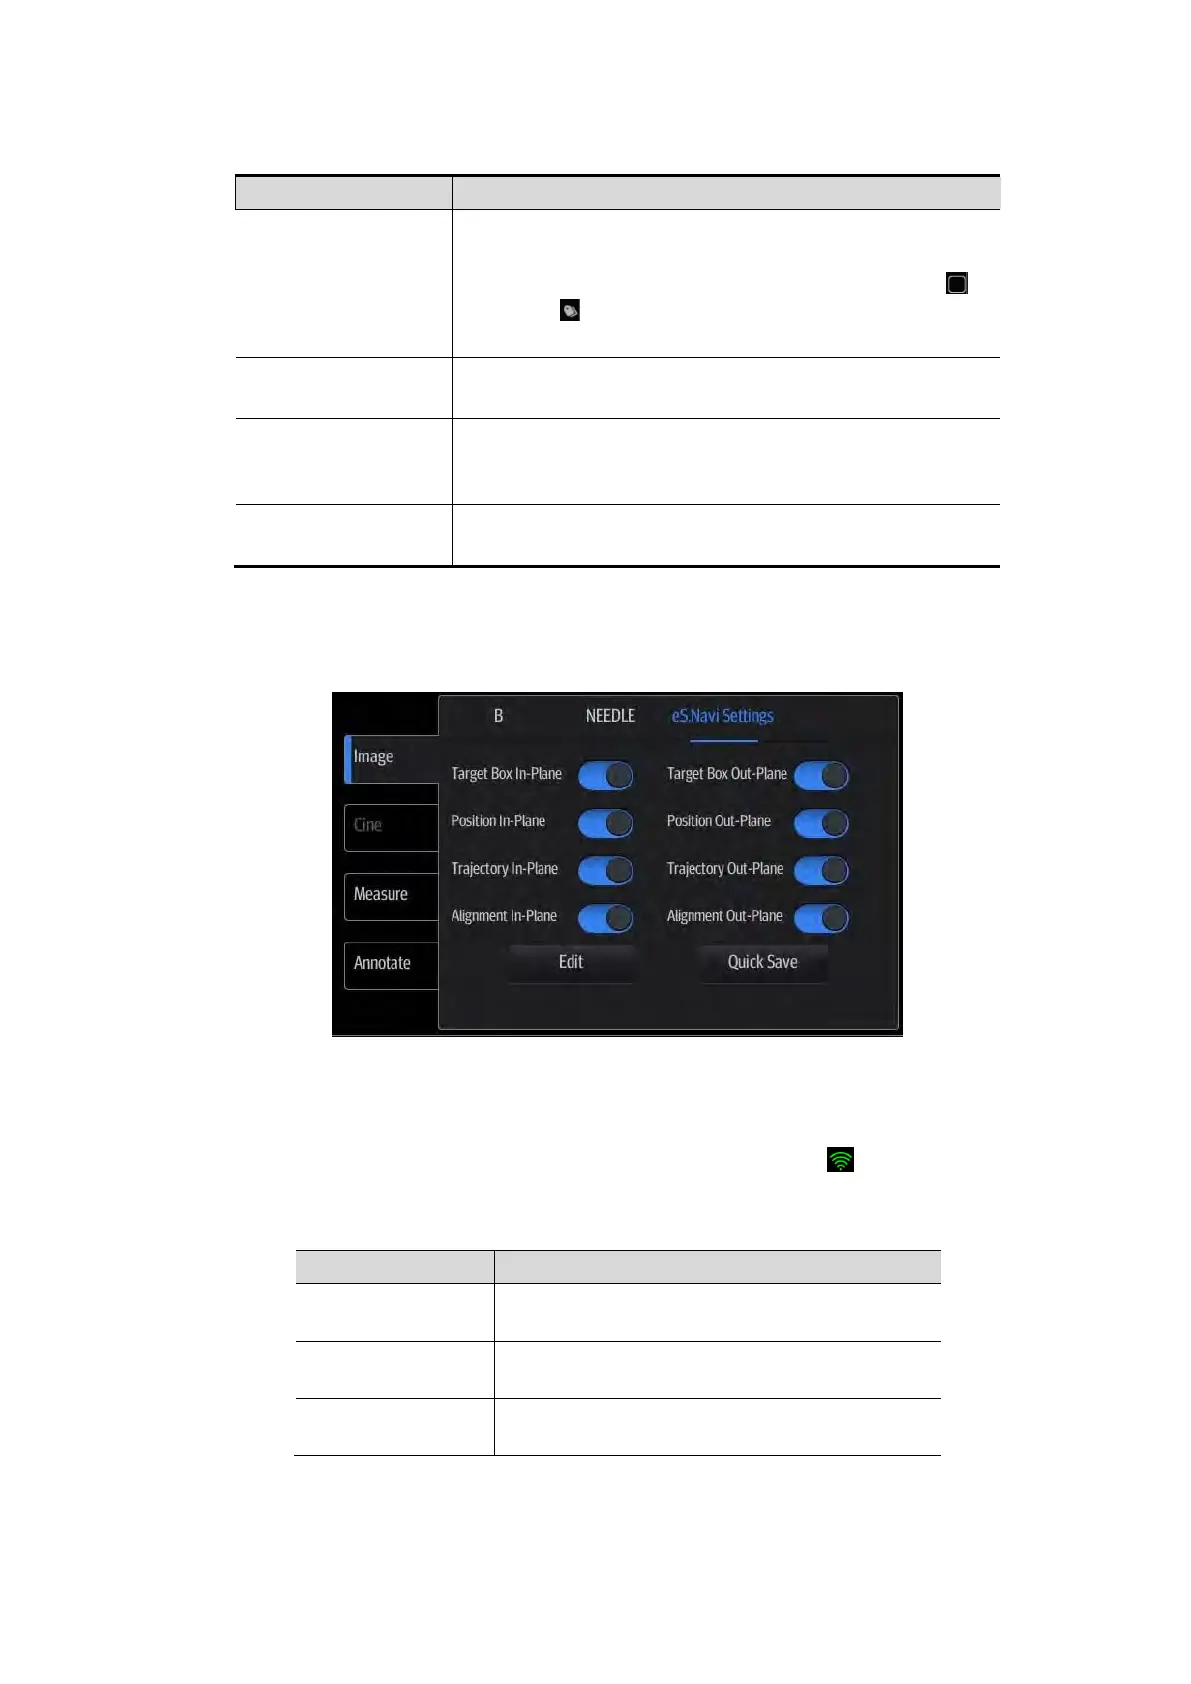
eS.Navi Settings Menu
Tap [eS.Navi] → [Image] → [eS.Navi Settings] to enter the eS.Navi Settings menu, and tick the
items to be displayed on the screen.
13.4.4 Preparation Before Needle Guidance
1. Scan the target tissue and adjust the image parameters.
2. Check the field strength to ensure that the filed strength indicator is . If the filed strength is
low, hold the probe and tap [Calibrate] on [NEEDLE] menu. Do not move the probe during the
calibration.
Low magnetic interference: appropriate for
needle guidance;
Medium magnetic interference: be cautious
for needle guidance;
High magnetic interference: do not perform
needle guidance.
NOTE: before and during calibration, keep the probe away from the magnetic sources, such
as metal objects, electrical motors, switching power supplies, nerve stimulators and similar
medical devices.