F3 Service Manual
Page 35
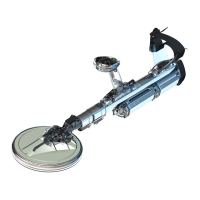
Figure 31: Threading Coil Cable through Shafts.
NOTE
It is important that the curly cable or coil cable pull through is not twisted, as this will
change the number of turns in the curly cable. If the correct number of turns is not
present, the curly cable may stop the shafts from retracting correctly.
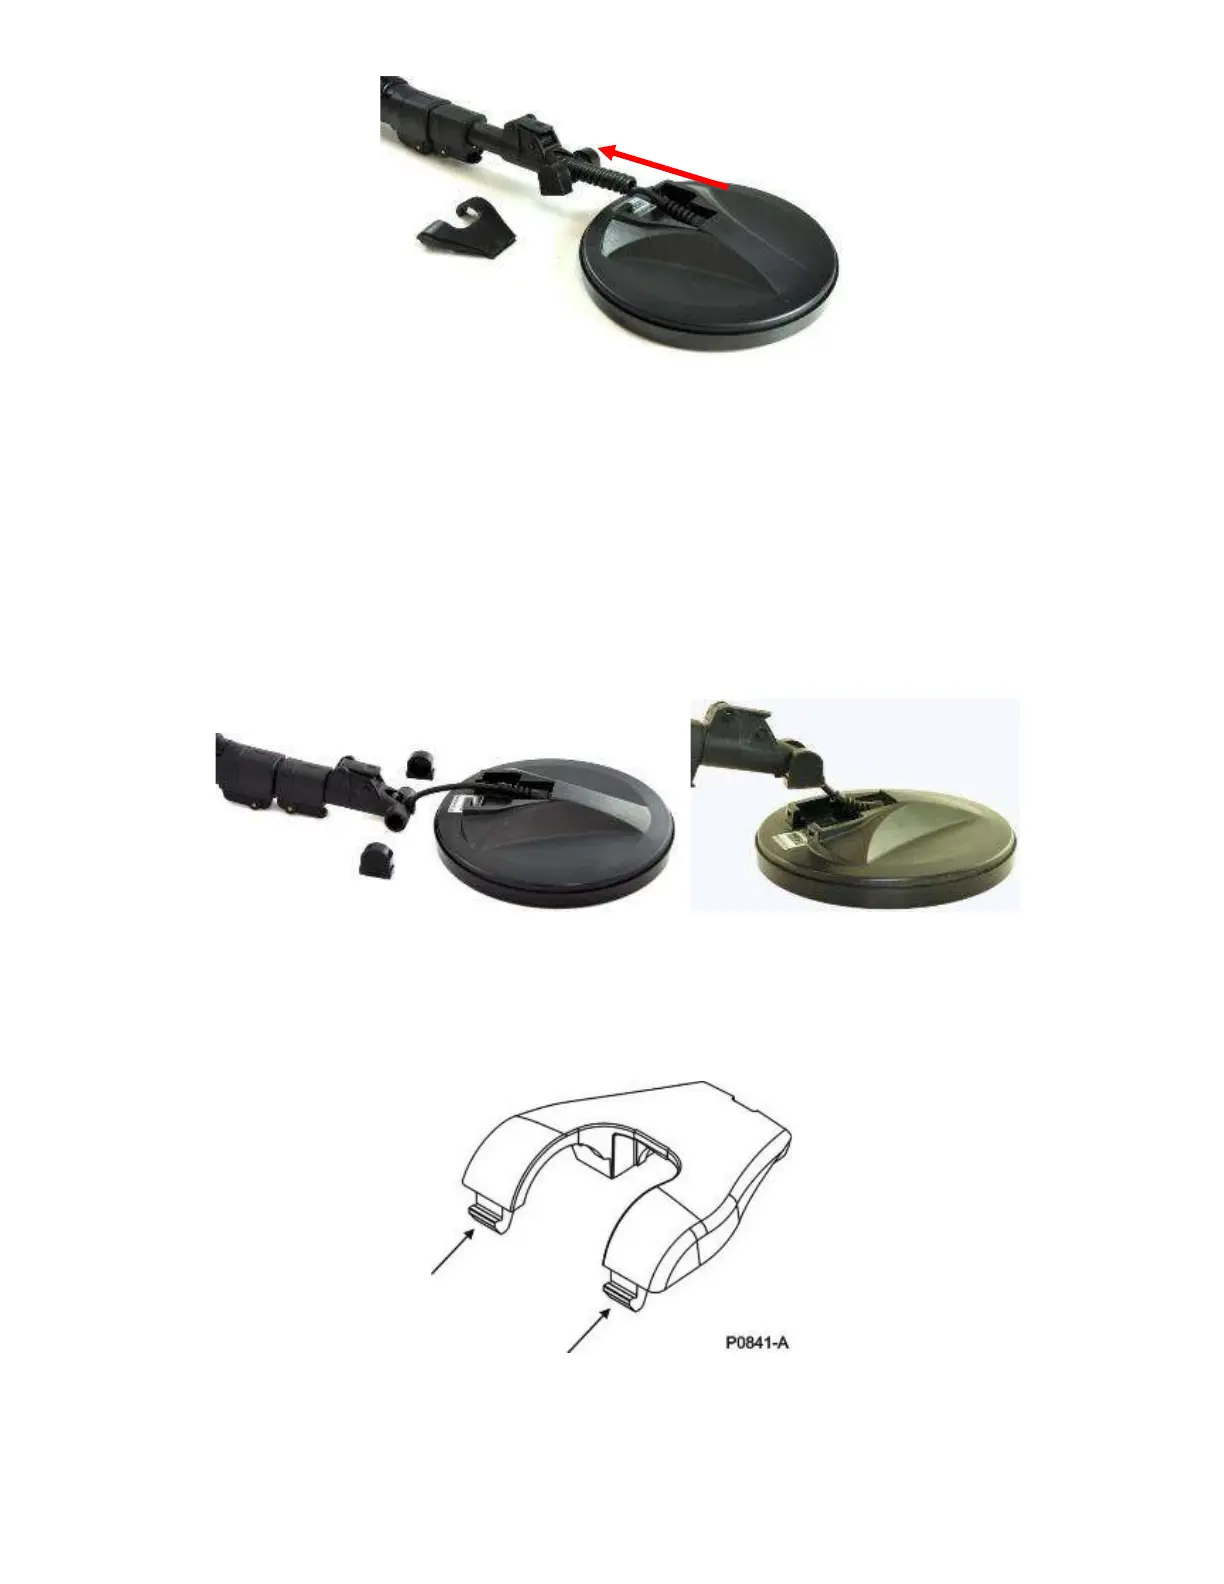
Refit the lower camlock assembly to the coil top. The flat sides on the friction
blocks should be facing down into the coil top. (Figure 27)
Position the two tabs at the rear of the coil retainer cover (Figure 22) into the
cut-outs in the rear of the coil top.
Figure 33: Coil Retainer with Tabs Indicated.
Figure 32: Lower Camlock Assembly Showing Friction Blocks
 Loading...