31
Printing Out The Measurement Results (Digital Output)
This section explains how to print out the CHROMA METER’s measurement results. In order
to print, you will need both a compatible printer and the (optional) T-A12 printer cable.
Printer Requirements
The printer must meet the following requirements.
Characters per line :At least 27
Data input :RS-232C
Data control :BUSY
Bits per second :9600
Character length :7 bits
Parity :Even
Stop bits :1
Basic function :0Dh carriage return
Compatible printer (example)
Types: DPU-201GS (from Seiko Instruments, Inc.)
Procedure
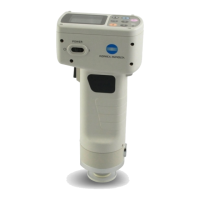
Connect the CHROMA METER to the printer using the T-A12 printer cable, as follows.
● Before making the connection, set the CHROMA METER’s power switch to the OFF posi-
tion (“
”). Also be sure that the printer is off.
● After making the connection, be sure that you switch the CHROMA METER on
before
you
turn the printer on. Printing may not work correctly if you switch the printer on first.
1. Be sure that the CHROMA METER’s power switch is in the OFF
position (“
”), and that the printer is also off. Then connect one
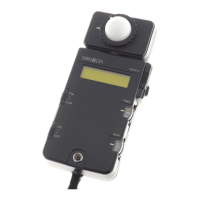
end of the T-A12 cable to the CHROMA METER’s digital output
terminal, and connect the other end to the printer.
● The illustration shows how to connect to the DPU-201GS
printer.
▼ Connecting to the DPU-201GS
Dip-switch settings