15
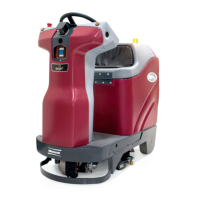
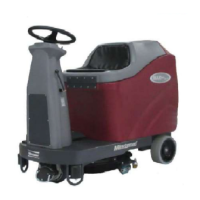
REAR SQUEEGEE ADJUSTMENT
Ensure that the scrubber is on a relatively flat surface. Turn on the key switch and select the Vacuum
only mode. This lowers the squeegee to the floor and turns the vacuum motor on.
Move the scrubber one or two feet forward slowly while someone behind the machine checks the rear
squeegee blade (item A) for uniform deflection to the floor.
If uneven deflection or lay is evident, minor adjustments may be necessary to avoid streaking and
uneven wear on the blade.
To correct this, loosen the wing jam nut (item B) in order to adjust the caster height. If the squeegee
blade is deflecting too much, the casters (item C) need to be lowered to control the down pressure.
Lower the caster by turning the exposed threaded stem on the caster clockwise. Make the adjustment a
few turns at a time. Repeat step 2.
If the blades are not deflecting enough, raise the caster by turning the stem counter-clockwise to adjust
the caster height to allow more down pressure on the squeegee. Repeat step 2.
Make sure there is even deflection on the entire length of the rear blade. Adjust the casters and retighten
the wing jam nuts to lock the caster setting in place.
Pitch adjustment is necessary if the outer ends on the squeegee blade do not contact the floor and there is
too much deflection in the middle area or if the outer ends are over deflected and there is no contact in
the middle.
To adjust the pitch, repeat step 2.
Loosen the lock nut (item D) in the turnbuckle assembly. Turning the turnbuckle (item E) clockwise or
counter-clockwise controls the forward and backward pitch of the squeegee. Having the rear blades
deflected uniformly along its entire length is the desired set-up.
Repeat step 2 until desired set-up is achieved.
In certain applications where a non-slotted front wiper blade (item F) is needed, detach the rear
squeegee assembly by loosening the two wing bolts (item G). Unlock the toggle clamp (item H) on the
front squeegee to release the front long strap (I) and slide the front short strap (item J). Flip the blade
over to the non-slotted side. Reattach the straps and lock the clamp back in place.
You can also easily replace the rear blade by unlatching the latch (item M) and removing the two rear
straps (items K & L) by sliding them off the assembly. You can then flip the blade over in order to use a
new edge for better wiping action.
 Loading...