α
2 Simple Application Controllers
AL2-2TC-ADP 13
ENG-81
ENG
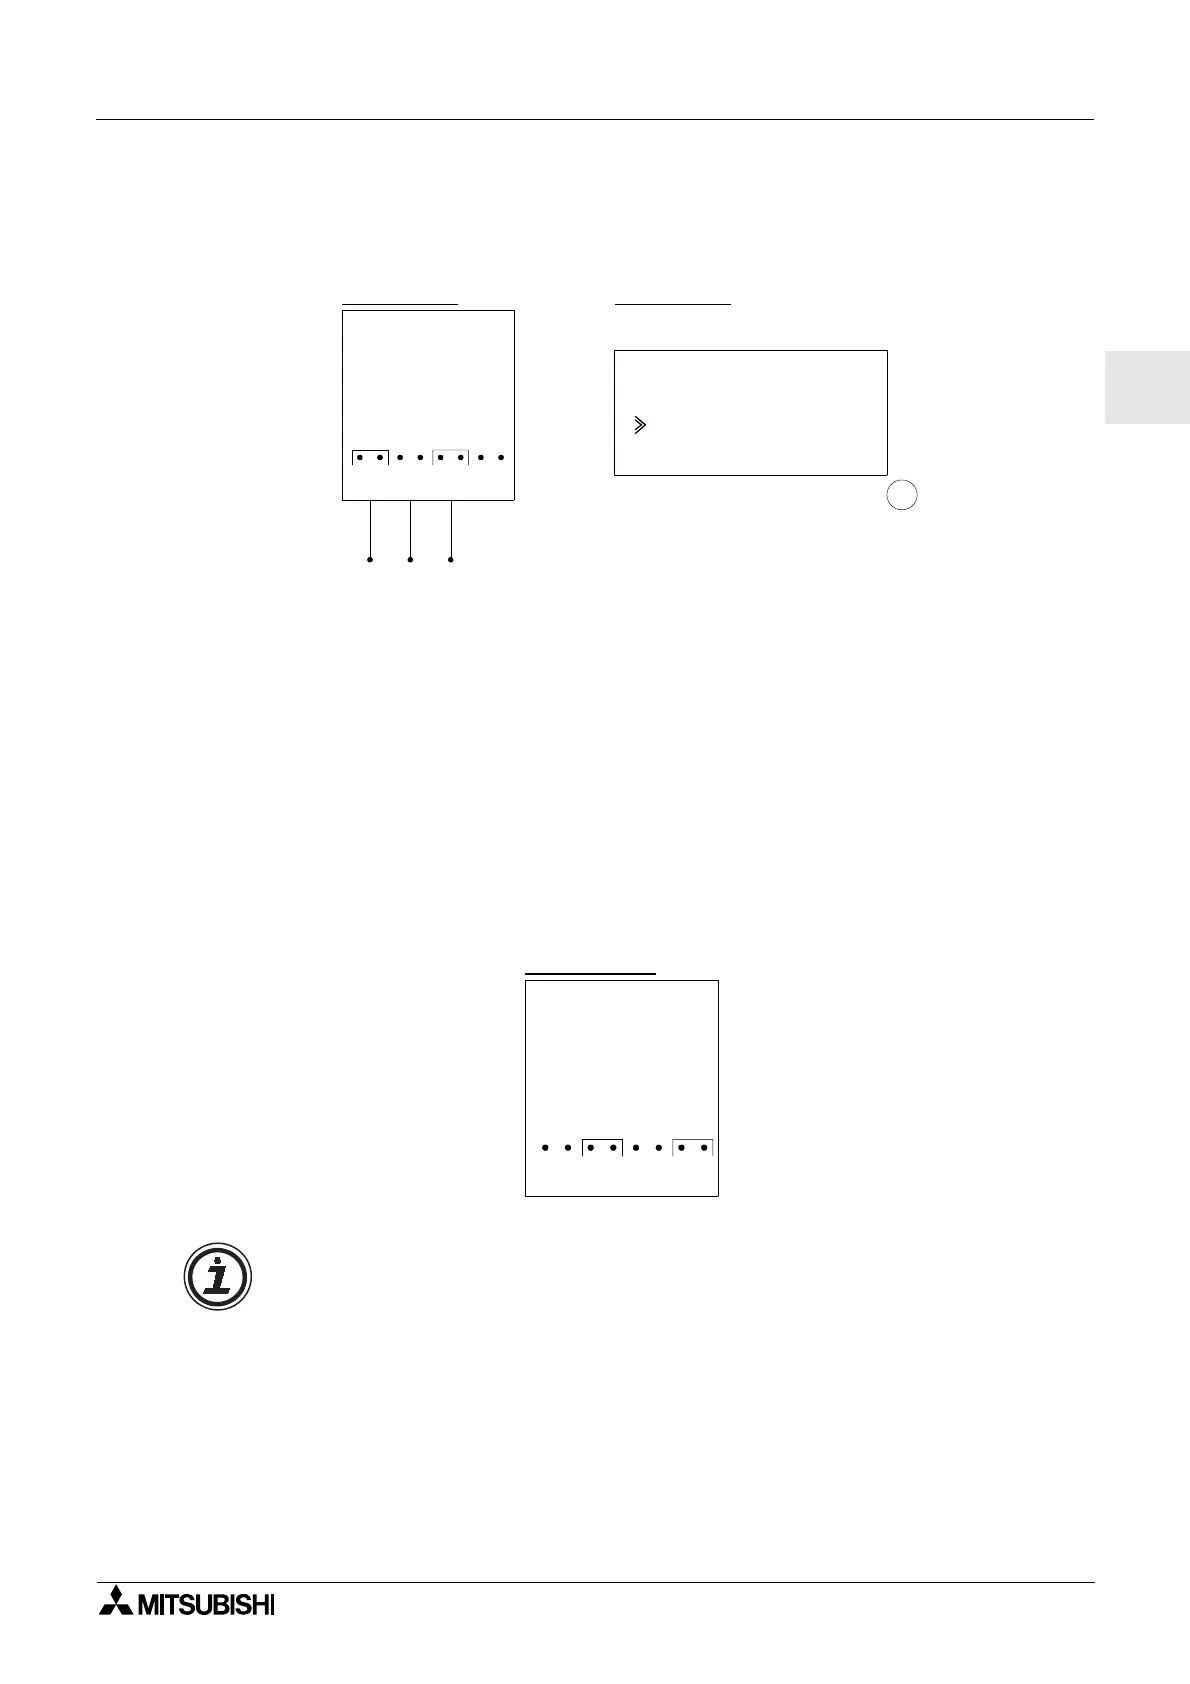
2) Remove the top cover from the jumper area and move the jumper to the pins labeled 450°C
as in “Hardware Setup” below.
Figure 13.7: AL2-2TC-ADP Gain Adjustment
3) Turn the power on and select “Others...” from the TopMenu while in Stop Mode.
4) After setting the mode to “TC” (See the Offset Adjustment description above.), select
“Calibrate” from the Analog input settings menu.
5) Select “450°C” from the Calibrate menu as in “Controller Setup” in the figure above. There
should be a confirmation message that reads “OK.” If not, refer to the Applicable Error
Checks section below. This completes the gain calibration procedure. To calibrate the gain
for channel 2, repeat the steps above replacing L1-, L1+ and SLD with L2-, L2+ and SLD
respectively. When the calibration is finished, move the jumper to the “LINE” pins.
Figure 13.8: Jumper position after calibration
It is usually necessary to perform the Offset Adjustment when performing the Gain
Adjustment. See section 13.4.4 for more details.
L1+ L1- SLD
450°C 450°C
Ca l i b r a t e
-50°C
450°C
OK
Hardware Setup Controller Setup
LINE LINE
Hardware Setup
 Loading...