OPERATION
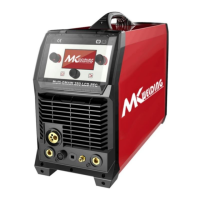
(10) Carefully open the valve of the gas (11) Select TIG function using the button.
cylinder, set the required gas flow rate.
(12) Select 2T, 4T Trigger as required using (13) Select water cooling mode .
the button.
LIFT ARC DC TIG Operation
Lift Arc ignition allows the arc to be started easily in DC TIG by simply touching the tungsten
to the work piece and lifting it up to start the arc. This prevents the tungsten tip sticking to
the work piece and breaking the tip from the tungsten electrode. There is a particular
technique called “rocking the cup” used in the Lift Arc process that provides easy use of the
Lift Arc function.
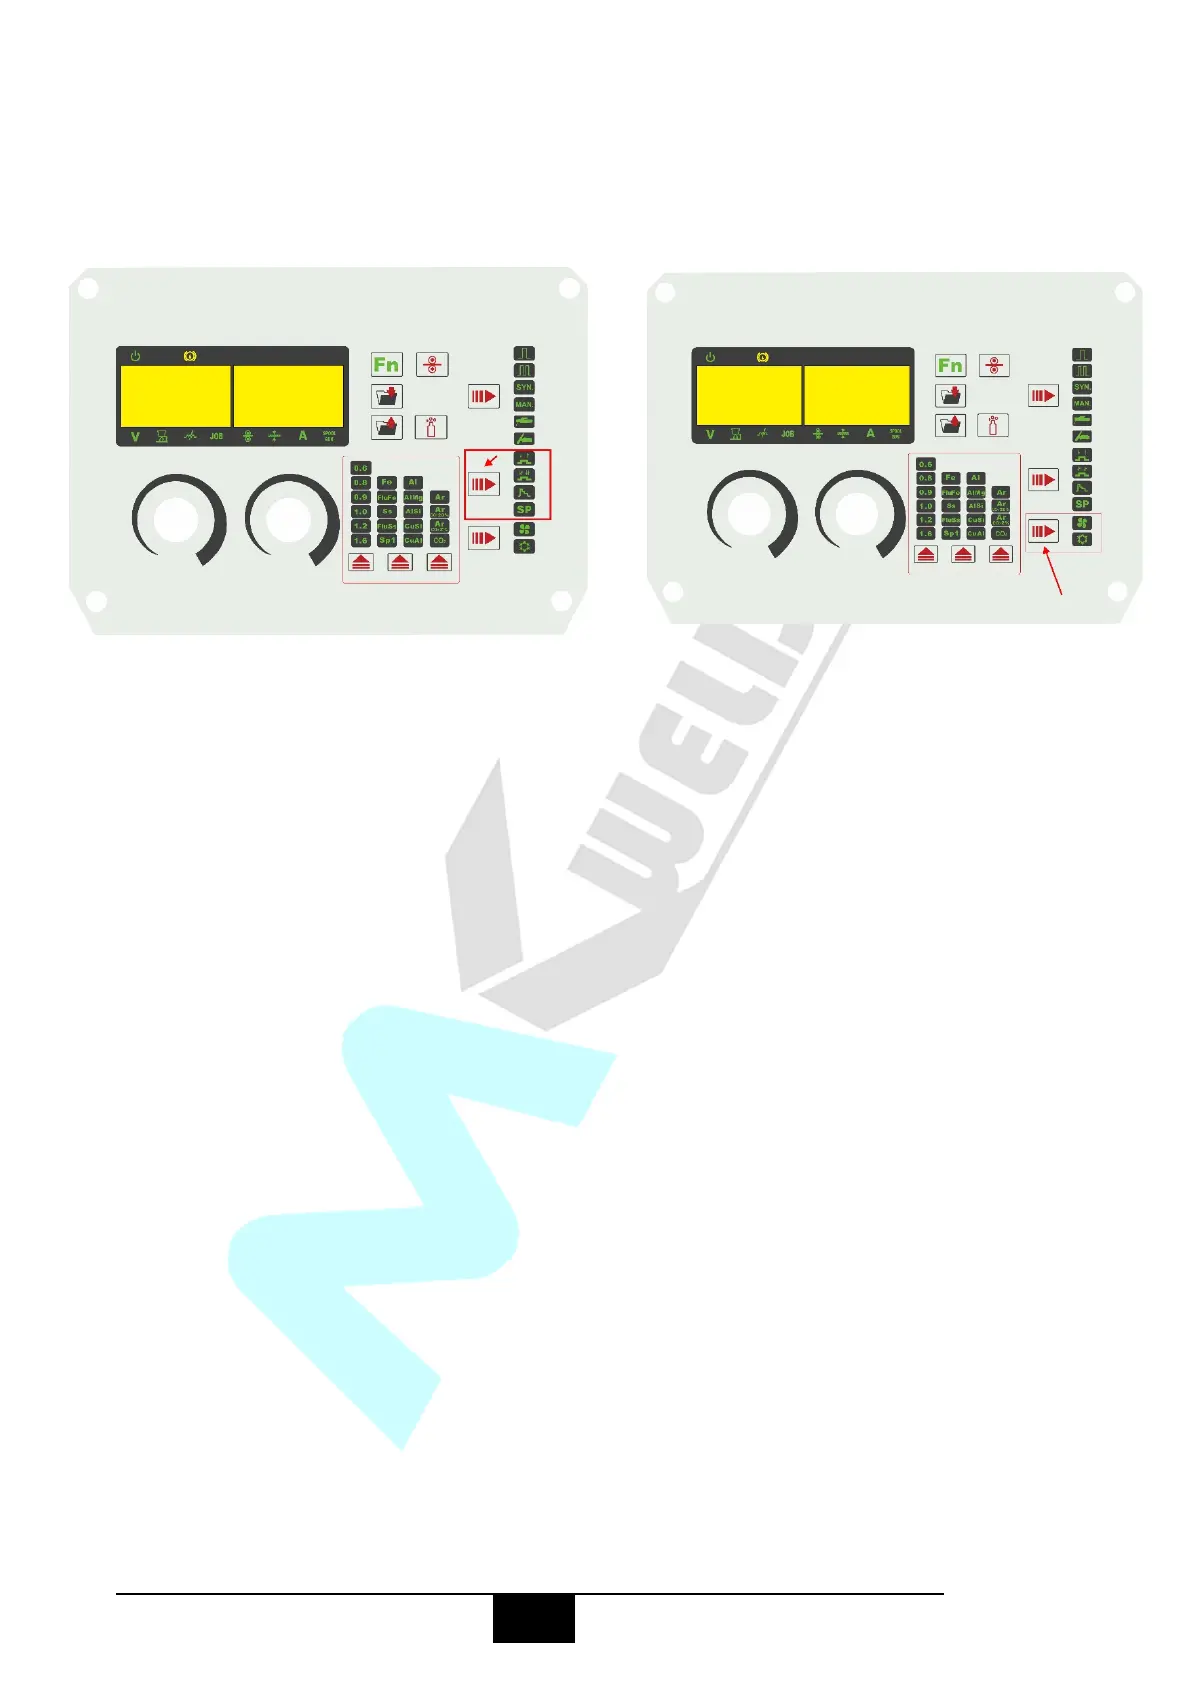
(14) Select welding current as required on the front panel. The selected welding current will
show on the digital meter.
(15) Set down slope time as required on the front panel. The down slope time will show on
the digital meter.
(16) Assemble front end parts of the TIG torch making sure they are correctly assembled,
use the correct size and type of tungsten electrode for the job, the tungsten electrode
requires a sharpened point for DC welding.
(17) Lay the outside edge of the Gas Cup on the work piece with the Tungsten Electrode 1-
2mm from the work piece. Press and hold the torch switch to activate to gas flow and welding
power.
 Loading...