Do you have a question about the modway 1384 and is the answer not in the manual?
Provides guidance on reading instructions, assembly environment, tool usage, and safety precautions.
Connects the seat frame to the chair back using specific bolts and washers.
Continues securing the seat frame to the chair back with additional hardware.
Connects the front legs to the seat frame using bolts and washers.
Involves flipping the chair and fully tightening all bolts for stability.
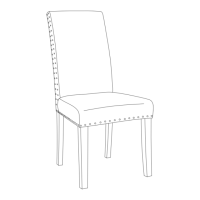
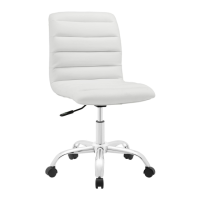
The provided document is an assembly manual for an "EEI - 1384/1491/3779 CHAIR" manufactured by Modway. It details the step-by-step process for assembling the chair, including a list of components and hardware, and provides general advice for assembly and maintenance.
The Modway EEI - 1384/1491/3779 chair is a piece of furniture designed for seating. Its primary function is to provide a comfortable and stable seating option for users. The assembly instructions suggest it is a standard chair, likely for indoor use in a home or office setting, given the recommendation to assemble it on a carpeted or padded area.
The manual does not provide detailed technical specifications such as dimensions, weight capacity, or materials beyond the hardware components. However, it does specify the types and sizes of fasteners used in its construction:
The use of M6 bolts and washers indicates a standard furniture construction, designed for stability and durability when properly assembled. The inclusion of an Allen key (M4) as the sole tool suggests a relatively straightforward assembly process that does not require specialized tools.
The chair is composed of three main structural components, which are joined together using the specified hardware.
The manual primarily focuses on assembly rather than usage features. However, some aspects can be inferred:
The manual provides a key maintenance recommendation:
In summary, the Modway EEI - 1384/1491/3779 chair is a self-assembly seating unit designed for general use, requiring two adults and approximately 30 minutes to put together. Its construction relies on standard M6 bolts and washers, and it requires periodic tightening of fasteners to maintain stability. The manual emphasizes careful assembly and basic safety precautions.
| Brand | modway |
|---|---|
| Model | 1384 |
| Category | Indoor Furnishing |
| Language | English |