3
3.0 GETTING STARTED
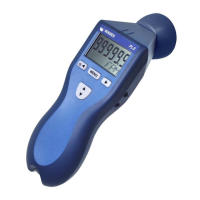
The Stroboscope may be hand held or mounted on a tripod or other user
supplied bracket using the ¼-20 UNC bushing on the underside of the unit.
3.1 Power
The LED Strobe is battery powered and has internal rechargeable
batteries. The unit should be charged before use (see Section 8.0).
The actual operating time of the stroboscope depends on the fl ash pulse
width. Narrower fl ash widths increase the operating time.
To turn on the stroboscope, depress and hold the POWER button
until the display shows the rev level -
RVXxX then release the button.
The unit will start up with the same settings in which it was last left.
To turn the power off, hold the POWER button until the display
shows OFF then release it.
3.2 Input / Output Connectors
The strobe has input and output jacks on the right
side of the stroboscope. These can be used for
external triggering or synchronization (daisy-
chaining two or more strobes). These jacks accept
1/8” (3.5mm) phone plugs (input - stereo, output
- mono). The input and output signals are TTL
compatible. Connection details are shown in
Figures 3 and 4 on the next page.
Input
Jack
Output
Jack

 Loading...