SCH2 Technical Manual TSP016.doc Issue 3.0 – January 2005
Money Controls 2005. All rights reserved.
Page 9 of 61
7. Installation and Removal
Warning: Ensure that the power has been disconnected from the hopper before removal.
7.1 Securing the hopper base
¾ Two sets of fixing holes have been provided in the base to allow the hopper to be
secured in a host machine.
7.2 Using the 4mm Holes
¾ Drill 4 holes on the centres
¾ Dismantle the hopper
¾ Place base over holes and fix into position using M3 screws
7.3 Using the keyholes
¾ Drill 3 holes in the centres shown
¾ Align the 3 holes on the centres shown
¾ Insert 3 x M3.5 screws. DO NOT tighten
¾ Dismantle the hopper
¾ Place base over the back and push far back as possible
¾ Tighten the screws to fit the base in position
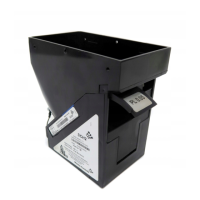
7.4 Dismantling the hopper
¾ Gently pull out the securing clips on the back of the base.
¾ Tilt the bowl forward until it is clear of the clips.
¾ Slide the bowl forward until the locating lugs are clear of the slots in the base.
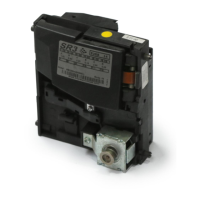
¾ Remove the motor assembly from the base and disconnect the cable.
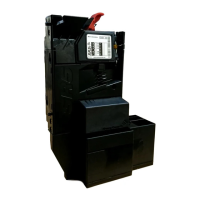
7.5 Hopper Assembly
¾ Connect the cable to the motor assembly.
¾ Lower the motor assembly into the base, ensuring the coin exit is in the desired
position.
¾ Locate the lugs at the front of the bowl into the slots at the front of the base.
¾ Gently press down on the top of the bowl until the securing clips (on the base) click
into the slots on the bowl.