Fire-fighting Helmets / Preventive care, control
and maintenance
Version 7a/ May 2010 Page 15/36
Under certain especially severe operation conditions (training), with a combination of high
temperature, important heat flow and very charged fumes, the coating of the helmet could
change the aspect in a more or less strong way.
• If the shell is a little dirty / dingy, it is conform (it must be properly cleaned)
• If there are stains that cannot be removed when cleaning the shell (using Poli F1
for nickel shell) : replace the shell.
• If the shell (base material) is cracked / broken=existance of a line where nickel is
missing : replace the shell
• if the shell has been drilled (holes) for any reason (repair, addition of element) :
replace the shell
• If the shell is « bumped » on the outside, check inside if the distorsion can be felt.
If yes, replace the shell.
This inside control should be performed only if there is small areas (< 1cm2) of metal
or paint missing, or if there is a “star” pattern on the shell following an impact and the
helmet is conform to 1-1 and 1-2. Disassembling the helmet will then be necessary.
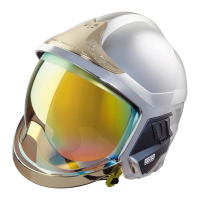
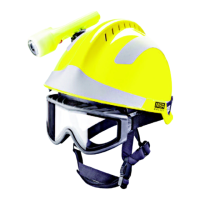
Painted shells (F1, F1S, F1E, F1SF) or Metalized (F1SF EN443:2008)
1-1 – Upper area
(above the horizontal plane in the above figure) :
• if light scratch or small star pattern, the shell is conform,
if paint is loose
(unstuck) on ≥2 cm² (single piece) : replace the shell
if paint is missing
on ≥2 cm² (single piece) : replace the shell
1-2 – Lower area
below the horizontal plane on the above figure :
if paint/ metal is missing
on ≥4 cm² (single piece) : replace the shell
1-3 – Complete shell (all models)
Under certain especially severe operation conditions (training), with a combination of high
temperature, important heat flow and very charged fumes, the coating of the helmet could
change the aspect in a more or less strong way.
• If the shell is a little dirty / dingy, it is conform (it must be properly cleaned)
• If the shell (base material) is cracked / broken=existance of a line where the
varnish is missing : replace the shell
• if the shell has been drilled (holes) for any reason (repair, addition of element) :
replace the shell
• If the shell is « bumped » on the outside, check inside if the distorsion can be felt.
If yes, replace the shell.
1-4 – Inserts for chinstrap and inner shell attachment (F1 and F1S only)
The attachment device of the chinstrap and the inner shell on the shell includes inserts on
the lower edges of the shell (fixed by ultrasonic welding) where is mounted the element used
to connect the pression stud of the chinstrap.
1-4-1 Chinstrap inserts
• If the insert gets loose : it is possible to re-glue it once using cyanoacrylate glue or
with heat.
• If it becomes loose a second time: change the shell.
1-4-2 Inner shell inserts