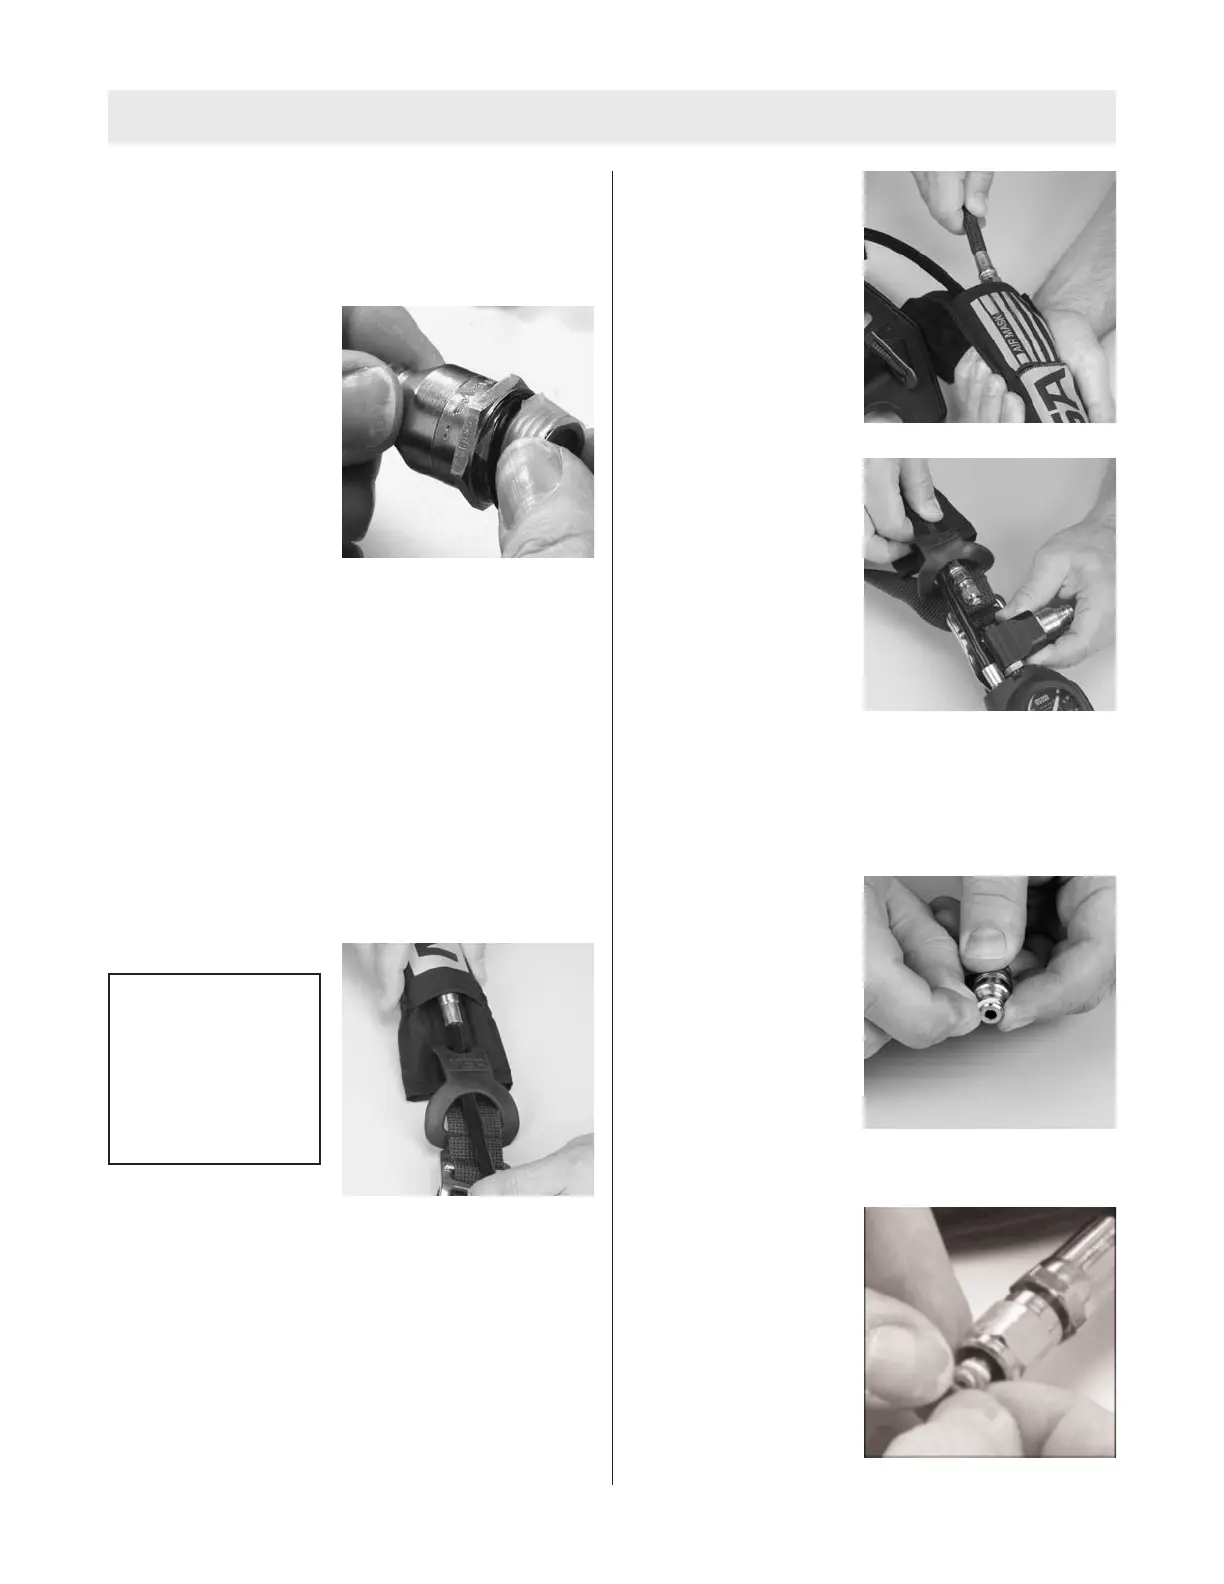
Installing the Quick-Fill Adapter
1. Place the Quick-Fill Adapter block in a vise. This is
a
ttached to the M7 Control Module. Use protective
sleeves to keep from damaging the block.
2. Wrap the coupling
threads with transpar-
ent tape to prevent
damage to the O-ring.
3. Apply a thin film of Christo-Lube Lubricant to the cou
pling O-ring (635068)
4. Slide the new O-ring over the coupling threads.
Remove the tape.
5. Install the filter (485594) into the adapter by placing it
at the bottom of the port.
6. Thread the coupling into the block and tighten to 70-75
ft.lbs. Using a 1" deep-well socket.
Installing the control module
1. Beginning at the front of the carrier and harness,
thread the power and data cable through the tether
and shoulder strap, and high pressure hose through
the tether and shoulder strap.
Note: The power and data cable is curved to favor proper
installation. Do not attempt to straighten the cable.
2. Pass the high pressure
hose through the
shoulder strap and
tether.
3. Install new Back-up and O-Rings (skip this step if a
new high pressure hose was provided as part of this
upgrade kit).
a. Apply a thin film of Christo-Lube lubricant to the
back-up ring (P/N 635277).
b. Install the back-up
ring in the groove.
c. Apply a thin film of Christo-Lube lubricant to the o-
ring (P/N 638167).
d. Place the o-ring in
the groove.
TAL 808 (L) Rev. 1 - 10090073
16
UPGRADE INSTRUCTIONS
USE EXTRA CARE
WHEN HANDLING
THE POWER AND
DATA CABLE CON-
NECTOR TO AVOID
DAMAGE TO THE
PINS OR CONNEC-
TOR.


 To Next Page