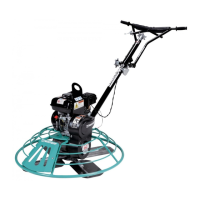
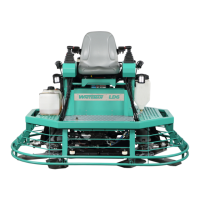
PAGE 40 — MD105 RIDE-ON TROWEL • OPERATION MANUAL — REV. #0 (03/29/24)
CHANGING BLADES
It is recommended to change ALL of the trowel blades
at the same time. If only one or some of the blades are
changed, the machine will not nish consistently and the
machine may wobble or bounce.
1. Place the machine on a at, level surface. Pitch the
blades as at as possible using the blade pitch controls.
Note the blade orientation on the trowel arms. This is
important for ride-on trowels as the two sets of blades
counter-rotate. Lift the trowel up and place blocks under
the main guard rings to support it.
2. Remove the bolts and lock washers on a trowel arm,
then remove the blade.
3. Scrape all concrete and debris from the trowel arm to
allow proper seating of the new blade.
4. Install the new blade, maintaining the proper blade
orientation as noted earlier.
5. Reinstall the bolts and lock washers.
6. Repeat steps 2–5 on all remaining trowel arms.
BLADE PITCH ADJUSTMENT
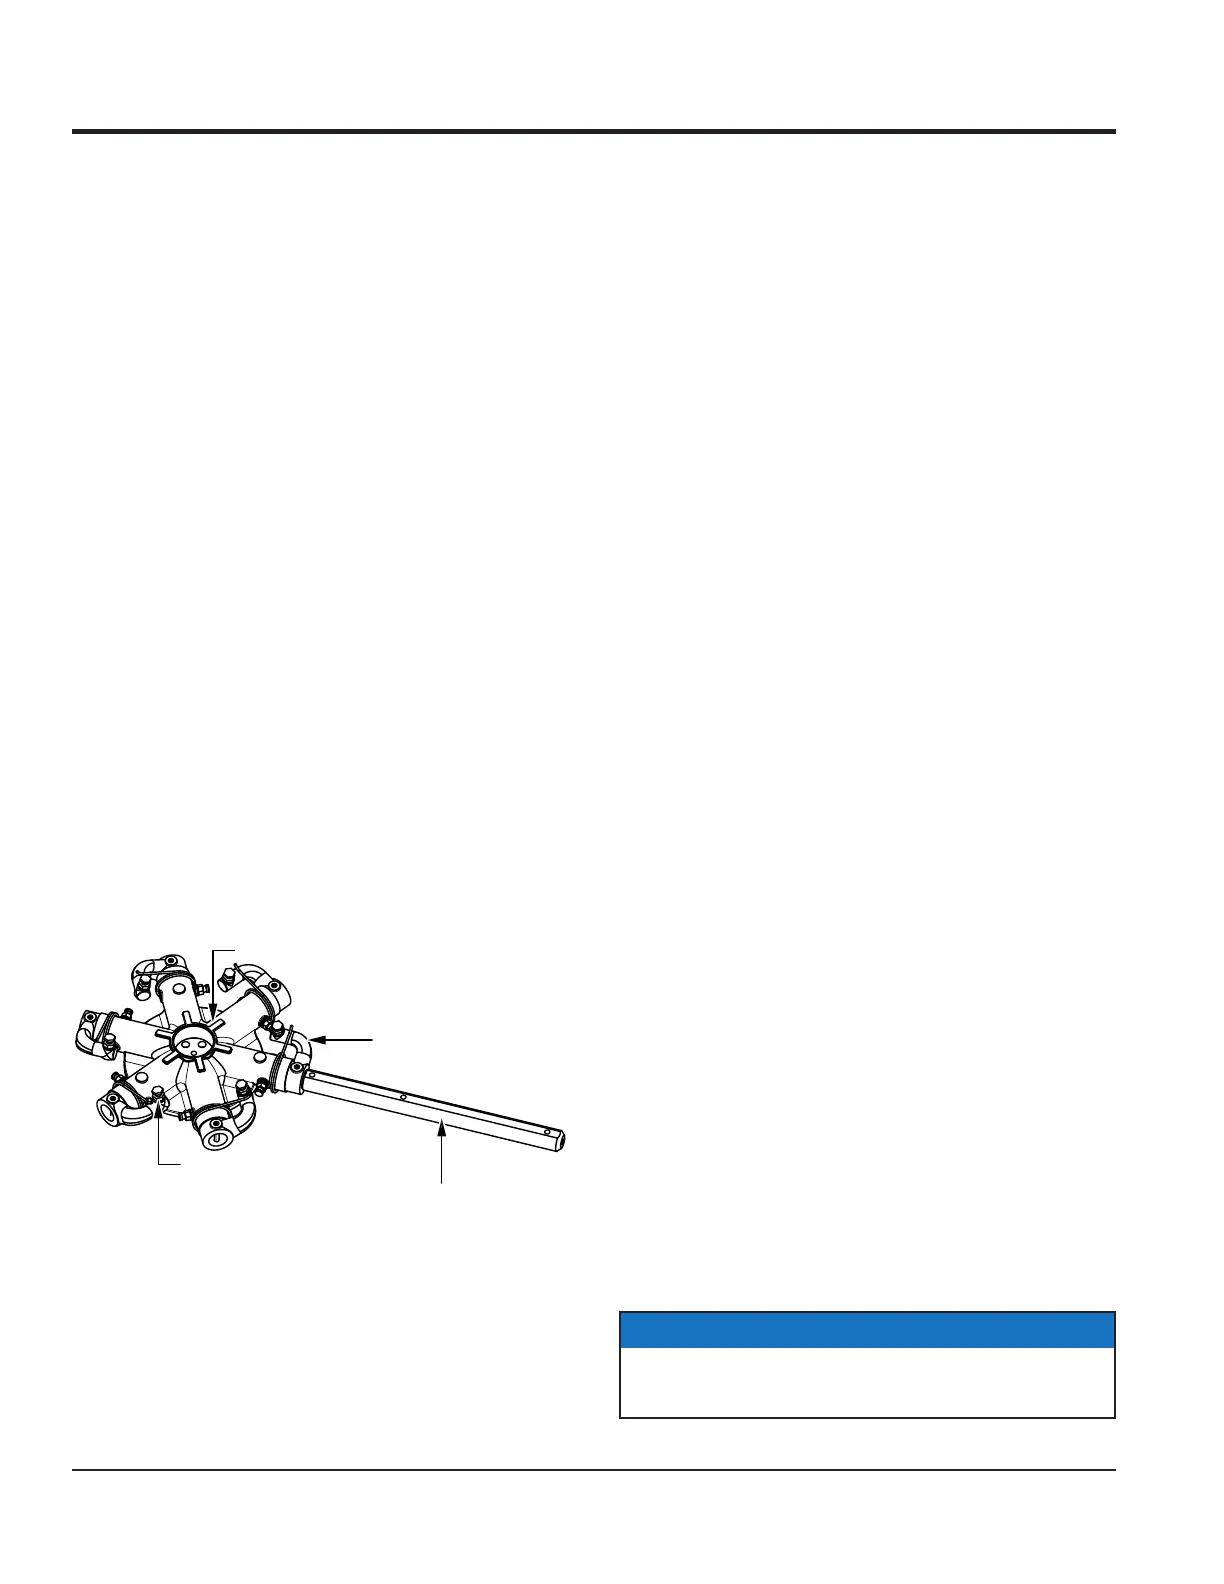
Maintenance adjustment of blade pitch is made by adjusting
a bolt on the trowel arm lever (Figure 39). This bolt is the
contact point of the trowel arm with the lower wear plate
on the thrust collar.
Figure 39. Blade Pitch Adjustment Bolt
SPIDER PLATE
TROWEL ARM LEVER
(FINGER)
TROWEL ARM
BLADE PITCH
ADJUSTMENT BOLT
The goal of adjustment is to promote consistent blade pitch
and nishing quality. If blades are wearing unevenly, look for
the following indications that adjustment may be necessary.
Is one blade completely worn out while the others
look new?
Does the machine have a perceptible rolling or
bouncing motion when in use?
Do the guard rings rock up and down?
The easiest and most consistent way to make adjustments
on the trowel arm levers is to use the trowel arm
adjustment tool (P/N 9177). It comes with all the hardware
necessary to perform this adjustment and instructions on
how to use the tool.
If a trowel arm adjustment tool is not available and you
can see or feel which blade is pulling harder, a temporary
eld adjustment can be made by adjusting the bolt that
corresponds to that blade.
A better way to determine which blades need adjustment
is to place the machine on a known FLAT surface (e.g. a
steel plate) and pitch the blades as at as possible. Look at
the adjustment bolts. They should all barely make contact
with the lower wear plate on the spider. If you can see that
one of them is not making contact, some adjustment will
be necessary.
Adjust the ‘high’ bolts that are touching the wear plate down
to the level of the one that is not touching, or adjust the ‘low’
bolt up to the level of the higher ones. If possible, adjust
the low bolt up to the level of the rest of the bolts. This is
the fastest way, but may not always work. Verify that the
blades pitch correctly after adjustment.
Blades that are incorrectly adjusted often will not be able
to pitch at. This can occur if the adjusting bolts are raised
too high. Conversely, adjusting bolts that are too low will
not allow the blades to be pitched high enough for nishing
operations.
If the machine is still nishing poorly after blade pitch
adjustment has been made, check the trowel blades, arms,
and arm bushings for adjustment, wear, or damage.
NOTICE
After any blade adjustment, the pitch system should be
recalibrated with the Whiteman Service Tool.
MAINTENANCE
 Loading...