- 57 -
Scanning to E-mail
4
Scanning
● Document Glass
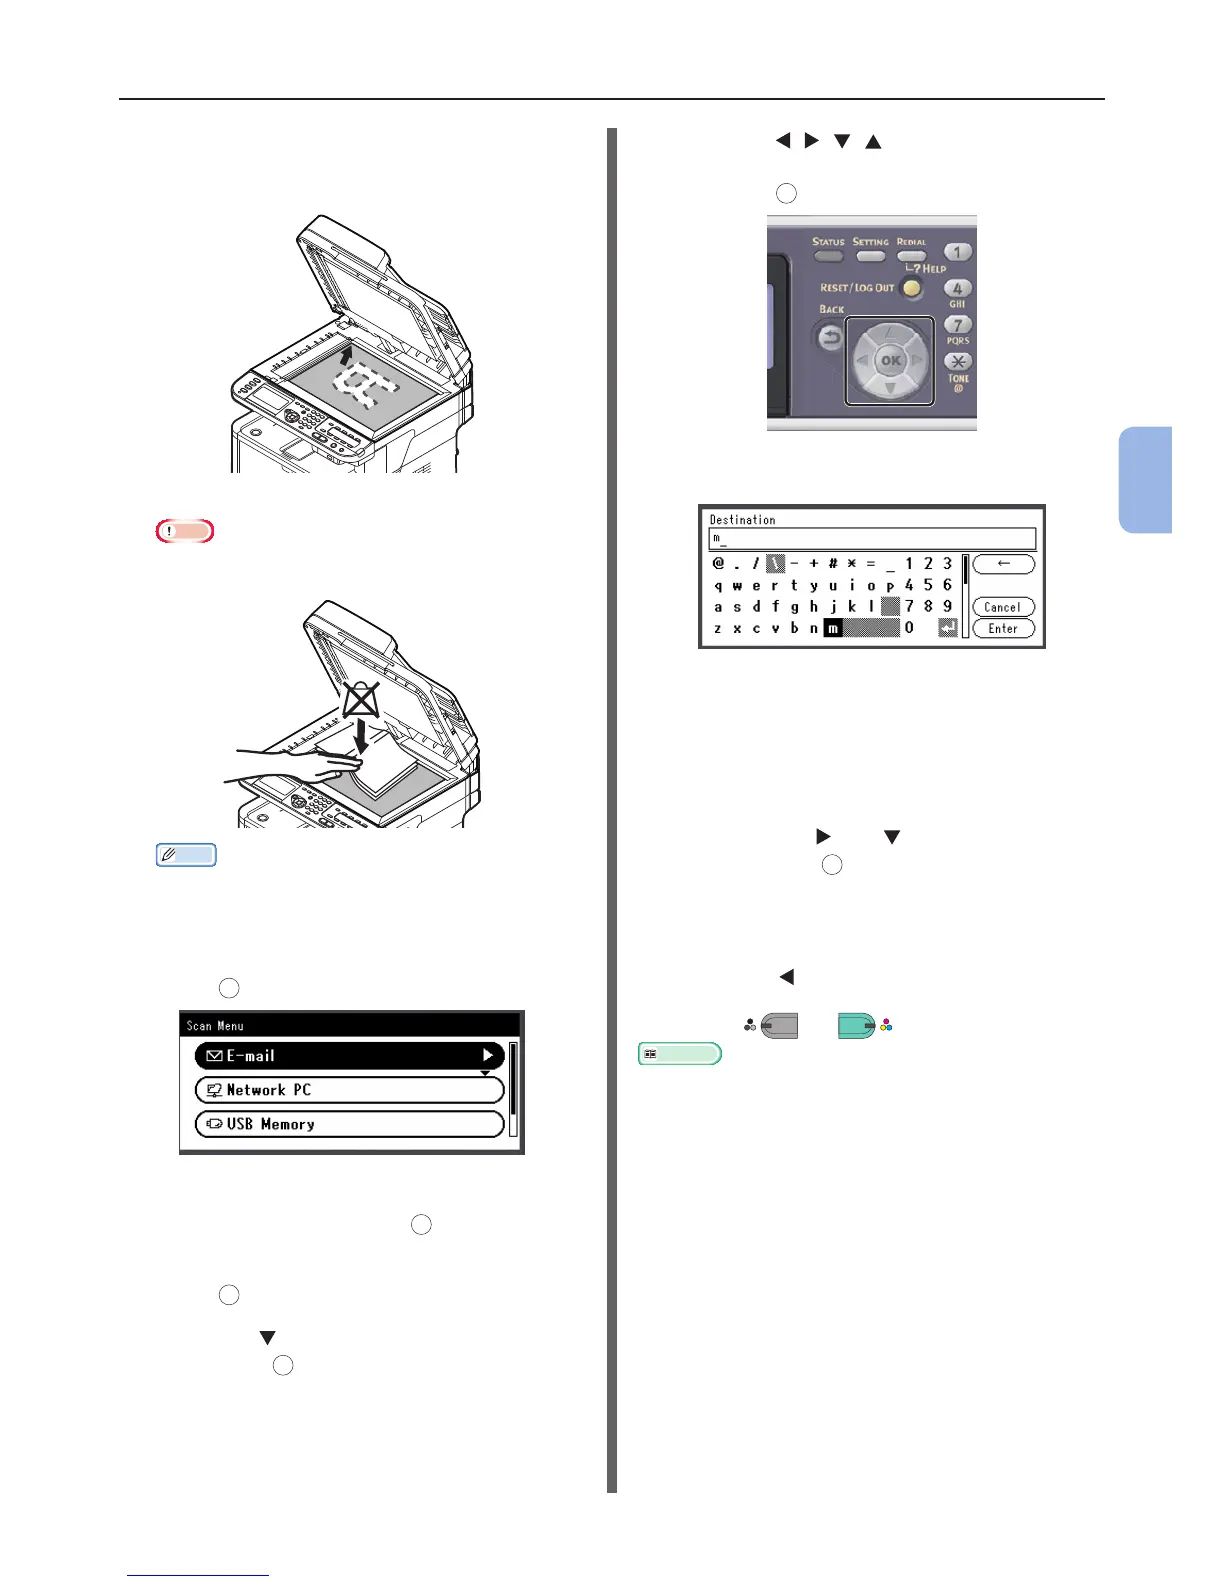
Place a document face down and align its top
edge to the upper-left corner of the glass.
Close the document glass cover gently.
Note
● Do not apply an excessive load to the document
glass.
Memo
● The machine prioritizes the ADF when scanning
documents. Be sure not to place documents on the
ADF when you use the document glass.
3 Check that [E-mail] is selected and then
press
OK
.
4 Check that [Add Destination] is
selected and then press
OK
.
5 Check that [To] is selected and then
press
OK
.
6 Press the to select [Direct Input] and
then press
OK
.
7 Enter a destination e-mail address up to
80 characters.
a Press , , , to select the
character you want, and then
press
OK
.
The selected character is entered in the text
eld.
If you have entered an incorrect value, press
the <CLEAR> key and then enter the correct
value.
b Repeat step a until all characters
required are entered.
c Press the and to select [Enter]
and press
OK
.
8 If necessary, select [Cc] or [Bcc] and
repeat steps 6 and 7.
9 Press the to return to start screen.
10 Press
MONO
or
COLOR
.
Reference
● In addition to inputting the destination directly, you can
use the address book, group list, e-mail histories, LDAP
search, or One-Touch key pad to specify the destination.
For details, refer to the User’s Manual (Basic) > “4.
Scanning” > “Scanning Methods” > “Scan to E-mail” >
“Specifying a Destination”.
● To load a landscape document, refer to the User’s Manual
(Basic) > “1. Setup” > “Loading Paper and Documents” >
“Documents” > “Loading Documents”.
● You can change the scan settings such as scan size
and resolution as necessary. For details, refer to the
User’s Manual (Advanced) > “3. Scanning” > “Advanced
Operations for Scanning, Internet Faxing and Scanning to
Fax Server”.

 Loading...