NI-DAQmx and DAQ Device Installation Guide 6 ni.com
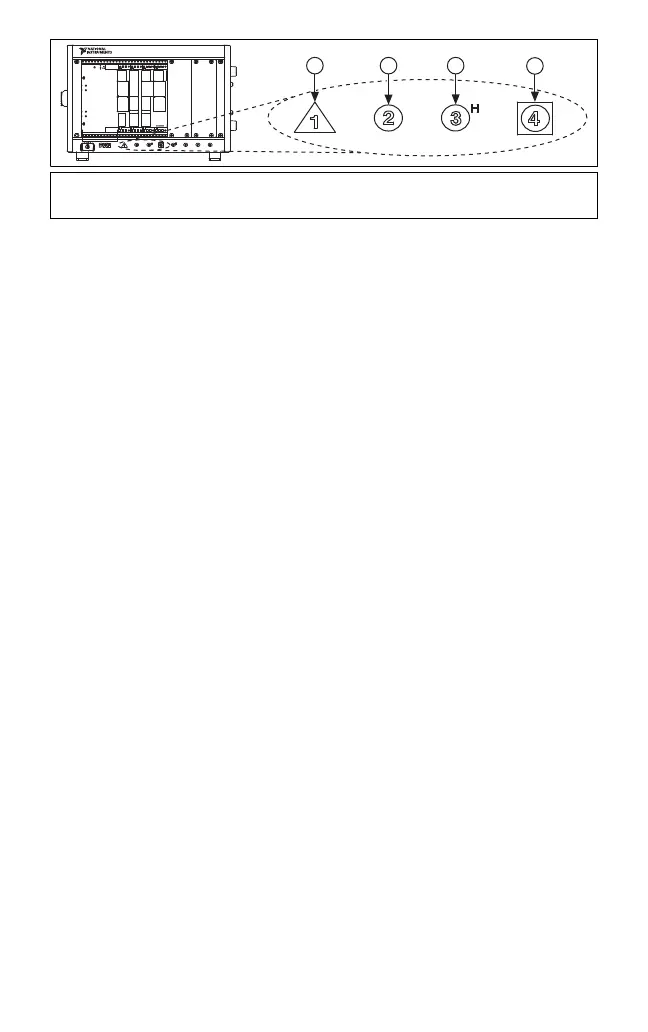
Figure 5. Symbols for PXI Express/PXI Express Hybrid/PXI Slots
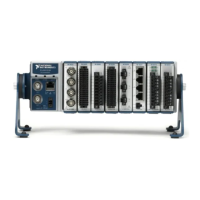
If you are using a PXI Express chassis, you can place PXI devices in the
PXI slots. If a PXI device is hybrid slot compatible, you can use the
PXI Express Hybrid slots. PXI Express devices can be placed only in
PXI Express slots and PXI Express Hybrid slots. Refer to the chassis
documentation for details.
3. Remove the filler panel of an unused PXI/PXI Express slot.
4. Touch any metal part of the chassis to discharge static electricity.
5. Ensure that the PXI/PXI Express module injector/ejector handle is not
latched and swings freely.
6. Place the PXI/PXI Express module edges into the module guides at the
top and bottom of the chassis.
7. Slide the device into the PXI/PXI Express slot to the rear of the chassis.
8. When you begin to feel resistance, pull up on the injector/ejector handle
to latch the device.
9. Secure the device front panel to the chassis using the front-panel
mounting screws.
10. Plug in and power on your PXI/PXI Express chassis.
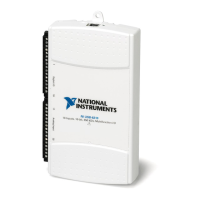
USB Devices
You must be an Administrator to install NI software and devices on your
computer. Complete these steps to install an NI device for USB:
1. Make power connections.
• If you are using the BP-1 battery pack, install it as described in your
BP-1 installation guide.
• Some NI devices for USB require external power. If your device has
an external power supply, verify that the voltage on the external
power supply, if any, matches the voltage in your area (for example,
120 or 230 VAC) and the voltage required by your device.
2. Connect the power supply or power cord to an electrical outlet and your
device.
3. Connect the cable from the computer USB port or from any other hub to
any available USB port on the device.
1 PXI Express System Controller Slot
2 PXI Express Peripheral Slot
3 PXI Express Hybrid Peripheral Slot
4 PXI Express System Timing Slot
NI PXIe-1062Q
1
2
3
4