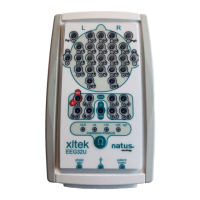
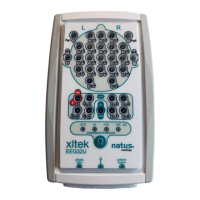
Xltek EMU128 Headbox User & Service Manual
23
Digital Board
(Schematic diagram SD-102817 Rev D2)
Sheet 2 shows the connectors.
•
J1 brings in the amplified EEG signals from the Analog Board and communicates the
serial data to its shift registers.
•
J101 brings in the 4 MHz reference frequency from the Analog Back Plane. The
clock signals CLK20M and CLK7M168 (sheet 9) are locked to this reference by dual
phase-locked loop U9.
•
J100 is a 26-pin high-density D connector that sticks through the front panel for
plugging in the cable to the computer.
Sheet 3 shows the optocouplers that transmit the digital data and commands and protect
the patient from hazardous voltages. Drivers and receivers U100-U102 are not
populated when this assembly is used for EMU128.
Sheet 4 shows the micro controller U11 that runs the board, EEPROM U7 that provides
nonvolatile storage of factory calibration values, and digital-to-analog converter U18 that
generates the Channel Test signal for equipment diagnostics.
Sheets 5 to 8 show the analog-to-digital converters that convert the EEG signals from
alternating voltages to binary numbers for transmission to the computer.
Sheet 9 has the clock generator U9. Crystal Y1 is not populated in EMU128, only
EEG32. Event switch jack J4 allows plugging in a pushbutton switch whose closure is
sensed by the micro controller and reported back to the computer.
Sheet 10 shows the power supply section. T1 is populated for EMU128. It is a miniature
ferrite transformer that steps down the 12 VAC 40KHz provided by the Headbox
Interface Card in the computer. Positive and negative voltages are rectified by D1,
filtered by L1 and L2 and regulated by VR1-VR3. Separate power busses are used for
analog and digital circuitry. VR4 and associated components are not populated in
EMU128.
How the Digital Board Works
When power is applied, the micro controller PIC16C65A (referred to hereafter as the
PIC) serially writes the control words to PLL U9 to program the frequencies of operation.
For this it uses lines SCDAT, FSSTBA and FSSTBB. It then waits for commands from
the computer. When the user starts a study, the PIC is commanded to reply with the
channel calibration values from the EEPROM U7. It reads the device with lines
EEPREN, SCSTB and EEDAT. Then sampling starts when the PIC uses its SPI serial
port to write the control word to the ADCs (lines ADSDAT, ADSCLK, nADTFS). The
ADCs are clocked by CLK7M168 at a frequency of 7.168 MHz, and typically give 500
samples/second. 2.500 VDC from precision voltage reference U8 sets the input range of
the ADCs (±2.5V for full scale). The ADCs are self-timed and do not require a periodic
start-convert command. When a conversion has been done, the nADRDY line is
asserted and interrupts the PIC through the INT input (U11-36). The PIC responds to the
interrupt by reading the conversion result, asserting CASCIN0 and nADRFS and using
ADSCLK to clock out data ADSDAT. The ADCs on all boards sample and get read
 Loading...