16
62
78
59
44
45
73
50
79
60
62
71
2 1/2" L
2" L
2" L
2 3/4" L
76
57
47
3 1/4" L
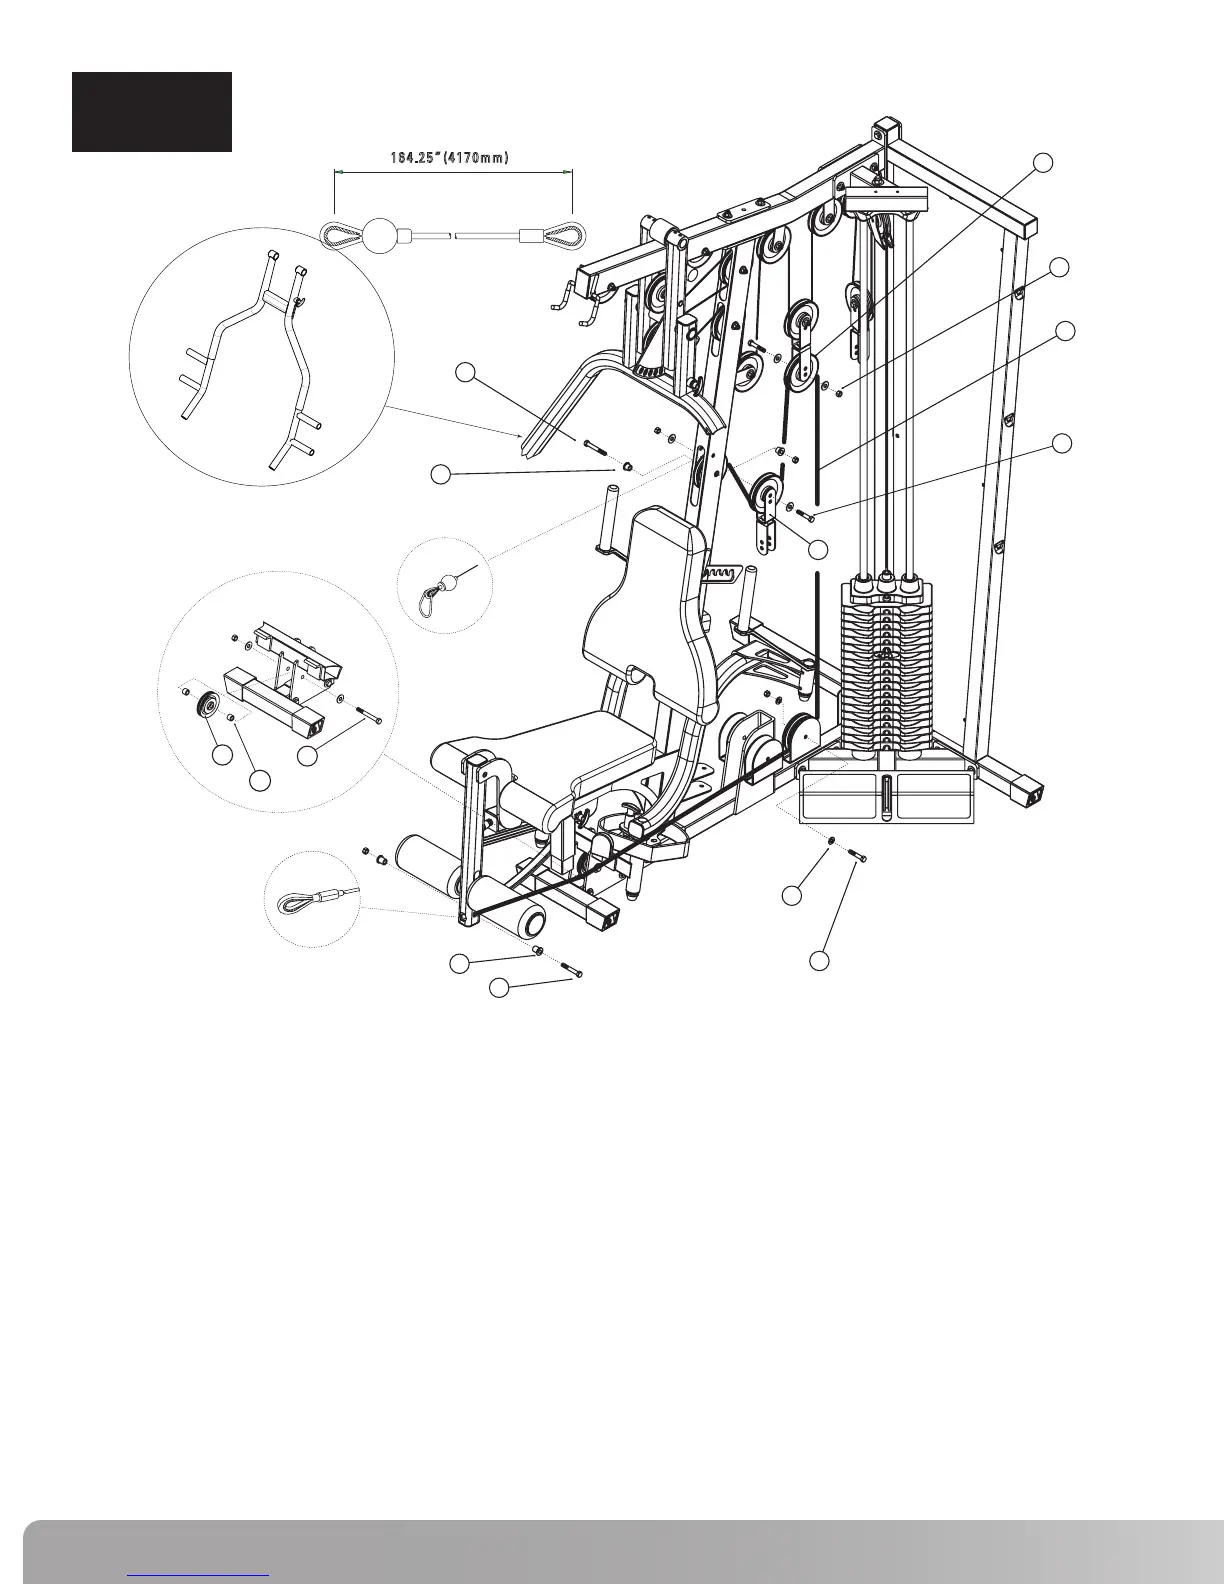
164.25” (4170mm)
:
A
B
C
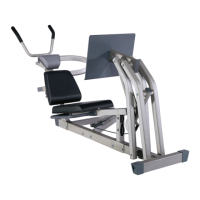
NS300X Press Arm
ASSEMBLY
STEP 8
Step 8 Components: Procedure:
# Component Qty
A.
Draw Cable #3 (50) over a 4 1/2” Pulley (45) and place Pulley in middle slot of
Front Upright Frame. Attach using hardware shown. Tighten hardware
securely. Note cable termination in Detail B.
B. Loop Cable #3 (50) around a 4 1/2” Pulley (45) and place it in the third Double
Floating Pulley Bracket (44). Attach Pulley to inner hole using the hardware
shown. Tighten hardware securely.
C.
Loop Cable #3 (50) around a 4 1/2” Pulley (45) and place it in the Double
Floating Pulley Bracket shown. Attach Pulley to inner hole using hardware
shown. Tighten hardware securely.
D. Draw Cable #3 (50) around a 4 1/2” Pulley (45) and attach Pulley to the
bracket on the Main Base Frame using hardware shown. Tighten hardware
securely.
E.
Draw Cable #3 (50) under a 3” Pulley (47) and attach Pulley to the Pec Fly
Mount using the hardware shown in detail A. Tighten hardware securely.
F.
Attach Cable #3 (50) termination shown in Detail C to Leg Extension
Assembly using hardware shown. DO NOT OVER TIGHTEN.
44
45
47
50
57
59
60
62
71
73
76
78
79
Double Floating Pulley Bracket
4 1/2” Pulley
3” Pulley
Cable #3 - Leg Extension (164.25”)
Hex Bolt 3/8” x 3 1/4”L
Hex Bolt 3/8” x 2 3/4”L
Hex Bolt 3/8” x 2 1/2”L
Hex Bolt 3/8” x 2”L
3/8” Flat Washer
3/8” Lock Nut
Pulley Spacer 1/2”L
Step Spacer - 5/8”H
Step Spacer - 7/8”H
1
4
1
1
1
1
1
3
8
6
2
2
2
 Loading...