5-12
1.3 Operational description of OSD control
Each OSD function is available by pressing the buttons (MENU, -, +, AUTO) located on the lower section of
the front bezel.
1.3.1 Function of each button
The basic function of each button (also called a key, but it bears the same meaning) is explained below.
In case of no OSD display, either buttons of MENU, -, + or AUTO may be pressed to display an OSD menu.
1) OSD function control
MENU : Displays the OSD and selecting the adjusting function by pressing this button or exiting the
OSD after keeping press this button.
- : Moves the cursor downward to select adjustment item after OSD menu is displayed or the
tab is moved leftward to decrease the adjusting value by pressing this button after the
adjustment function is selected.
+ : Moves the cursor upward to select adjustment item or the tab is moved to the right to
increase the adjusting value by pressing this button.
AUTO : The auto sync function is activated by pressing this button.
2) Hot key function control
MENU : Displays the OSD and selecting the adjusting function by pressing this button or
exiting the OSD after pressing this button.
DVI/D-SUB (-) : An input signal is selected by defining whether it should be picked up from the DVI
connector or the D-SUB connector. Each time this button is pressed directly, a change
takes place between the DVI connector and the D-SUB connector.
+ : The auto contrast function is activated by press this button directly.
AUTO : The auto sync function is activated by pressing this button.
Note: Unless otherwise specified, the D-SUB input should be used in each inspection.
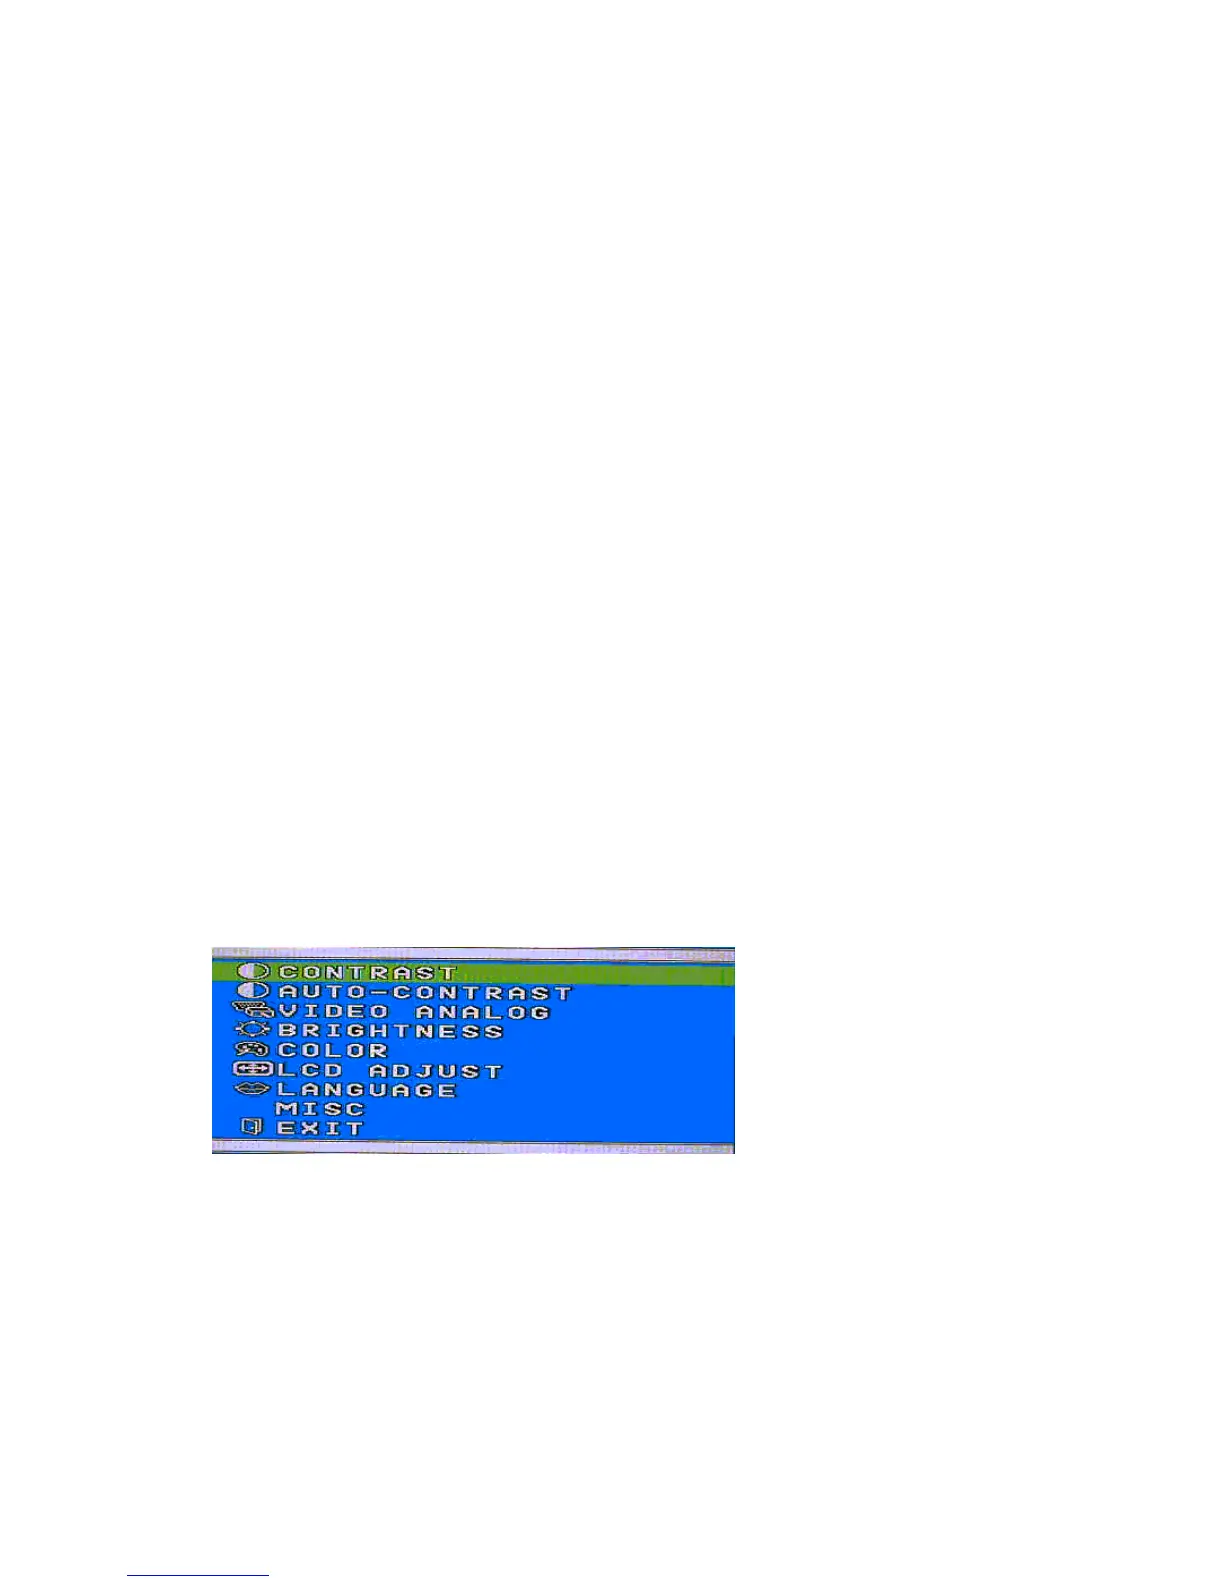
1.3.2 Procedures for the basic operation
1) Press the MENU button and confirm that the main menu shown below is displayed.
2) The selection tab moves to the way down rolling and up rolling with the -down and +up buttons. When
the adjustment tab has been selected, select the adjustment item by the using the MENU button and
set up the adjusting value with the +right and -left buttons. In case when an adjustment item of
automatic adjustment function (AUTO-CONTRAST or AUTO-SYNC) has been selected, execute this
automatic adjustment by the using the MENU button.
3) When the inspection is over, press the MENU button for a while or select EXIT item to exit from the
OSD menu.