32
10. TOOLS
10-1. PEN SETTINGS
Eitherwhenusingthestyluspenforthersttimeorchangingtheinstallationplaceoftheprojector,makesureto
perform calibration for letting the projector to recognize the stylus pen position properly.
There are four options for the pen set up.
AUTO CALIBRATION Adjust the stylus pen position automatically. Select this for easy adjustment.
MANUAL CALIBRATION Adjust the stylus pen position manually. Select this for precise position adjustment as
for permanent projector installation.
REMOTE PEN
Operation by a computer mouse can be performed by the stylus pen touch.
For utilizing the remote pen, connect the USB-B port on the projector and the USB-A
port on the computer by the supplied USB cable.
NOTE:
• Beforestartingtousetheremotepen,installthelatestIWBSetupSoftwareforthewhiteboard
kitontothecomputerandperformcalibration.ThelatestIWBSetupSoftwareforthewhite
board kit is available to download from our web site:
http://www.nec-display.com/dl/en/pj_soft/lineup.html
TOUCHMODULE,ADJUST-
MENT
For using the separately sold TOUCH MODULE. Display the TOUCH MODULE adjust-
ment screen.
After performing calibration of the stylus pen, you can use the stylus pen on the WHITEBOARD, etc. in the APPS
MENU.
NOTE:
• Donotusethestyluspenwithwethandsanduseitinwatersplashapprehendedplace.
• Ifapartofhumanbodygetscloseorcontactswiththescreen,itmaycauseofmalfunction.Makesuretokeepcertaindistance
from the screen surface.
• Itwillcauseofmalfunctionifyouputhandsontothescreen.
• FordrawingpreciselettersanddrawingsontotheseparatelysoldTouchModule,pleaseusethestyluspen.
• Ifthecalibrationisperformedwhentheonscreenmenuisdisplayedon,itmaycauseofmalfunction.Conrmiftheonscreen
menu is disappeared before performing the calibration.
Automatic Calibration
1. Focus on the [AUTO CALIBRATION] and then press ENTER button.
Start calibration.
Positionadjustmentwillbecompletedwithin5to8secondsandthemessageofthecalibrationcompletionwillbe
displayed on.
Manual Calibration
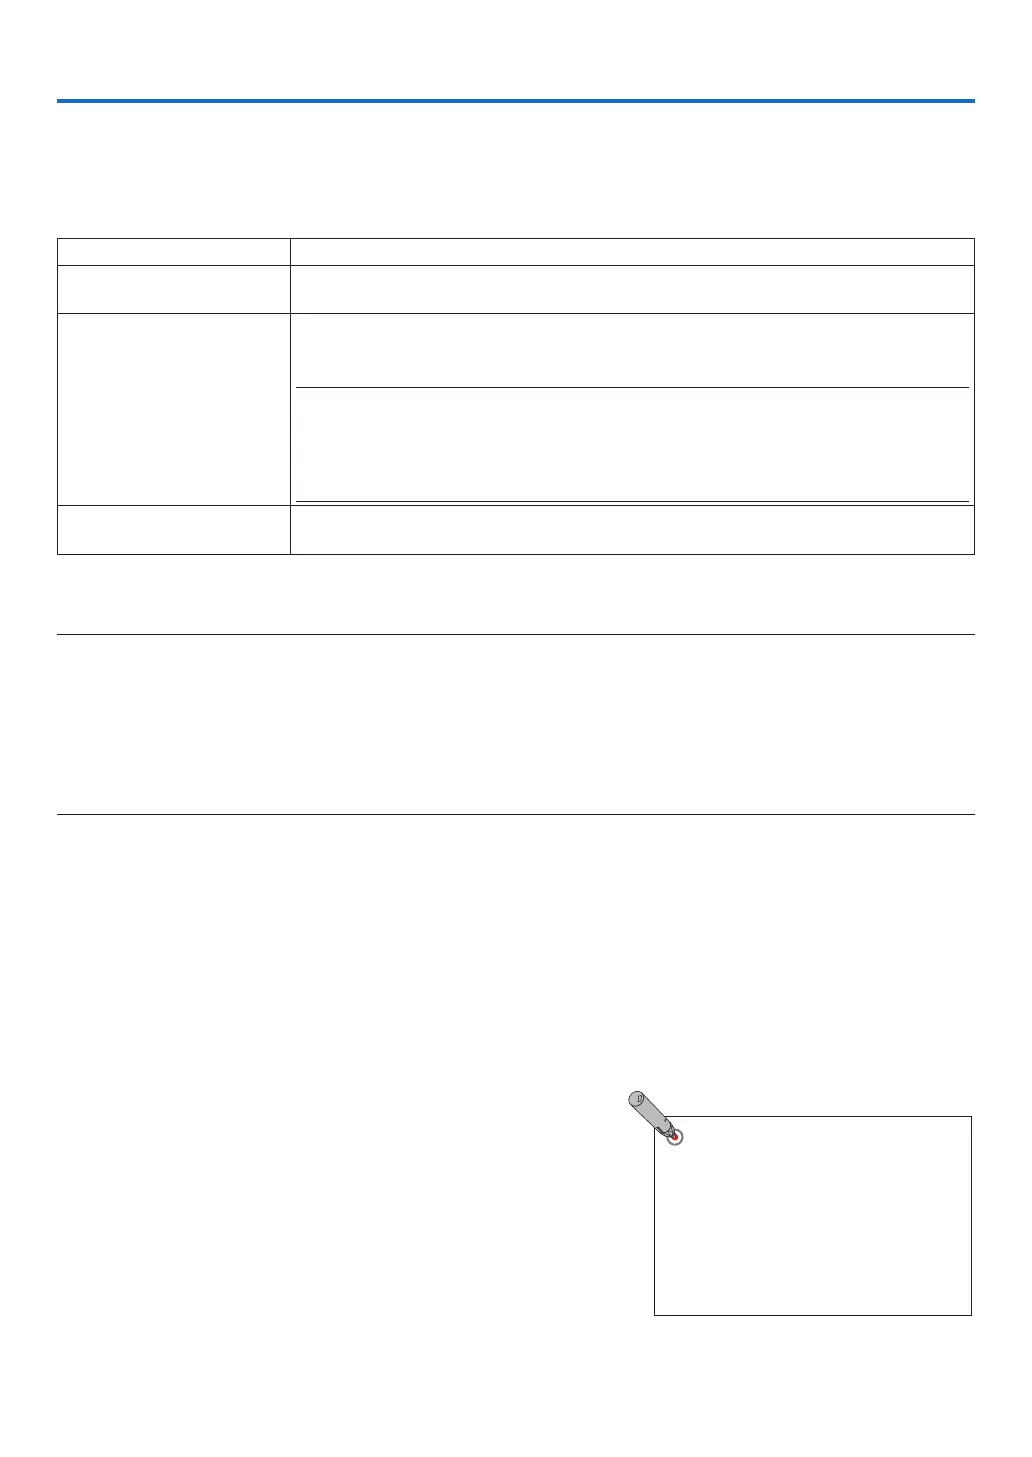
1. Focus on the [MANUAL CALIBRATION] in the [PEN SETTINGS] and press ENTER.
The projection screen will switch to the manual calibration screen and a red dot will be indicated at the left top of
the screen.
2. Touch the center of dot by the stylus pen.
After touching the red dot, it moves to 25 positions in order.
PRESS BRIEFLY ON THE RED DOT WITH STYLUS (NO FINGER) TO CALIBRATE (SET TOP LEFT).
PRESS [EXIT] TO CANCEL CALIBRATION
 Loading...