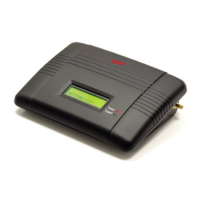
VIRDI AC 1000 User Guide 24
UNION COMMUNITY CO.,LTd.
3Fl. Hyundai Topics Bldg, 44-3 Bangi-dong, Songpa-gu, Seoul, Korea 138-050,
Tel: 82-2-6488-3000, Fax: 82-2-6488-3099, E-Mail:sales@unioncomm.co.kr,
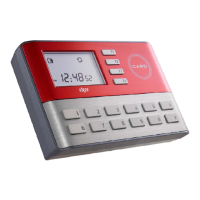
3.4. Network settings
In the main menu, press [2] to select “2.Network” to see the following screen.
When the setting is chosen, press [ENT] to move to the next setting.
3.4.1. Terminal ID settings
[ENT] ◆ Æ [2] ◆
< Terminal ID >
ID : 00000001
This ID is unique for each terminal and used by an authentication server to
distinguish each terminal. The default is ‘00000001’.
It should be identical to the door ID set in the server program, and its length
should be 1~8 characters.
If the terminal ID is ‘1000’, enter [1][0][0][0] in sequence. If it is ‘0001’, enter only
[1]. Press [ENT] to move to the next setting.
3.4.2. Connection [NS / SN / NO] mode settings
[ENT] ◆ Æ [2] Æ [ENT] ◆
Mode [ NS / SN / NO ]
( 0-2 ) : 1
NS mode: ‘0’, SN mode: ‘1’,
NO mode: ‘2’
This defines the authentication method between the terminal and network server,
and the default is ‘1’ (SN). Each authentication method is described below:
- NS mode: select [0]. When there is a live connection to the server,
authentication is done through the server. If not, it is done through
the terminal.
- SN mode: select [1]. Even though there is a live connection to the server
authentication is done through the terminal and the result is
forwarded to the server in real time.
However, in the case of 1:1 authentication, if the entered user ID
is not registered in the server, authentication is done through the
server.