VIRDI AC 1000 User Guide 30
UNION COMMUNITY CO.,LTd.
3Fl. Hyundai Topics Bldg, 44-3 Bangi-dong, Songpa-gu, Seoul, Korea 138-050,
Tel: 82-2-6488-3000, Fax: 82-2-6488-3099, E-Mail:sales@unioncomm.co.kr,
3.5.2. Authentication method settings
In the main menu, press [3] to select “3. Option” and the following screen
appear:
1. Application
2. Verify Option
3. Set Door lock
4. Sound Control
5. Time Setting
6. Other Setting
To set the default authentication method, press
[2].
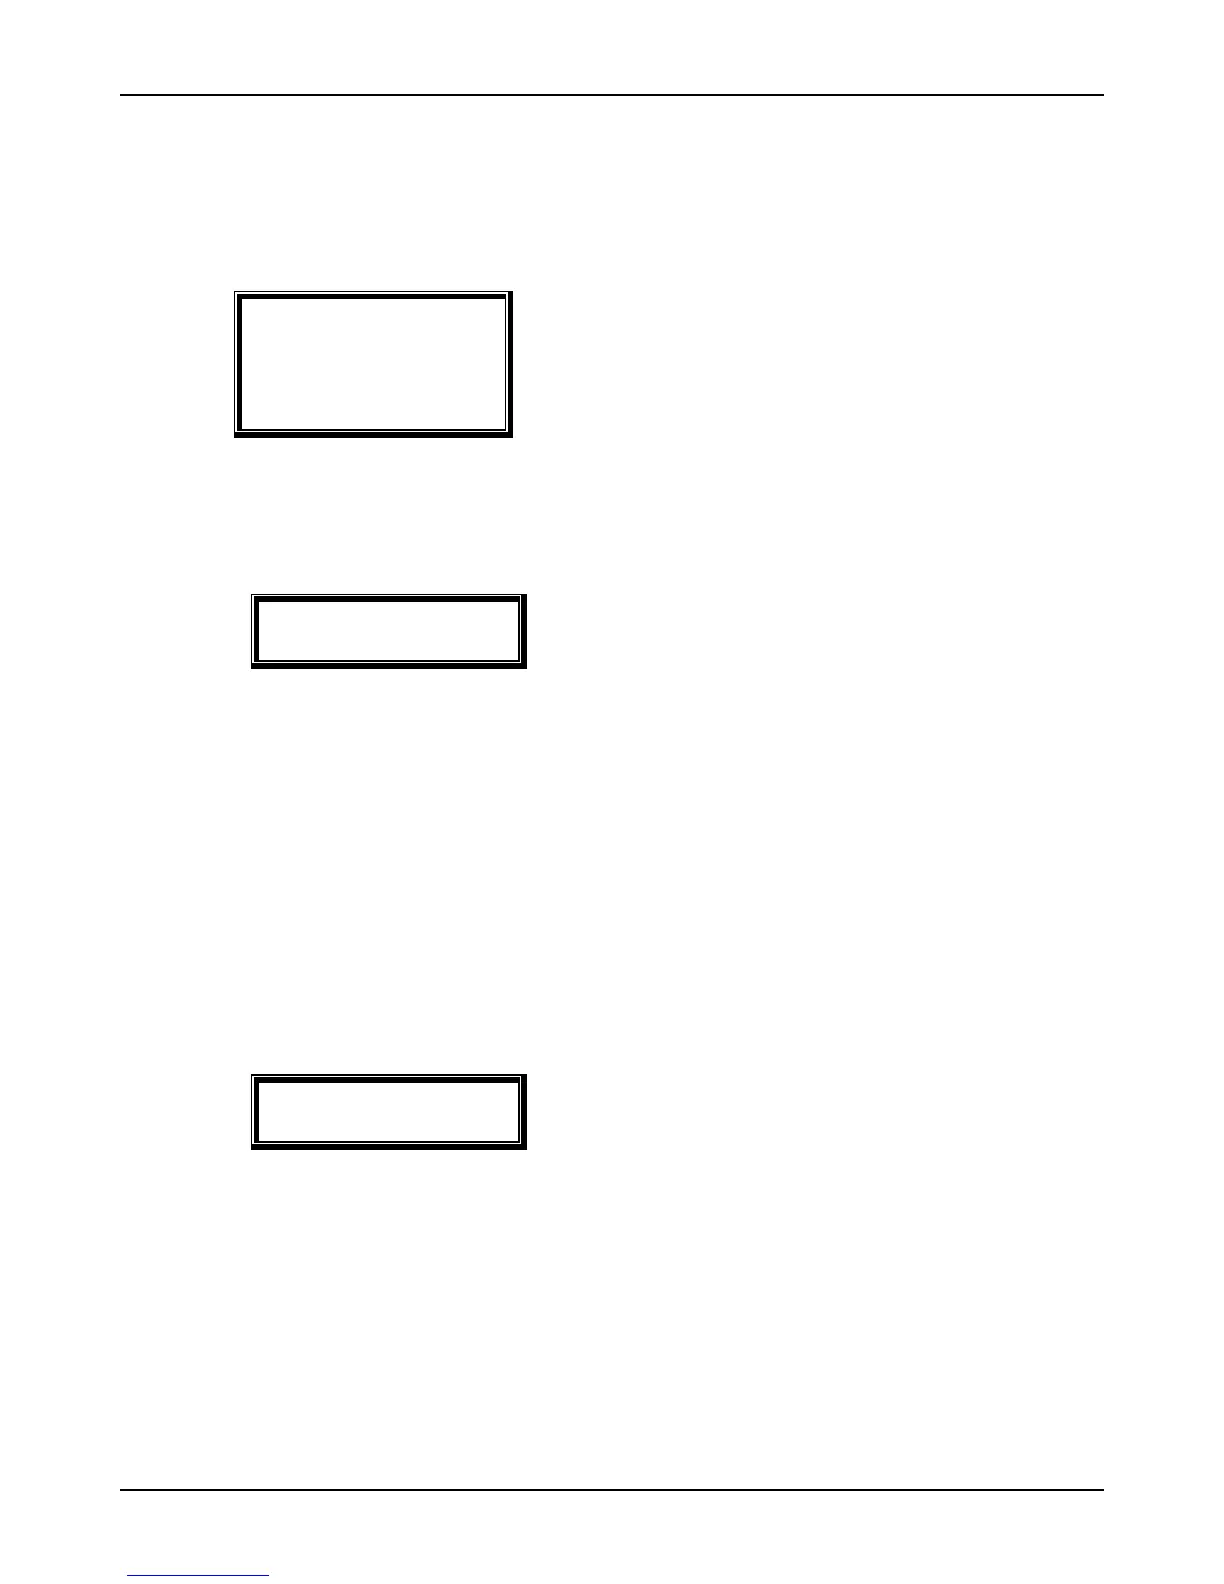
3.5.2.1. Settings for ID display when authentication is successful
[ENT] ◆ Æ [3] Æ [2] ◆
< Show User ID >
(0-2):0
Default setting: ‘0’
If it is set to the default setting [0], only the “Success” message is displayed.
If it is set to [1], user ID is displayed in the LCD window when authentication is
successful as shown below:
(Ex.) OK! <0001>
If it is set to [2], user name is displayed in the LCD window when
authentication is successful as shown below:
(Ex.) OK! <William>
Press [ENT] to move to the next setting.
3.5.2.2. Auto enter key setting
◆ [Ent-] Æ [3] Æ [2] Æ [Ent] ◆
< Auto Enter Key >
(N=0/Y=1):0
Default setting: ‘0’
If it is set to the default setting ‘0’, a user should input ID and push [F1]~[F4],
[ENTER] or go through fingerprint verification.
If it is set to [1], for a example, a user who uses password inputs ID, which
goes for authentication process without pushing any function key.
The authentication mode is the currently setting mode
Press [ENT] to move to the next setting.