82
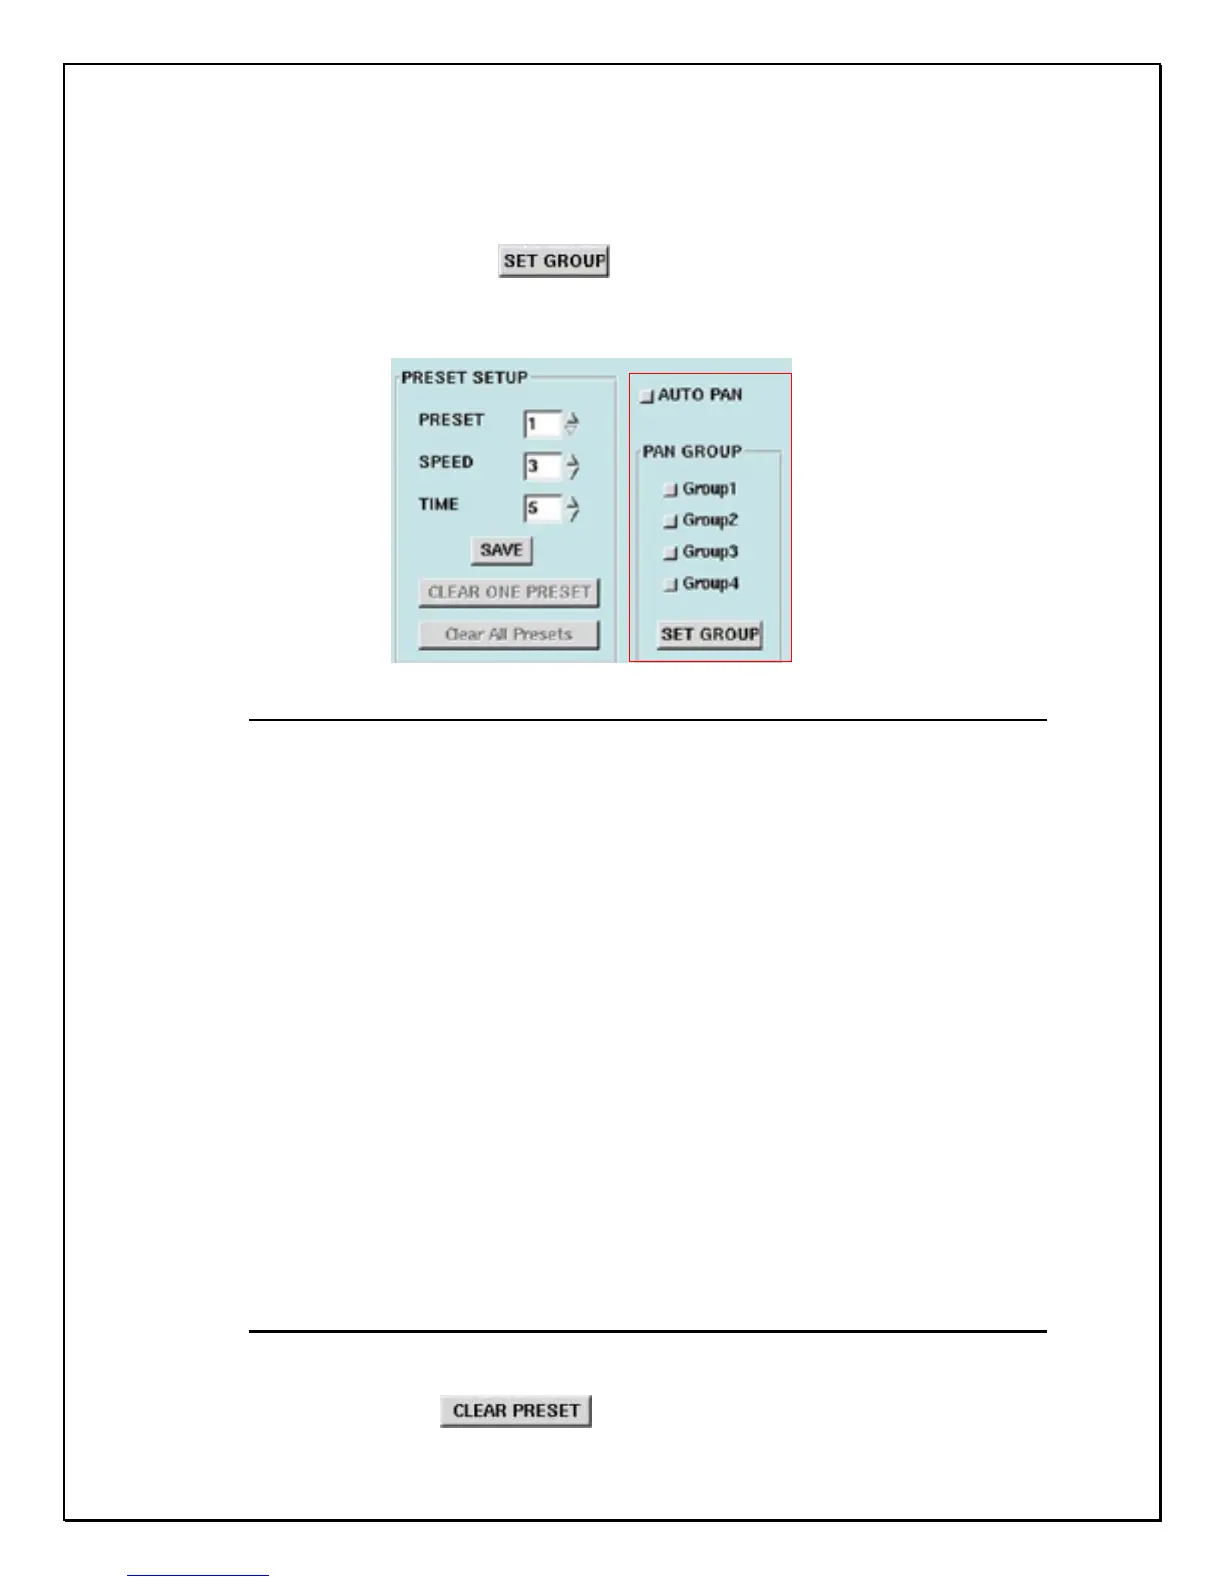
1. Create all the presets in the groups.
2. Choose the number of your desired group (Group 1, Group 2, Group 3
and Group 4) under the Pan Group.
3. Click “Set Group”
button.
4. Click “ Auto Pan” then the PTZ cameras will begin to circumnavigate
according to the presets in the group.
Figure 12-9: Pan Group
Example:
Setting Group 1 => Choose Group 1, and click “ Set Group” button.
Function: To operate presets 1 to 4 automatically in the mode of “Auto Pan”
Setting Group 1 and Group 2 => Choose Group 1 and Group 2, and click
“ Set Group” button.
Function: To operate presets 1 to 8 in the mode of “Auto Pan”
Setting Group 1, Group 2 and Group 3 => Choose Group 1, Group 2, and
Group 3, then click “ Set Group” button.
Function: To operate presets 1 to 12 in the mode of “Auto Pan”
Setting Group 2, Group 3 and Group 4=> Choose Group 2, Group 3, and
Group 4, then click “ Set Group” button.
Function: To operate presets 5 to 16 in the mode of “Auto Pan”
Deleting a Preset
Follow these instructions to delete a preset.
Click Clear Preset
to delete all presets.