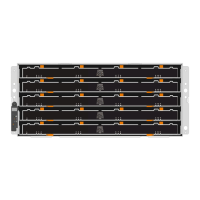
g. Repeat these substeps to reinstall all of the drives.
6.
Slide the drawer back into the drive shelf by pushing it from the center and closing both levers.
Attention: Risk of equipment malfunction – Make sure to completely close the drive drawer
by pushing both levers. You must completely close the drive drawer to allow proper airflow and
prevent overheating.
7. Attach the bezel to the front of the drive shelf.
Attaching the cable chains
The final step in installing a drive drawer is attaching the left and right cable chains to the drive shelf.
When attaching a cable chain, reverse the order you used when disconnecting the cable chain. You
must insert the chain's horizontal connector into the horizontal bracket in the enclosure before
inserting the chain's vertical connector into the vertical bracket in the enclosure.
Before you begin
• You have replaced the drive drawer and all of the drives.
• You have two replacement cable chains, marked as LEFT and RIGHT (on the horizontal
connector next to the drive drawer).
Replacing a drive drawer in a DS460C disk shelf |
31

 Loading...