How to Use Simple Connect
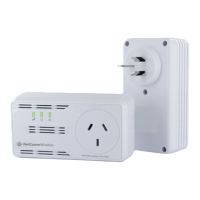
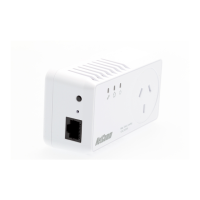
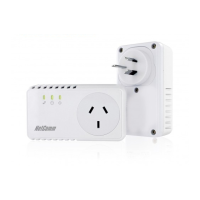
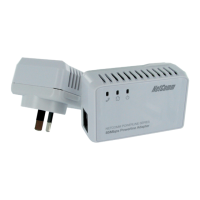
The Powerline Adapters that you have received are ready for use straight out of the box. They require no initial set-up or
configuration. All you need to do is connect them as detailed in the Quick Start Guide. The following instructions about using the
Simple Connect button to configure your network are only applicable if you want to change the default private network password or
add more adapters on the same Powerline network.
Simple Connect provides a more convenient way of creating your Powerline network without the need to open the Powerline Utility
software from a computer. The button has three main functions which include:
Creating a Powerline Network
Resetting the Private Network Password
Joining an existing Powerline Network
Creating a Powerline Network
To create a Powerline network, you need at least two Powerline devices using random Private Network Passwords. When you
press Simple Connect on both devices, a common Private Network Password will be automatically generated to enable them to
communicate with each other.
Note: New Powerline adapters can already communicate with each other out of the box. However, if you intend to create a
new Private Network Password using Simple Connect for both devices, you must reset their Private Network Passwords to
a random key before proceeding.
To create a Powerline network using Simple Connect:
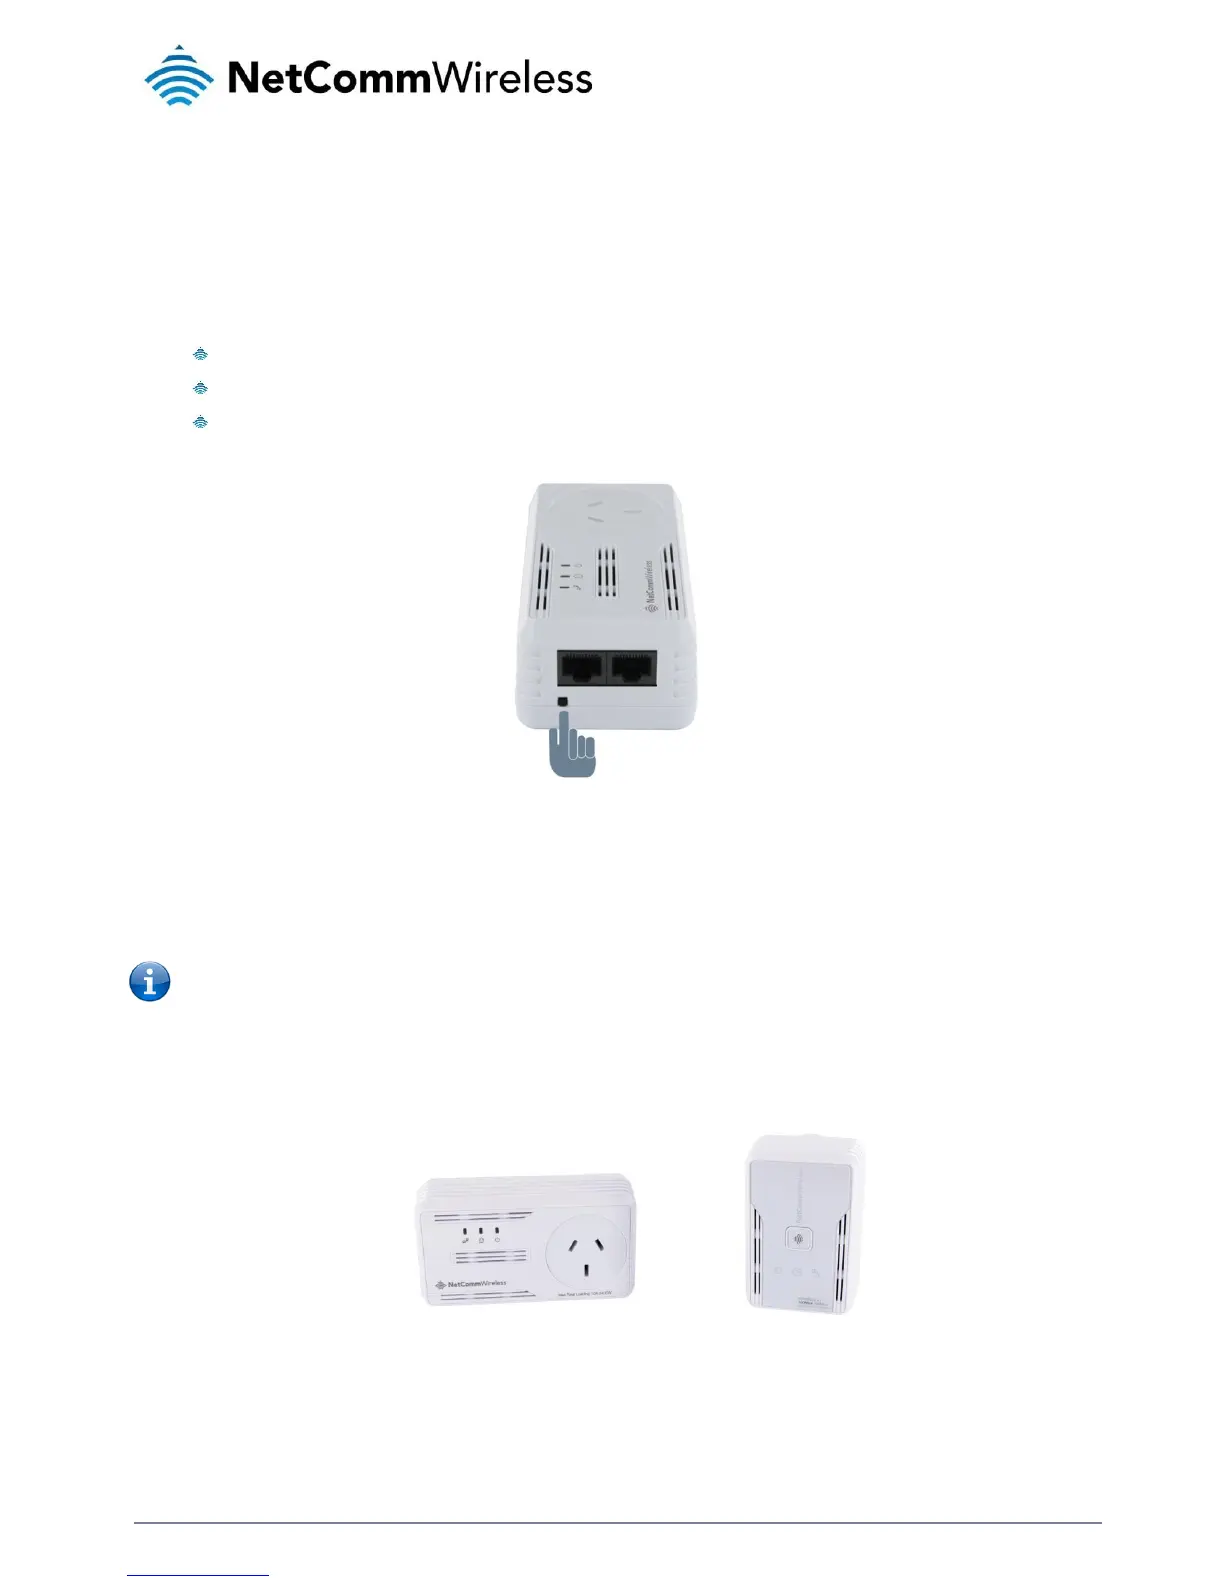
1.
Plug your Powerline adapters side-by-side where you can easily observe the LED behaviour. Upon connection, the LEDs
will blink simultaneously and then the Power LED remains on steadily.
Adapter X Adapter Y
2.
Press Simple Connect for two seconds on Adapter X. After you release the button, the Power LED will blink. If the Power
LED did not blink, press Simple Connect again for two seconds.
3.
Press Simple Connect for two seconds on Adapter Y. After you release the button, the Power LED will blink. If the Power
LED did not blink, press Simple Connect again for two seconds. Make sure to press Simple Connect on Adapter Y within