two minutes after you press Simple Connect on Adapter X. The LEDs on both devices will switch off and on twice to signify
that they are searching for another device with which to pair.
4.
To confirm the connection was established, check the LEDs. If a connection is made successfully the Power LEDs and the
Powerline Activity LEDs on both adapters are on. If the Powerline Activity LED on either Adapter X or Adapter Y is off, this
means the pairing was not successful. In this case, please repeat the process as outlined from step 1.
5.
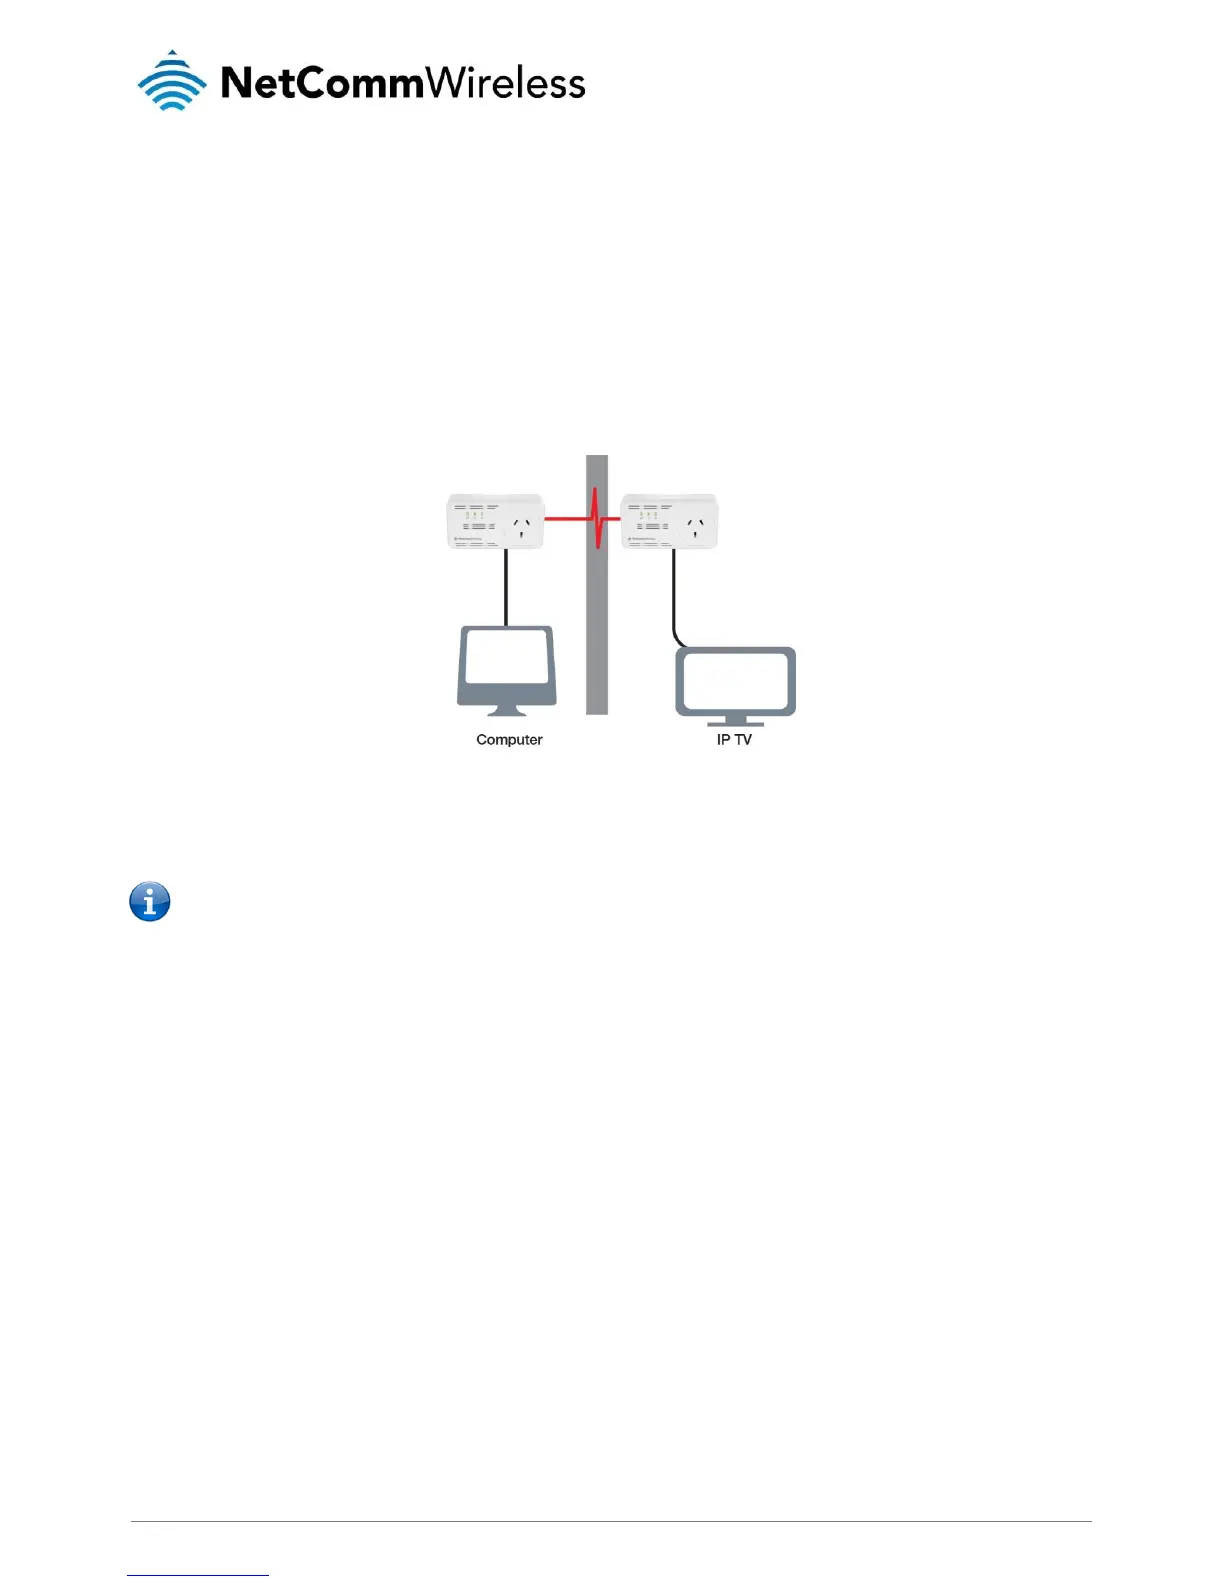
Unplug the Powerline adapters and then connect them to your Ethernet devices using the Ethernet cables from the product
package. After connecting the Ethernet cable, plug the adapters directly to a wall outlet in the room to which you would like
to provide network access. Keep in mind that only the WiFi Adapter has a WiFi radio, so choose a location for it that
provides WiFi coverage for the desired area.
Note: Powerline adapters work best when connected directly to a wall socket. Avoid plugging them into a power strip or
power extension. Other electrical devices in the power strip produce electrical noise that may affect the performance of the
adapter.
Resetting the Private Network Password
The Simple Connect button allows you to reset the Powerline adapter’s Private Network Password to a random key. When a
Powerline adapter is reset to a random key, it will not be able to communicate with any other device.
Note: The Simple Connect button has multiple functions depending on the length of time it is depressed. Resetting the
Private Network Password is not the same as restoring factory default settings.
To reset the Private Network Password using the Simple Connect button:
1. On one Powerline adapter, press and hold the Simple Connect button down for 11-13 seconds, wait for the Power LED
and Ethernet LED to turn off, and then release. The Powerline Activity LEDs of both units turn OFF.
2. On the second adapter, press the Simple Connect button for 2 seconds and then press the Simple Connect button on the
first Powerline adapter to pair the devices. The Power LED blinks to indicate that the button is pressed.
Joining an Existing Powerline Network
The Simple Connect feature enables a new device to join an existing network by copying the Private Network Password of the
existing network to the new Powerline adapter.
To join an existing secured Powerline network using the Simple Connect button:
1. Plug Powerline adapter Z beside one of your existing Powerline adapter devices. Make sure you can observe the LED
behaviour. Upon connection, Powerline adapter Z’s LEDs blink simultaneously and then the Power LED remains on
steadily. If there is an Ethernet link, the Ethernet LED will be on.
2. On Powerline adapter Z, press the Simple Connect button for 5-8 seconds. When you release the button, the Power LED
and Ethernet LED will turn off and on again.
3. On the existing Powerline device, press the Simple Connect button for 1-3 seconds. When you release the button, the
Power LED blinks continuously. If the Power LED did not blink, press the Simple Connect button again for 1-3 seconds.
4. Within the next 2 minutes, press the Simple Connect button on Powerline adapter Z again for 1-3 seconds.
5. Confirm that the connection was established successfully. To do this, check that the Power LEDs and Powerline Activity
LEDs on all Powerline adapters are on. If the Powerline Activity LED on adapter Z is off, the pairing was not successful and
you must repeat the process.