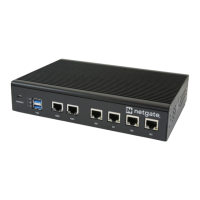
Security Gateway Manual Netgate-8300
2.10.3 Installation Procedure
The installation procedure has many steps which are broken down into related groups in the remainder of this document.
Follow all steps in the procedure carefully.
Take a Backup
If the system contains an existing configuration, then the first step is to take a backup of that configuration for safety.
If the existing configuration is not necessary, this section may be skipped.
There are numerous backup options covered in the pfSense software documentation section on Backup and Restore.
For the purposes of reinstalling and restoring, the easiest method is to take a local backup.
Power Off and Disconnect
Installing an add-on expansion card requires removing the top of the case to expose the internal components. For safety,
before opening the case, the Netgate 8300 must be completely disconnected from everything. This includes power,
network cables, USB cables, serial console cables, and any other external cables or devices connected to the Netgate
8300.
Danger: Reminder:
• Anti-static protection must be used throughout this procedure.
• Any hardware damage incurred during this procedure is not covered by the hardware warranty.
1. Turn power off to the unit by changing the power switch on the rear of the unit to the off position.
2. Unplug the power cables from all installed power supply units (PSUs).
Danger: Wait at least 60 seconds after unplugging power to proceed. This ensures that all phantom power
has dissipated.
The LED indicator on all installed PSUs should be off before proceeding.
3. Unplug all network cables, USB cables and devices, serial console connections, etc.
4. Dismount the Netgate 8300 from the rack
5. Move the Netgate 8300 to a safe work location such as an anti-static mat
Removing the Lid
The next portion of the procedure involves opening the device and removing the lid.
Danger: Reminder:
• Anti-static protection must be used throughout this procedure.
• Any hardware damage incurred during this procedure is not covered by the hardware warranty.
1. Remove the screws from the top of the case near the front of the unit using the Phillips head screwdriver.
© Copyright 2024 Rubicon Communications LLC 98