CHAPTER
ONE
OUT OF THE BOX
1.1 Getting Started
The basic firewall configuration begins with connecting the Netgate® appliance to the Internet. The Netgate appliance
should be unplugged at this time.
1.1.1 Remove Protective Wrap
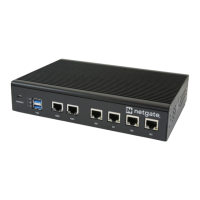
The Netgate 8300 ships with clear plastic overwrap on the top and bottom of the unit to protect the panels from
scratches before installation. Remove this overwrap before continuing the setup process.
Warning: The plastic overwrap must be removed from both the top and bottom of the unit before installing the
device in a rack.
1.1.2 Rack Installation
The Netgate 8300 is intended to be rack mounted. The best practice is to mount the unit in a rack before connecting it
to the network or power.
1.1.3 Connect Network Cables
Connect one end of an Ethernet cable to the P10 port (shown in the Input and Output Ports section) of the Netgate
appliance. Insert the other end of the same cable into the upstream network connection. For example this might be
an ISP Customer Premise Equipment (CPE) device, such as a cable or fiber router, or an external switch, such as one
connecting to a datacenter WAN.
Note: If the CPE device provided by the ISP has multiple LAN ports, any LAN port should work in most circumstances.
Next, connect one end of a second Ethernet cable to the P9 port (shown in the Input and Output Ports section) of the
Netgate appliance. Connect the other end to the computer or a downstream LAN switch.
2