Optimize Performance With Quality of Service
21
ProSAFE Easy-Mount 8-Port Gigabit Ethernet PoE+ Web Managed Switch
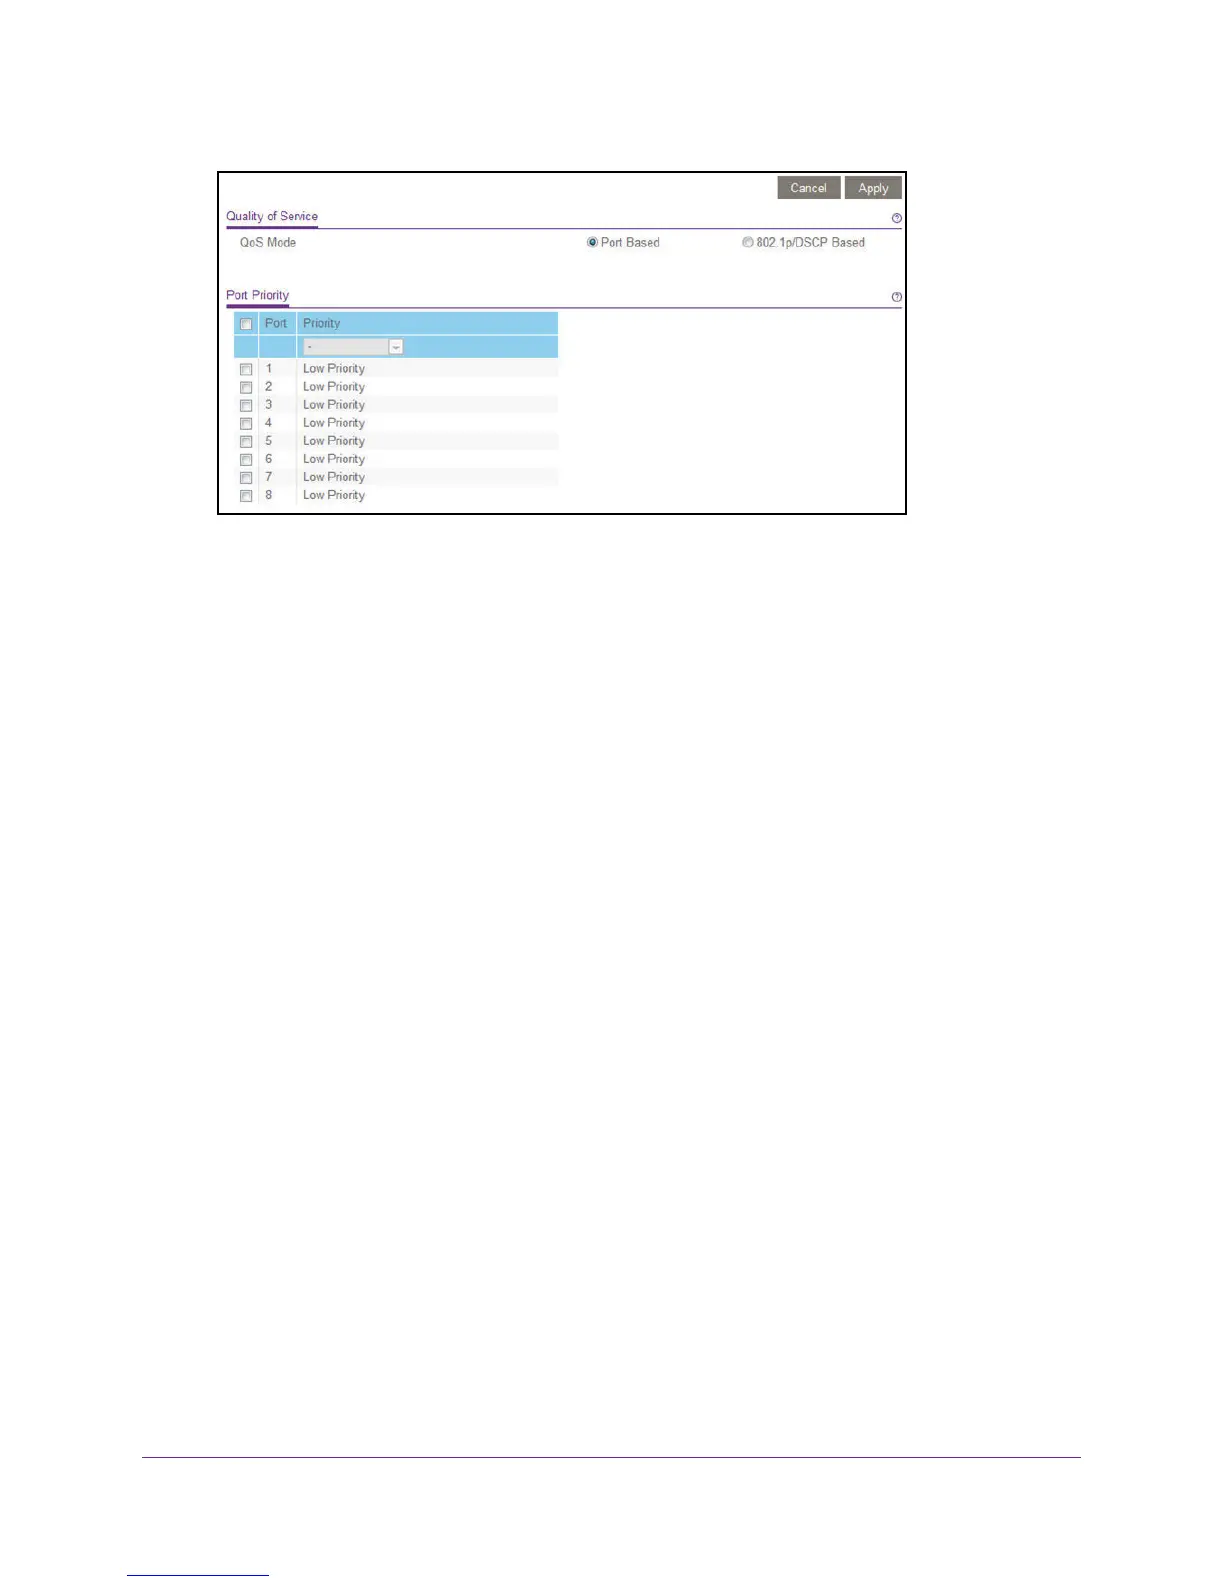
9. To set the port priority for one or more ports, do the following:
a. Select one or more ports.
b. In the Priority menu, select the priority.
The options are High Priority, Medium Priority, Normal Priority, and Low Priority.
The default setting is Low Priority.
c. Click the Apply button.
Your settings are saved. The same priority is applied to all ports that you selected.
10. To set a different port priority for one or more other ports, repeat Step 9.
Set Up Rate Limiting
You can limit the rate at which the switch accepts incoming data and the rate that it
retransmits outgoing data.
Rate limiting can be set for a port in addition to other QoS settings. If the port rate limit is set,
the switch restricts the acceptance or retransmission of data to the values configured.
To set up rate limiting:
1. Connect your computer to the same network as the switch.
You can use a WiFi or wired network connection, or connect directly to a switch that is
off-network using an Ethernet cable.
2. Launch a web browser.
3. In the address field of your web browser, enter the IP address of the switch.
If you do not know the IP address of the switch, see Access the Switch Using a Web
Browser on page 6.
The login window opens.
4. Enter the switch’s password in the password field.
 Loading...