3. Health LED
4. Power LED
5. 10GbE LED
6. GbE LED
7. Disk Drive Power LED
8. Disk Drive Activity and Fault LED
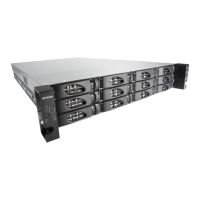
Each drive bay features a latch that releases the pop-out tray handle, as shown in the following figure.
Figure 23. Disk tray handle and release latch
1. Disk tray handle
2. Disk tray release latch
WARNING:
No matter how many hard drives are installed in your system, make sure that all
drive trays remain in the drive bays to maintain proper airflow.
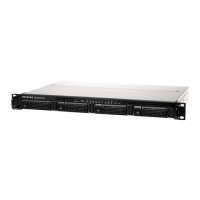
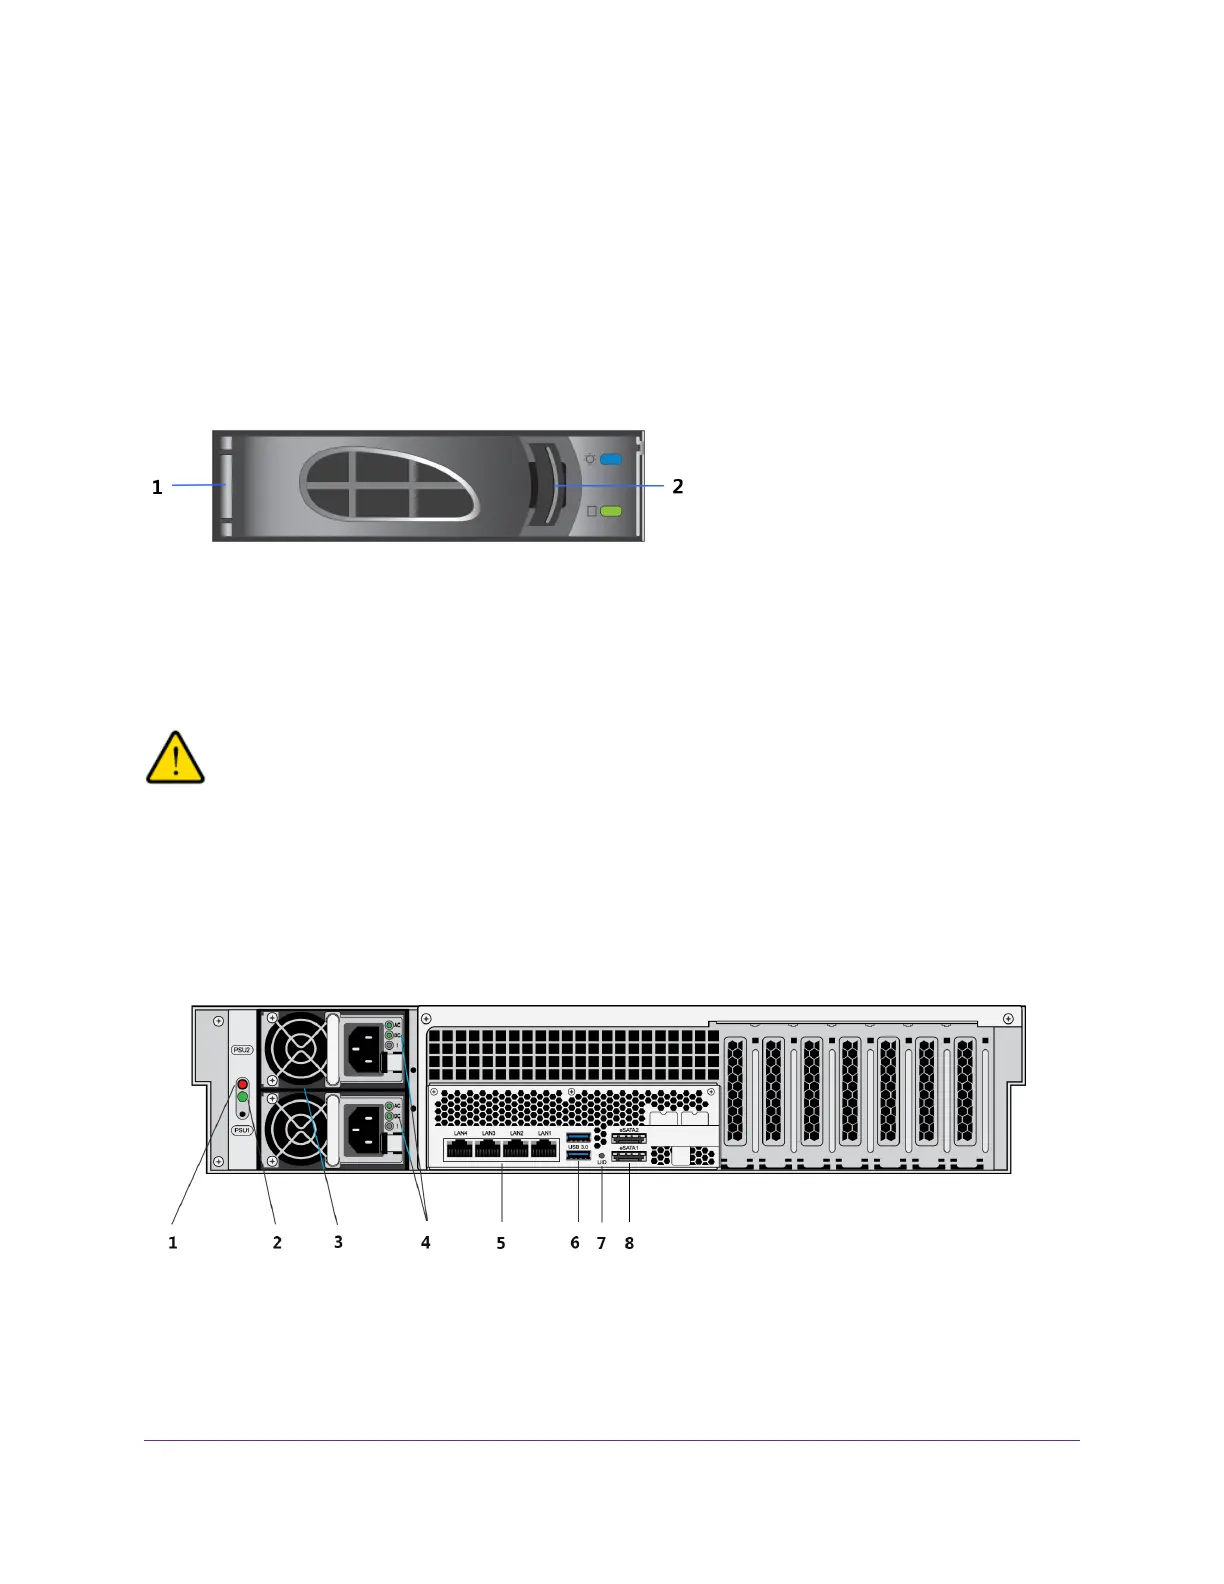
ReadyNAS 3312 Rear Panel
The following figure shows the rear panel of the ReadyNAS 3312 storage system.
Figure 24. Rear panel
1. Power System Alarm Mute button
2. Power System LED
ReadyNAS 3312 and 4312
54
ReadyNAS OS 6
 Loading...