USB Audio Setup
Nano Cortex can be utilized as a USB 2.0, 24-bit, 48kHz (Fixed), low-latency audio interface for
Windows® and Mac® computers.
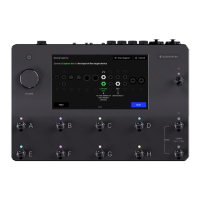
Connect your Nano Cortex to your computer via the USB-C cable included in the box.
• • •
MACOS® SETUP
1
Connect your Nano Cortex to your computer.
2
Go to 'System Preferences', 'Sound', and set Nano Cortex as the main Input and Output
device of your computer.
3
Set the monitoring volume via the computer audio controls.
WINDOWS® SETUP
1
Download the driver installer from our website (Downloads).
2
Run the installer. Reboot your computer after the setup.
3
Connect your Nano Cortex to your computer.
4
Go to 'Control Panel', 'Hardware and Sound', 'Sound', and ensure your Nano Cortex is set
as the default Playback and Recording device of your computer.
5
Set the monitoring volume via the computer audio controls.
The Nano Cortex driver will be installed in the following path location: C:\Program
Files\NeuralDSP\Nano Cortex Driver