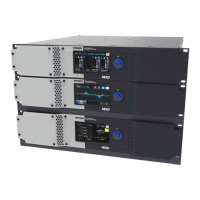
NXAMP4x1
7
■ OVERALL ASSEMBLY WIRING
This product has various cables (wires and connector assemblies) inside. To prevent touching component to the cables and/
or connection mistake, perform the cable connection and fixing cables according to the following instructions referring the
wiring diagram, P3 of the circuit diagram.
Notice: Since the following pictures are taken of the preproduction product, they may differ from the commodity products in
detail. However, the wiring and so on is not so differ between them. So, refer only to wiring and so on.
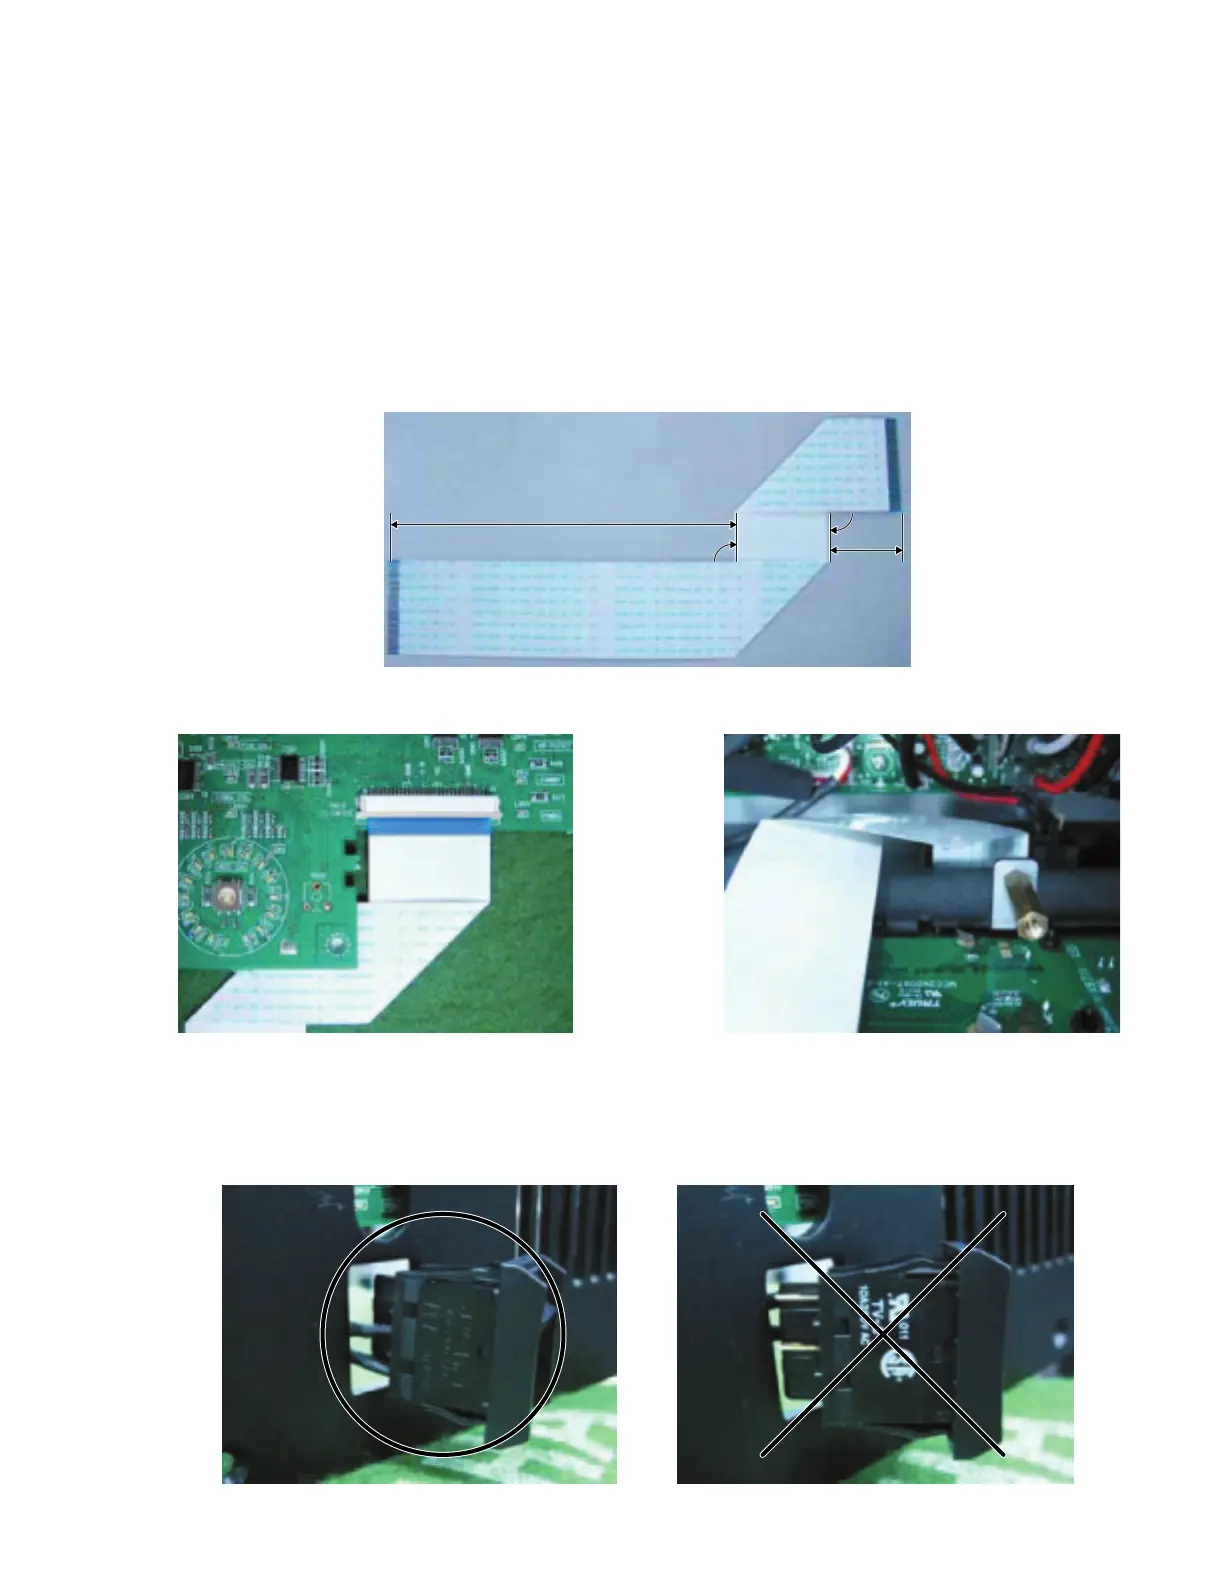
1. Wiring of the PN-AN circuit board
1) Process the flat cable (WK02100). (Fig. 1)
2) Connect the flat cable (WK02100) to the PN-AN circuit board. (Fig. 2)
3) Install the PN-AN circuit board to the front panel. (Fig. 3)
115 ± 1 mm
25 ± 1 mm
90˚
90˚
115 ± 1 mm
25 ± 1 mm
90˚
90˚
Fig. 1
Fig. 2 Fig. 3
2. Wiring of the power switch
1) Install the power switch to the front panel with its terminals set downward. (Fig. 4, 5)
Fig. 4 Fig. 5
 Loading...