NXAMP4x1
64
■ UPDATING THE FIRMWARE
1. Preparation
1-1. Downloading and installing the software for update
1) Download http://www.st.com/stonline/products/support/micro/files/standalone_jtag.zip.
2) Extract the StandaloneJTAG_1_20.zip.
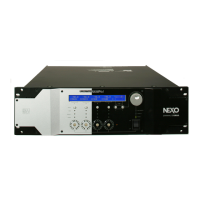
3) Double click the StandaloneJTAG_1_20, and the following
install screen appears. (Fig. 1)
4) Click the [Finish] button to start installing the software for
update.
5) Click the [Next] and [Yes] buttons to finish installing.
6) Restart the PC after completing the installation.
1-2. Connection
Connect the USB port of the PC to the connector CN005 of the
CONTROL circuit board installed in the NXAMP4x1 with the USB-
JTAG adapter (RLINK-ST).
Note:
When you connect the USB-JTAG adapter (RLINK-ST) for the
first time, the USB driver will be required. The USB driver is in-
cluded in the downloaded file at previous step 1-1. Locate and
install the driver.
2. Updating operation
1) Turn the power switch of the NXAMP on.
2) Start up the installed JTAG Programmer.
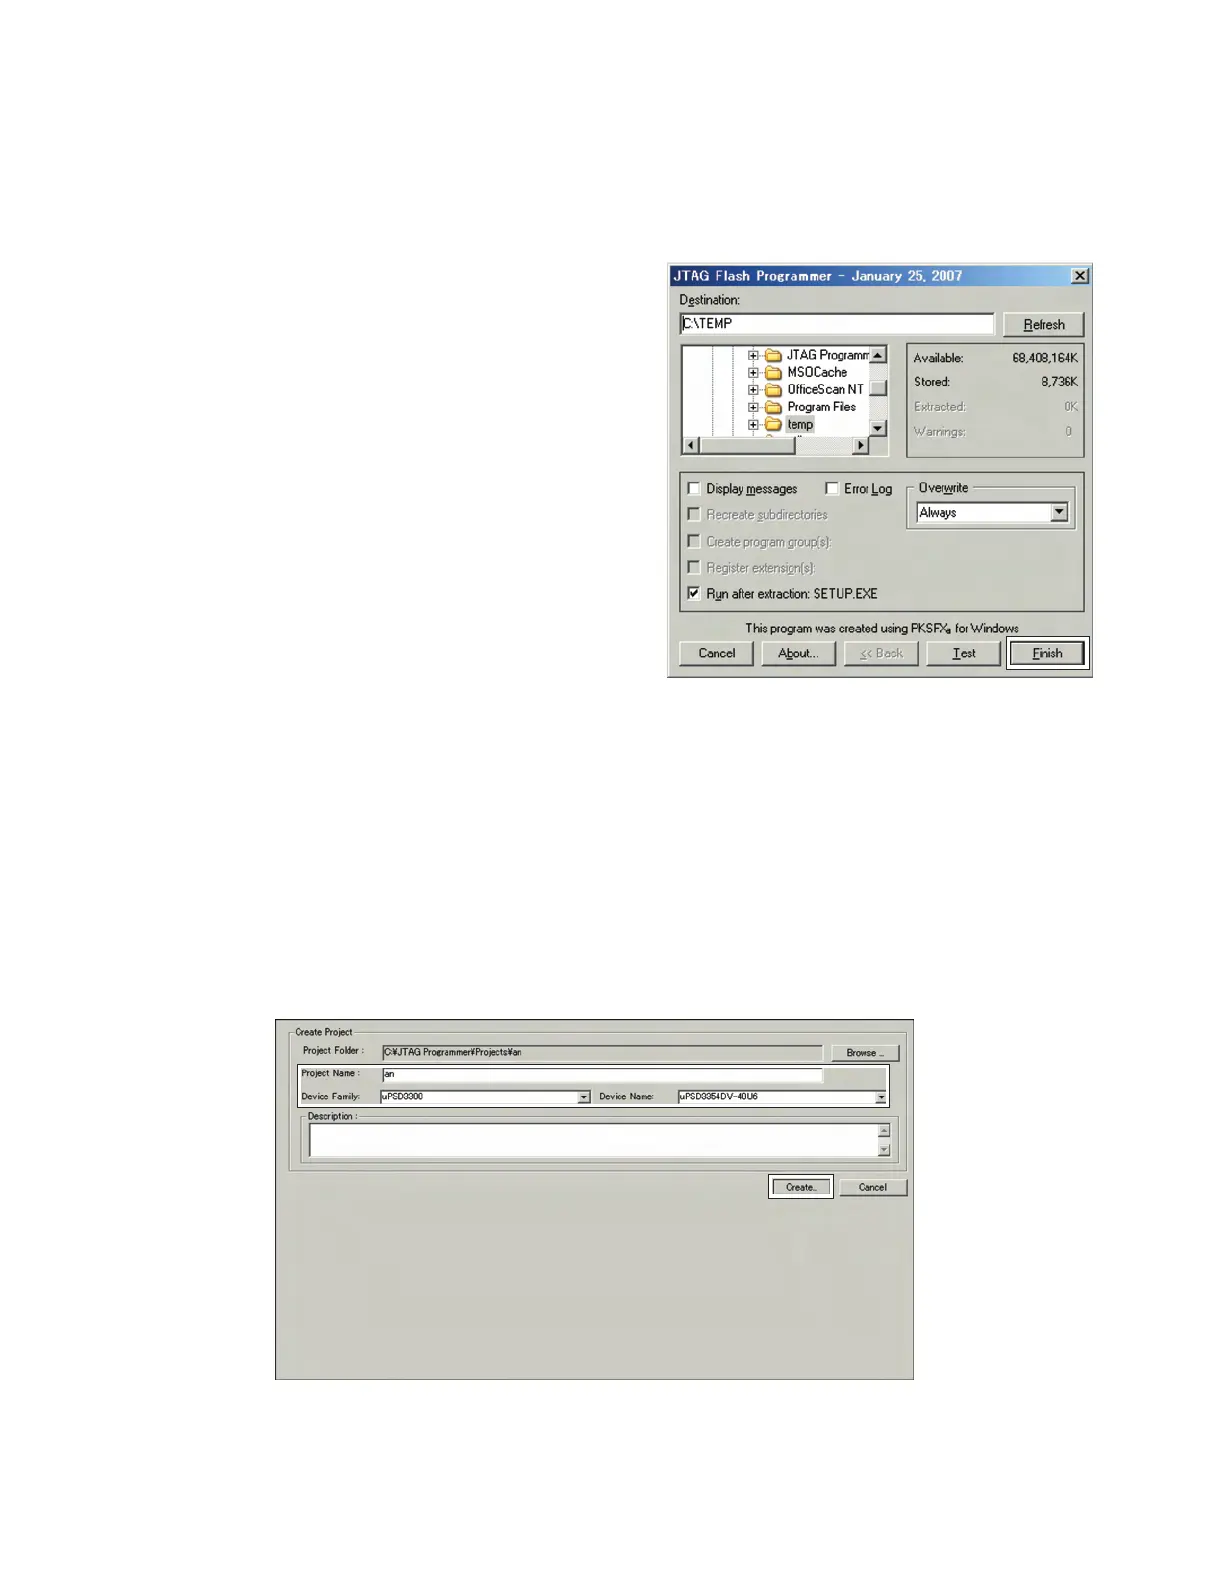
3) Select new project from the project menu. The following “Create Project” screen appears. (Fig. 2)
4) Input the Project Name, Device Family and Device Name as the followings.
Project Name : an (any name may be used)
Device Family : uPSD3300
Device Name : uPSD3354DV-40U6
Fig. 1 Install screen
Fig. 2 Create Project screen
 Loading...