In Vehicle Installation (contd.)
10 Route the Cable Through your Vehicle’s Lining
Make sure your Dash Cam is mounted securely on the windshield of your vehicle, in the
position you use day-to-day. Connect the Rear Window Camera to the Dash Cam using the
6.5 m connecting cable, and run it through your vehicle to the rear window, stowing the cable
within the headlining, using the Nextbase™ Cable Tidy Tool (included with your Dash Cam) if
necessary. The end of the cable should emerge from the headlining at the rear of the vehicle,
allowing you to connect and mount the Rear Facing Camera to your window.
Hiding the Cable
Make sure the hanging cable does not obstruct your view out of your rear window. Ensure that
there are no kinks in the cable as you are stowing it. If necessary, use the cable tidy tool supplied
with your Dash Cam; this can be used to help pry open the lining of your car (see illustration below).
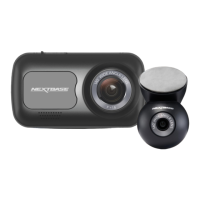
11 Attach the Rear Cam to the Connector Cable
Once the connector cable has been neatly routed through the lining of your vehicle, (it should
now run from the front windscreen to the rear window) attach the Rear Facing Camera to the
connector cable.
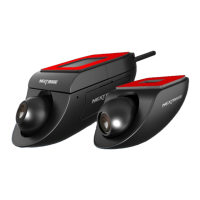
1. Dash Cam
2. Connector Cable
3. Rear Window Camera
1 2 3
11
10
21
 Loading...