13
v.12/2020
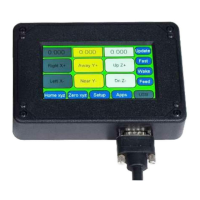
Main Control Screen
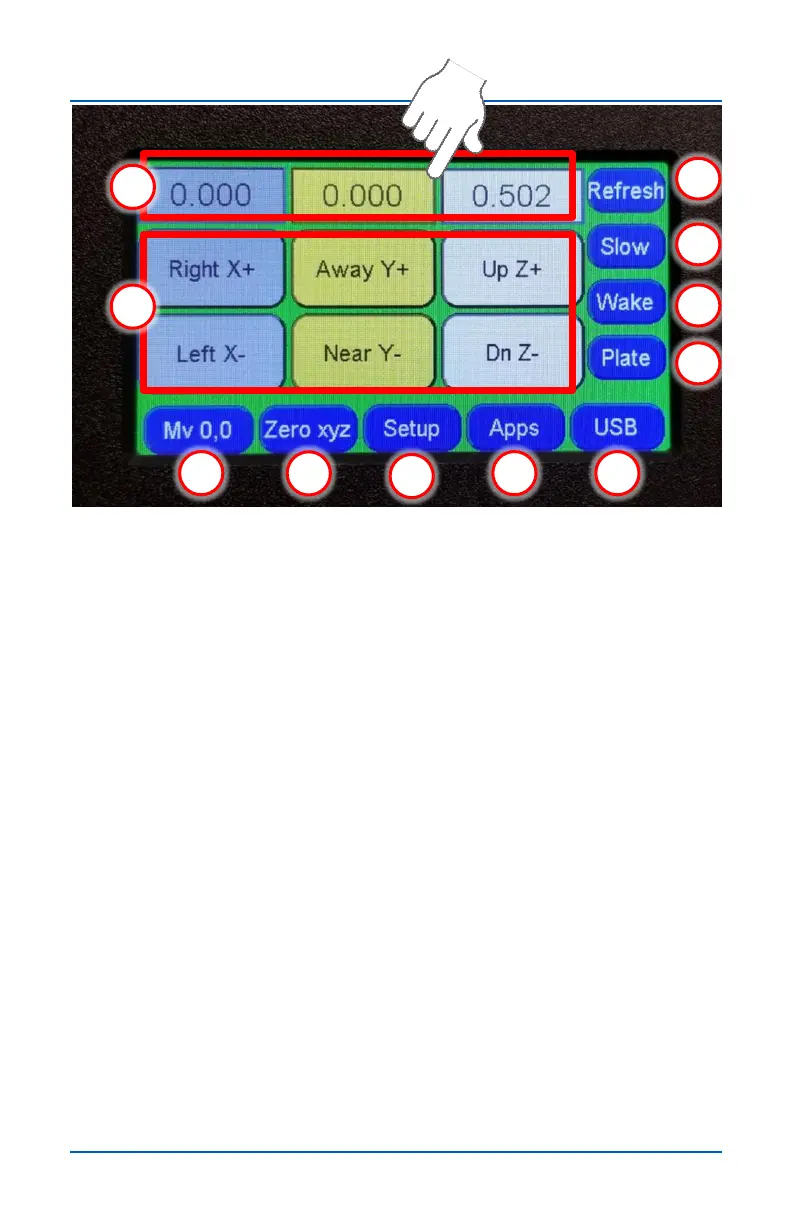
1
2
8
9
3
4
5
6 7
10
11
1. Axis position fields – Shows the current location of axis.
Pressing one of these buttons to opens the Axis edit window
for that axis (see pages 15,16,17).
2. Axes Jog buttons – Press to jog an axis in the specified
direction. The jog speed can be change with the jog speed
toggle button (9).
3. Mv 0,0
• Short press / Single tap (Mv 0,0) - Moves the X and
Y axes to their zero positions.
• Long press / Double tap (Mv 0,0,0) – Moves the X, Y
and Z axes to their zero positions.
4. Zero xyz – Press to zero the XYZ axes. The axes position
fields (1) will all reset to 0.000.
5. Setup – Press to access the Setup submenu (see page 18).
6. Apps – Press to access the Apps submenu (see page 27).
7. USB – Glows blue when a USB drive is inserted into the
Pendant. Press to access the toolpath selection screen
(see page 38).
8. Refresh – Press this button if the numbers in the Position
fields freeze or appear inaccurate.
9. Slow (Med, Fast) – Press to toggle between jog speeds
(see page 19).
10. Wake – Press if LCD screen appears to freeze.
11. Plate – Press to start touchplate routine (see page 28)