TO SELECT ANOTHER CURVE (SLOPE):
NOTE
If you only have one climate system, the
number of the curve is already marked when
the menu window opens.
1.
Select the climate system (if more than one) for
which the curve is to be changed.
2.
When the climate system selection has been con-
firmed, the curve number is marked.
3.
Press the OK button to access the setting mode
4.
Select a new curve. The curves are numbered from
0 to 15, the greater the number, the steeper the
slope and the greater the supply temperature. Curve
0 means that own curve (menu 1.9.7) is used.
5.
Press the OK button to exit the setting.
TO READ OFF A CURVE:
1.
Turn the control knob so that the ring on the shaft
with the outdoor temperature is marked.
2.
Press the OK button.
3.
Follow the grey line up to the curve and out to the
left to read off the value for the supply temperature
at the selected outdoor temperature.
4.
You can now select to take read outs for different
outdoor temperatures by turning the control knob
to the right or left and read off the corresponding
flow temperature.
5.
Press the OK or Back button to exit read off mode.
TIP
Wait 24 hours before making a new setting,
so that the room temperature has time to sta-
bilise.
If it is cold outdoors and the room temperature
is too low, increase the curve slope by one in-
crement.
If it is cold outdoors and the room temperature
is too high, lower the curve slope by one incre-
ment.
If it is warm outdoors and the room temperat-
ure is too low, increase the curve offset by one
increment.
If it is warm outdoors and the room temperat-
ure is too high, lower the curve offset by one
increment.
BASIC VALUES FOR THE AUTOMATIC
HEATING CONTROL
The values stated on the map apply for the "heating
curve" in menu 1.9.1
• The first value applies for low temperature* radiator
systems. "temperature" (offset heating curve) in menu
1.1 must be set to -2.
• The value in brackets refers to under floor heating
systems** installed in concrete floor structures.
• When the system is installed in a timber floor structure
you can use the number before the brackets, but this
value must be reduced by two units. "temperature"
(offset heating curve) in menu 1.1, set in these cases
to -1.
Caution
The map’s values are usually a good starting
point and are intended to produce a room
temperature of approximately 20 °C. The values
can be adjusted later if necessary.
Examples of basic values selection:
• House with low temperature* radiator systems
London = Area 15 (8).
Set 15 in menu 1.9.1, "heating curve" and -2 in menu
1.1 "temperature" (offset of heating curve).
• House with under floor heating** installed in a con-
crete floor structure
London = Area 15 (8).
Set 8 in menu 1.9.1, "heating curve" and -2 in menu
1.1 "temperature" (offset of heating curve).
• Houses with under floor heating** installed in a timber
floor structure
London = Area 15 (8).
Set 13 (see point three in the list above) in menu 1.9.1,
"heating curve" and -1 in menu 1.1 "temperature" (off-
set of heating curve).
Caution
An increase in the room temperature can be
slowed by the thermostats for the radiators or
under floor heating. Therefore, open the ther-
mostat valves fully, except in those rooms
where a cooler temperature is required, e.g.
bedrooms.
* A low temperature radiator system means a system where the
supply temperature needs to be 55 °C on the coldest day.
** Underfloor heating can be dimensioned in many different ways.
The above example refers to a system where the supply temperature
needs to be approximately 35 – 40 °C or 45 – 50 °C on the coldest
day.
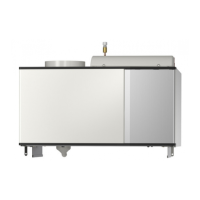
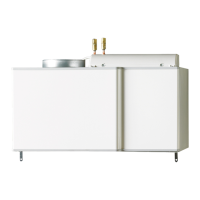
43Chapter 6 | Commissioning and adjustingNIBE VVM 320
 Loading...