IV Connecting and Installing the Equipment
2 Installing the DS-L1
- 11 -
2
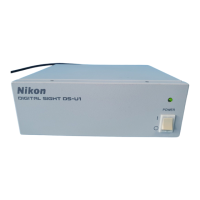
Installing the DS-L1
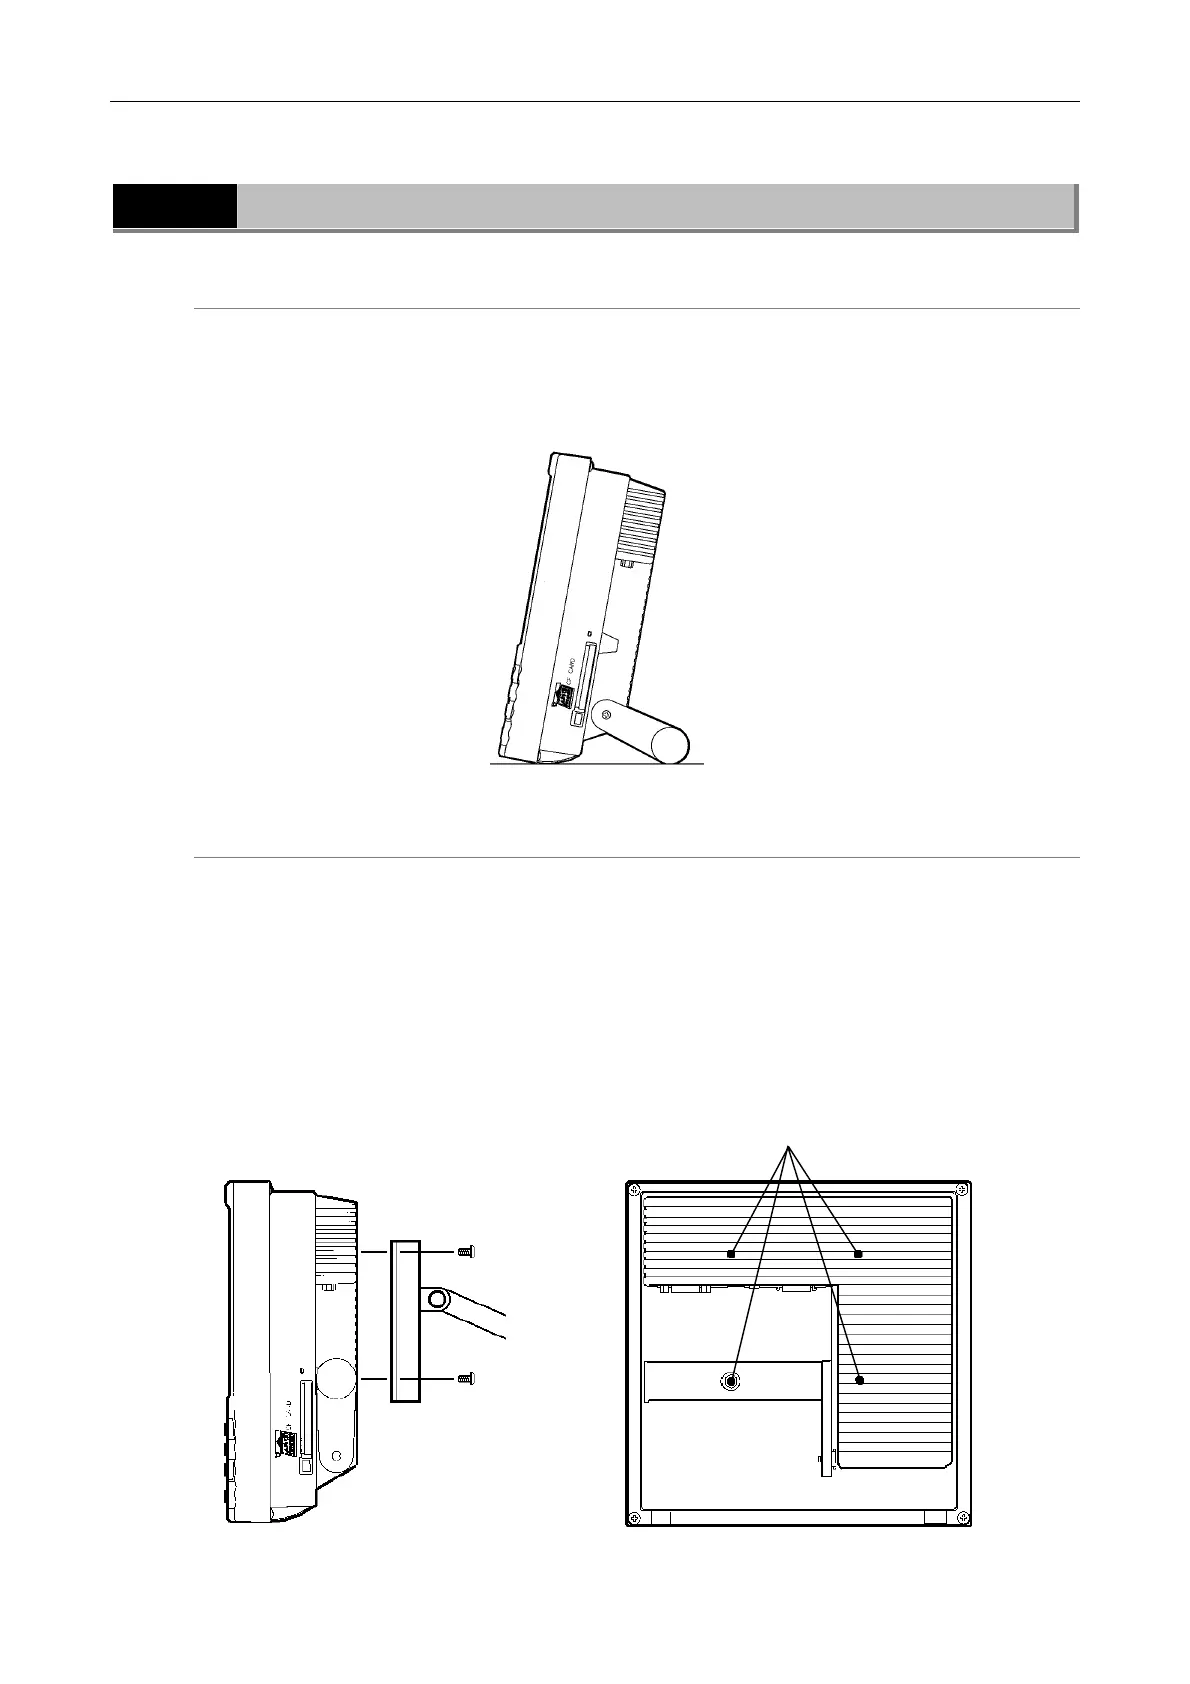
When installing the DS-L1 on a flat surface such as a desktop by using the stand arm
Extract the stand arm from the DS-L1 and place it at an angle of 5 to 10 degrees, as shown
below.
Leave a clearance of about 100 mm around the DS-L1 to prevent heat from collecting near the
equipment.
When attaching a commercially available arm to the DS-L1
Any commercially available VESA standard-compliant 75-mm arm, UL1678-suited stand and
mount can be attached to the DS-L1. When doing so, make sure the following specifications are
met:
DS-L1 weight: 1.3 kg
Fitting screw hole: M4, 7-mm deep
Tightening torque: 80-120 N·cm
Leave a clearance of about 100 mm around the DS-L1 to prevent heat from collecting near the
equipment.
M4 screw holes
Arm
Side view of the DS-L1 Rear view of the DS-L1