16
Image of the
field diaphragm
Field of view
Pupil of the objective
Image of the
aperture diaphragm
U
EPI2A
U
S
B
RS
2
3
2
C
F
.
STOP
J
A
P
A
N
BF DF FL1 FL2
FL1
FL2
10
020
0
100
IN
OU
T
LV
-
T
T2
4
5
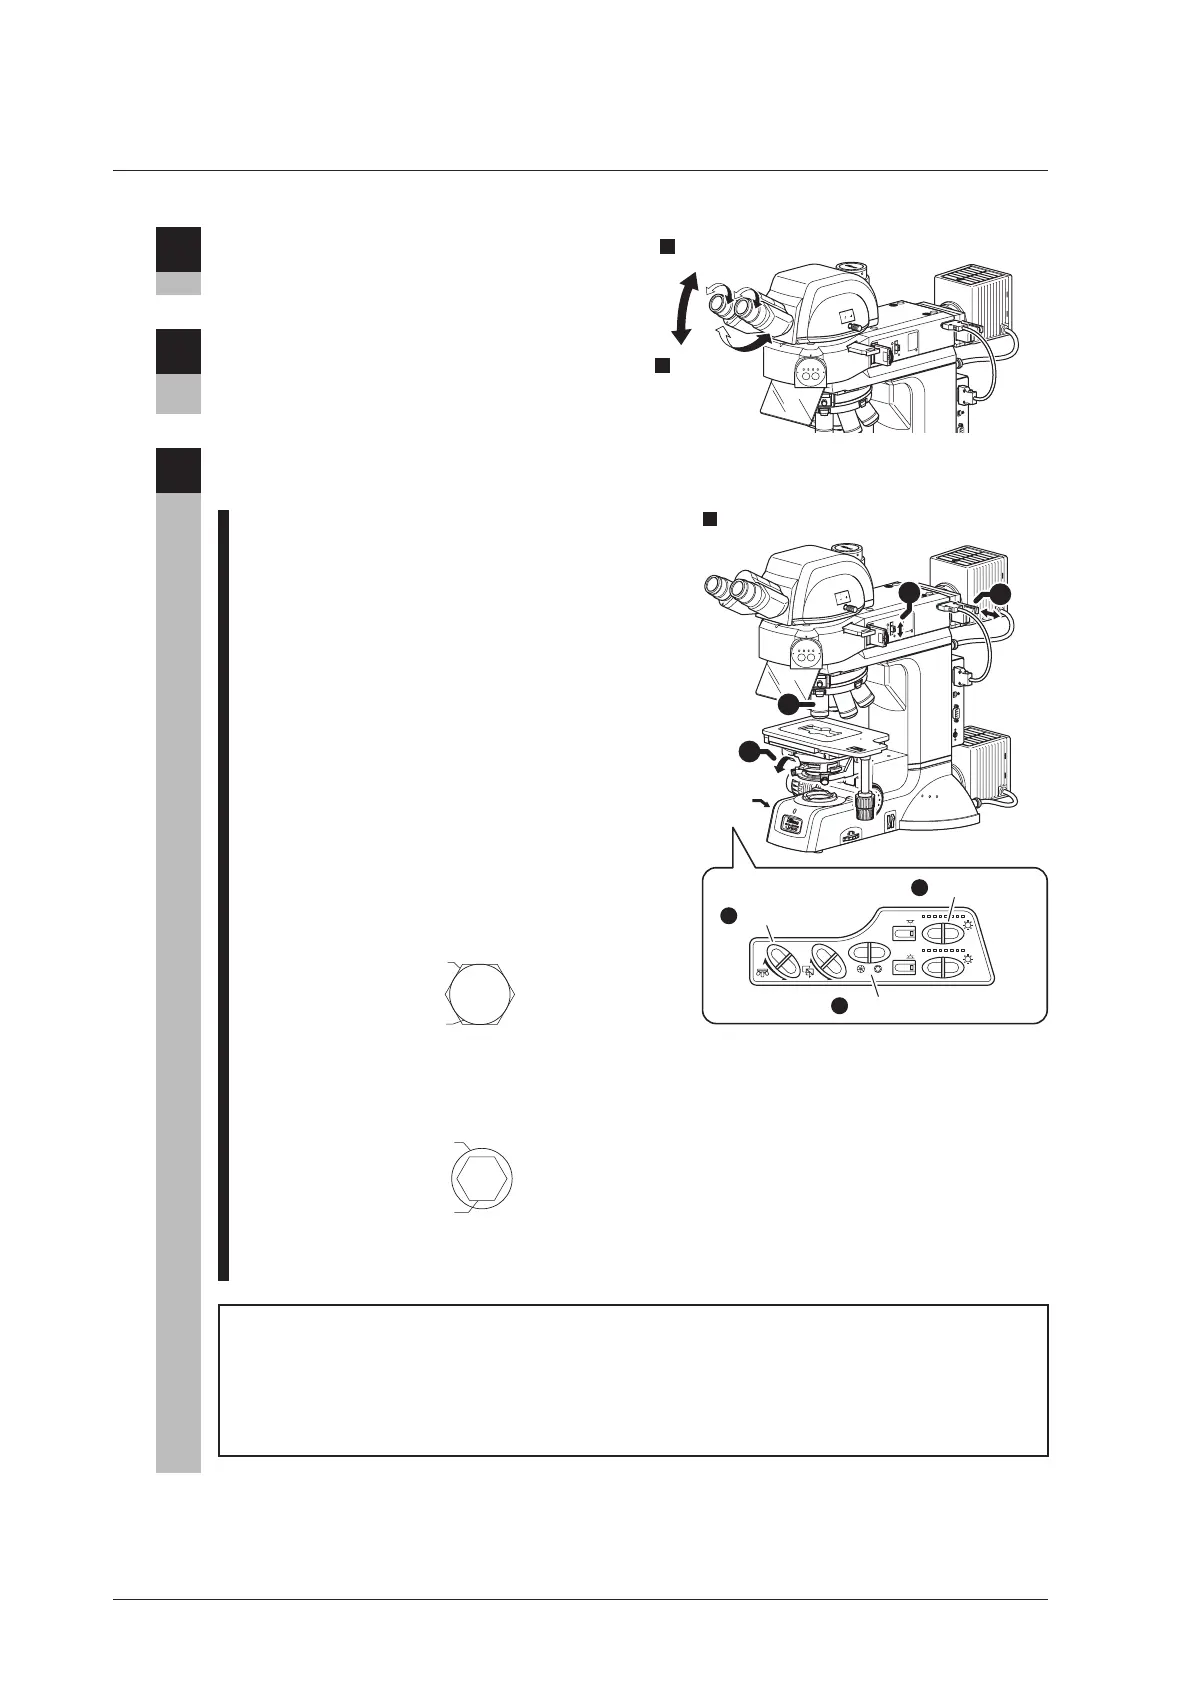
Adjust the angle of the
binocular eyepiece.
Adjust the
diopter and the
interpupillary
distance.
4
Adjust the angle of the binocular eyepiece.
(for the LV-TT2)
(See Page 48.)
5
Adjust the diopter and the interpupillary
distance.
(See Page 49.)
6
Set the desired magnification and observe the
specimen.
1 Press the OBJ. switch on the operation panel and
locate the objective of desired magnification into
the optical path. (See Page 43.)
The episcopic illumination lamp is turned on with
the predetermined light quantity, and the aperture
diaphragm for the episcopic illumination is
adjusted to the predetermined size automatically
by the interlock control function.
2 Turn the coarse/fine focus knobs to bring the
specimen into focus. (See Page 46.)
3 Operate the EPI brightness switch on the
operation panel to adjust the brightness of the
episcopic illumination. (See Page 42.)
4 Use the field diaphragm open/close lever so that
the field diaphragm image circumscribes the
field of view. (See Page 50.)
Helpful tips
It may be difficult to focus on a specimen with small contrast, such on a polished surface. In a
case like this, reduce the opening of the field diaphragm so that its image can be seen in the
viewfield, and try to focus on the frame of the diaphragm image. When the frame is in focus, the
specimen is in focus just as well.
5 Press the A.S. switch on the operation panel to
adjust the opening of the aperture diaphragm for
the episcopic illumination. (See Page 51.)
6 Adjust the brightness with ND filters.
(See Page 44.)
U
E
P
I2
A
US
B
RS
2
32
C
L
C
N
T
N
D
8
N
C
B
F
.
S
.
A
chr
N
.
A
=
0
.
9
JAPAN
0
.
8
0
.
7
0.6
0
.
5
0
.
4
0
.
3
0.2
0.1
3
x
2
S
T
A
G
E
J
A
P
A
N
F
.
STOP
J
A
P
A
N
BF DF FL1 FL2
FL1
FL2
10
020
0
1
0
0
I
N
OUT
L
V
-
T
T
2
OBJ.
CUBE
A.S.
EPI
DIA
EPI
DIA
1
4
6
2
A.S. switch
1
5
3
Change the magnification to observe the specimen.
6
Operation
panel
OBJ. switch
EPI brightness
switch