ENGLISH / A-9
FORM NO. 56041735 - Advenger
™
- A-9
BATTERIES
If your machine shipped with batteries installed do the following:
Check that the batteries are connected to the machine (34).
Turn ON the Key Switch (A) and check the Battery Indicator (F6 or M). If the gauge is completely fi lled or the green light is ON, the batteries are ready for
use. If the gauge is less than full or the green light is OFF, the batteries should be charged before use. See the “Charging The Batteries” section.
IMPORTANT!: IF YOUR MACHINE HAS AN ONBOARD BATTERY CHARGER REFER TO THE OEM PRODUCT MANUAL FOR INSTRUCTIONS
REGARDING SETTING THE CHARGER FOR BATTERY TYPE.
If your machine shipped without batteries installed do the following:
Consult your Authorized Advance dealer for recommended batteries.
Install the batteries by following the instructions below.
DO NOT install two 12 volt batteries in your machine. This affects the stability of the machine.
IMPORTANT!: IF YOUR MACHINE HAS AN ONBOARD BATTERY CHARGER REFER TO THE OEM PRODUCT MANUAL FOR INSTRUCTIONS
REGARDING SETTING THE CHARGER FOR BATTERY TYPE.
INSTALL THE BATTERIES
WARNING !
Use extreme caution when working with batteries. Sulfuric acid in batteries can cause severe injury if allowed to contact the skin or
eyes. Explosive hydrogen gas is vented from inside the batteries through openings in the battery caps. This gas can be ignited by
any electrical arc, spark or fl ame.
When Servicing Batteries...
* Remove all jewelry.
* Do not smoke.
* Wear safety glasses, a rubber apron and rubber gloves.
* Work in a well-ventilated area.
* Do not allow tools to touch more than one battery terminal at a time.
* ALWAYS disconnect the negative (ground) cable fi rst when replacing batteries to prevent
sparks.
* ALWAYS connect the negative cable last when installing batteries.
CAUTION !
Electrical components in this machine can be severely damaged
if the batteries are not installed and connected properly. Batteries
should be installed by Advance or by a qualifi ed electrician.
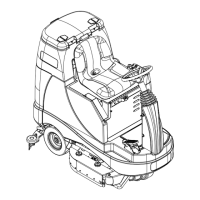
1 Turn the Key Switch (A) off (O) and remove the key. Then swing open the
Battery Compartment Cover (10) and set the Prop-Rod (33).
2 Using (2) people and an appropriate lifting strap, carefully lift the batteries into
the compartment tray exactly as shown. Refer to decal 56601416 battery
cable layout.
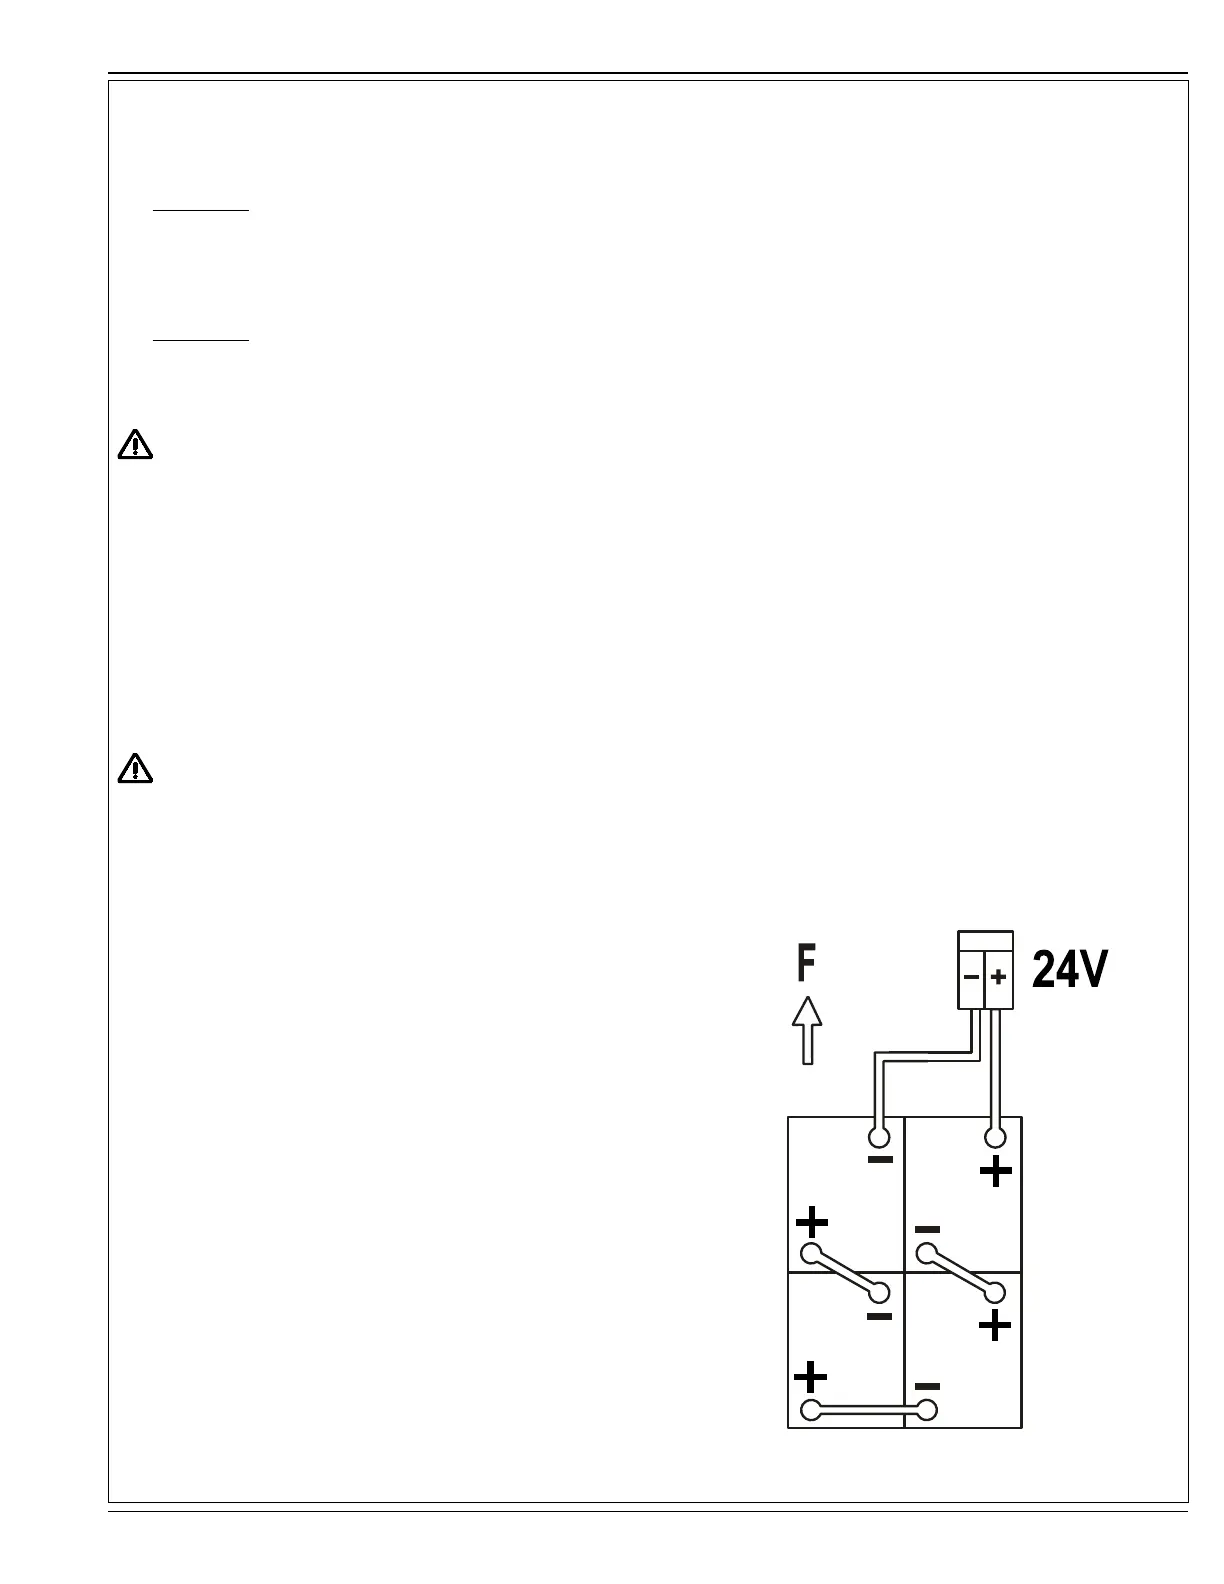
3 See Figure 1. Install battery cables as shown and tighten the nuts on the
battery terminals.
4 Install the battery boots and secure tightly to the battery cables with the
supplied tie straps.
5 Connect the battery pack connector to the machine connector (34) and close
the battery compartment cover.
When changing batteries or the charger, please contact your local
authorized service center for correct battery, charger and machine
settings to prevent battery damage.
FIGURE 1
420 Ah, 20 Hr. Rate
revised 11/12
 Loading...