17
Install the Battery Pack
NOTICE
Use soft cloth and/or plastic foam to protect the steering bar and mainframe from scratches when laying the mainframe flat. After
installing the battery pack, make sure all fasteners are tightened securely.
Use the large hex wrench to install the M5 x 12 socket cap head screw through the hole in the middle of the battery to the mainframe.
Use the smaller hex wrench to install the two M5 x 16 socket cap head screws through the two side/edge battery holes to the mainframe.
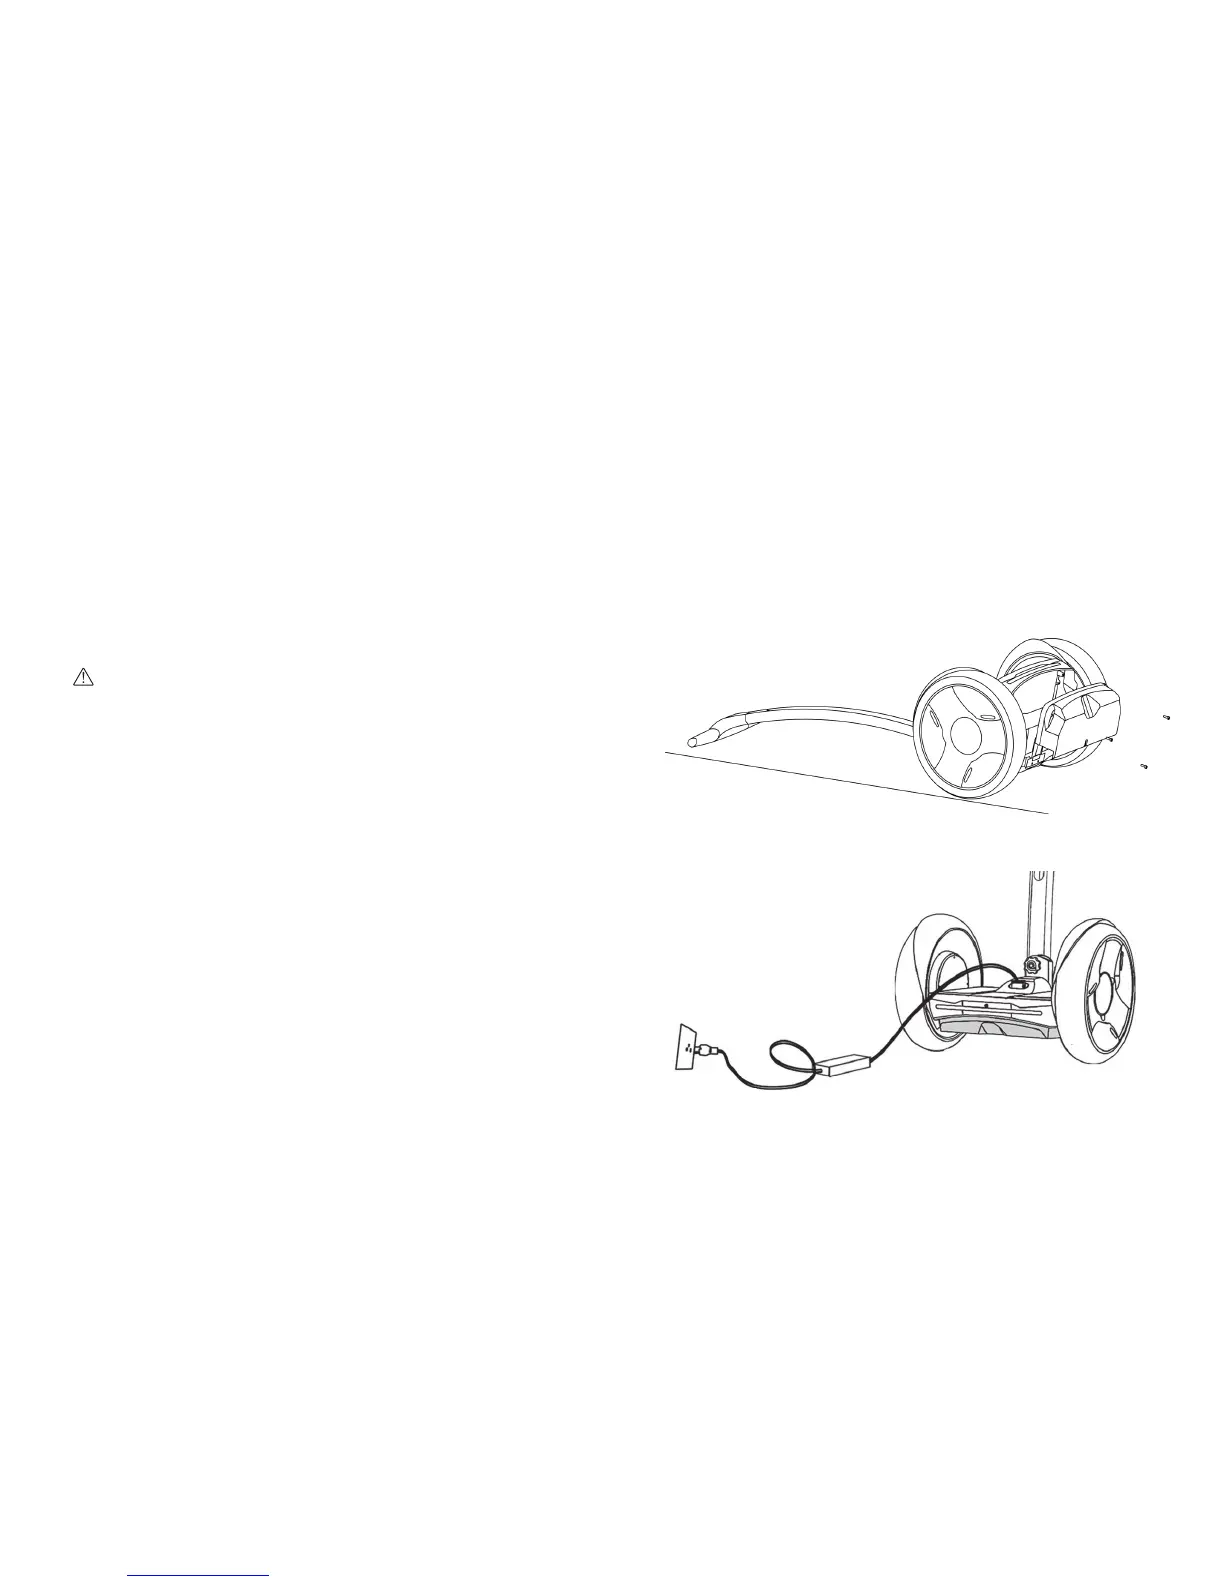
Charge the battery pack
WARNING
Do not insert the charging cord plug if the Charging Port, charging
cord, or AC Power outlet is wet.
1. Put your PTR in a clean, dry place, within the recommended
charging temperature range (see Ninebot PTR Battery
Pack), then pull back the Charging Port silicone gasket.
2. Plug one end of the charging cord (provided with your PTR)
into a grounded AC outlet (100V–240V; 50Hz–60Hz), then
plug the other end of the cord into the Charging Port.
3. Verify the riding platform LED indicators light up (C, E, T) and
the battery charge indicator appears on the dashboard (E, T
only).
4. When charging is complete, disconnect the charging cord
from the Charging Port, then disconnect the cord from the
grounded AC outlet. Replace the Charging Port silicone
gasket.
Figure 10: Installing the Battery
Figure 11: Charging the Battery