Copyright © 2019 Nortek Security & Control LLC
22
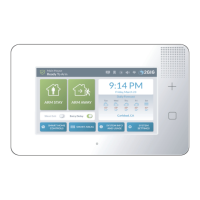
10. Attach the backplate to the wall using the four (4) wall anchors and screws (supplied). The center top screw is the
wall tamper and MUST have an anchor to work.
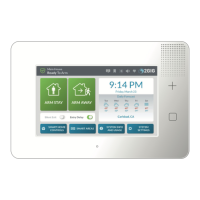
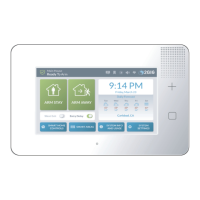
GC3 Panel—Backplate Installation
NOTE: If you are upgrading the control panel from the previous version, you can reuse the two (2) GC2 mounting
screws.
11. Attach the GC3 Panel’s third-hand hanging strap to the hook at the bottom of the backplate. Optional Desktop Kit
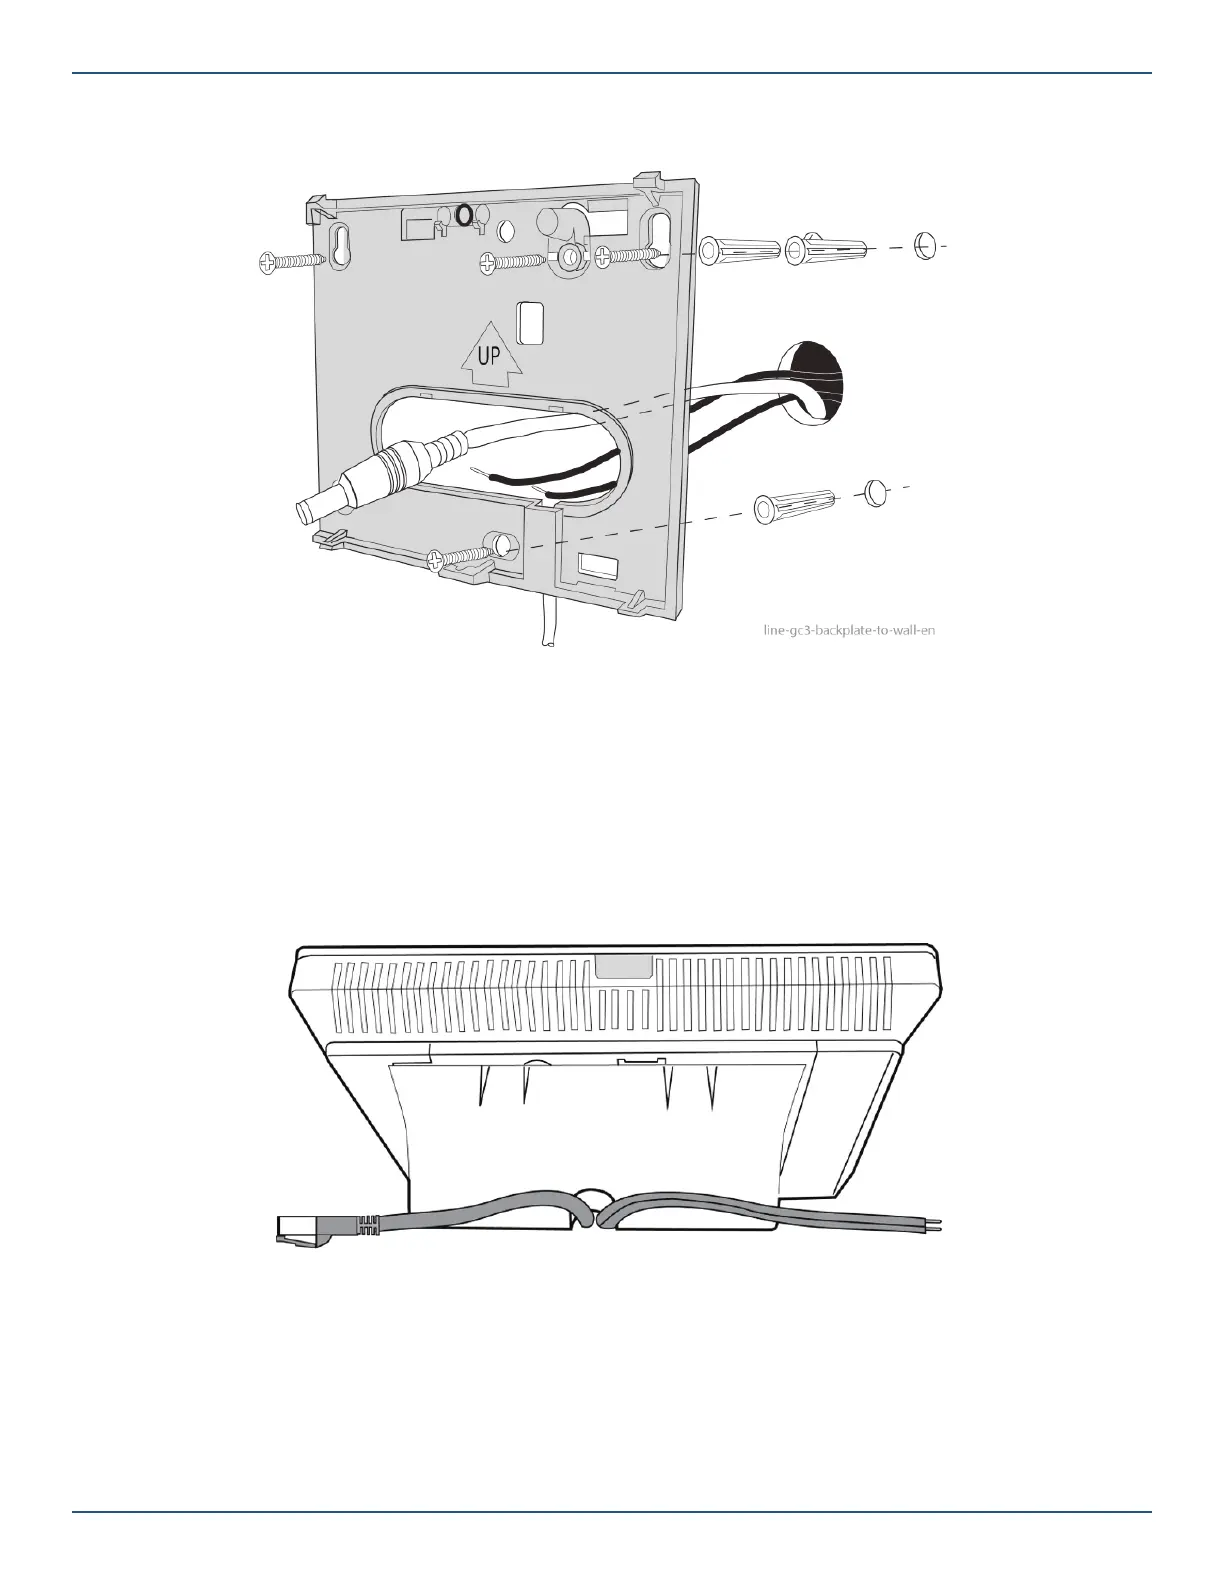
Optional Desktop Kit
NOTE: If mounting the GC3 Panel on a wall is not an option, the 2GIG Desktop Kit can be purchased for use with
the GC3 Security & Automation System. This is an accessory that lets one mount the GC3 Panel on a stand that
can be placed on a fl at surface, such as desk or counter. Use of this option may affect compliance with state or
regional codes.
Optional 2GIG Desktop Kit—Rear View
 Loading...