10
Installation
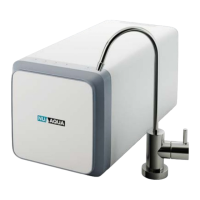
Drain Saddle
1. Locate a section on your drain plumbing using the
image above and mark the location with a pen. If the
drain saddle is to be installed on a horizontal section
you must position the hole on top of the pipe.
2. Use a drill with a 1/4” drill bit on the section you
marked. Be careful to drill only through one side of
the pipe.
3. Remove the center of the foam pad included with
the drain saddle. Peel o the adhesive tape on the
back side and attach it to the drain saddle half with
the quick connect fitting. Make sure the center hole
aligns with the hole in the drain saddle.
4. Press the two nuts into the back of the drain
saddle by hand.
5. Slide a small screwdriver through the quick
connect fitting on the drain saddle half and through
the hole drilled in your drain pipe. This will keep the
holes aligned during the installation.
6. While holding the drain saddle in place secure the
back half using the two supplied screws and a screw-
driver. Tighten both screws till the drain saddle is
secure. You may remove the screwdriver holding the
drain saddle in place.
7. Locate your black tubing and insert one end into
the quick connect fitting on your drain saddle.
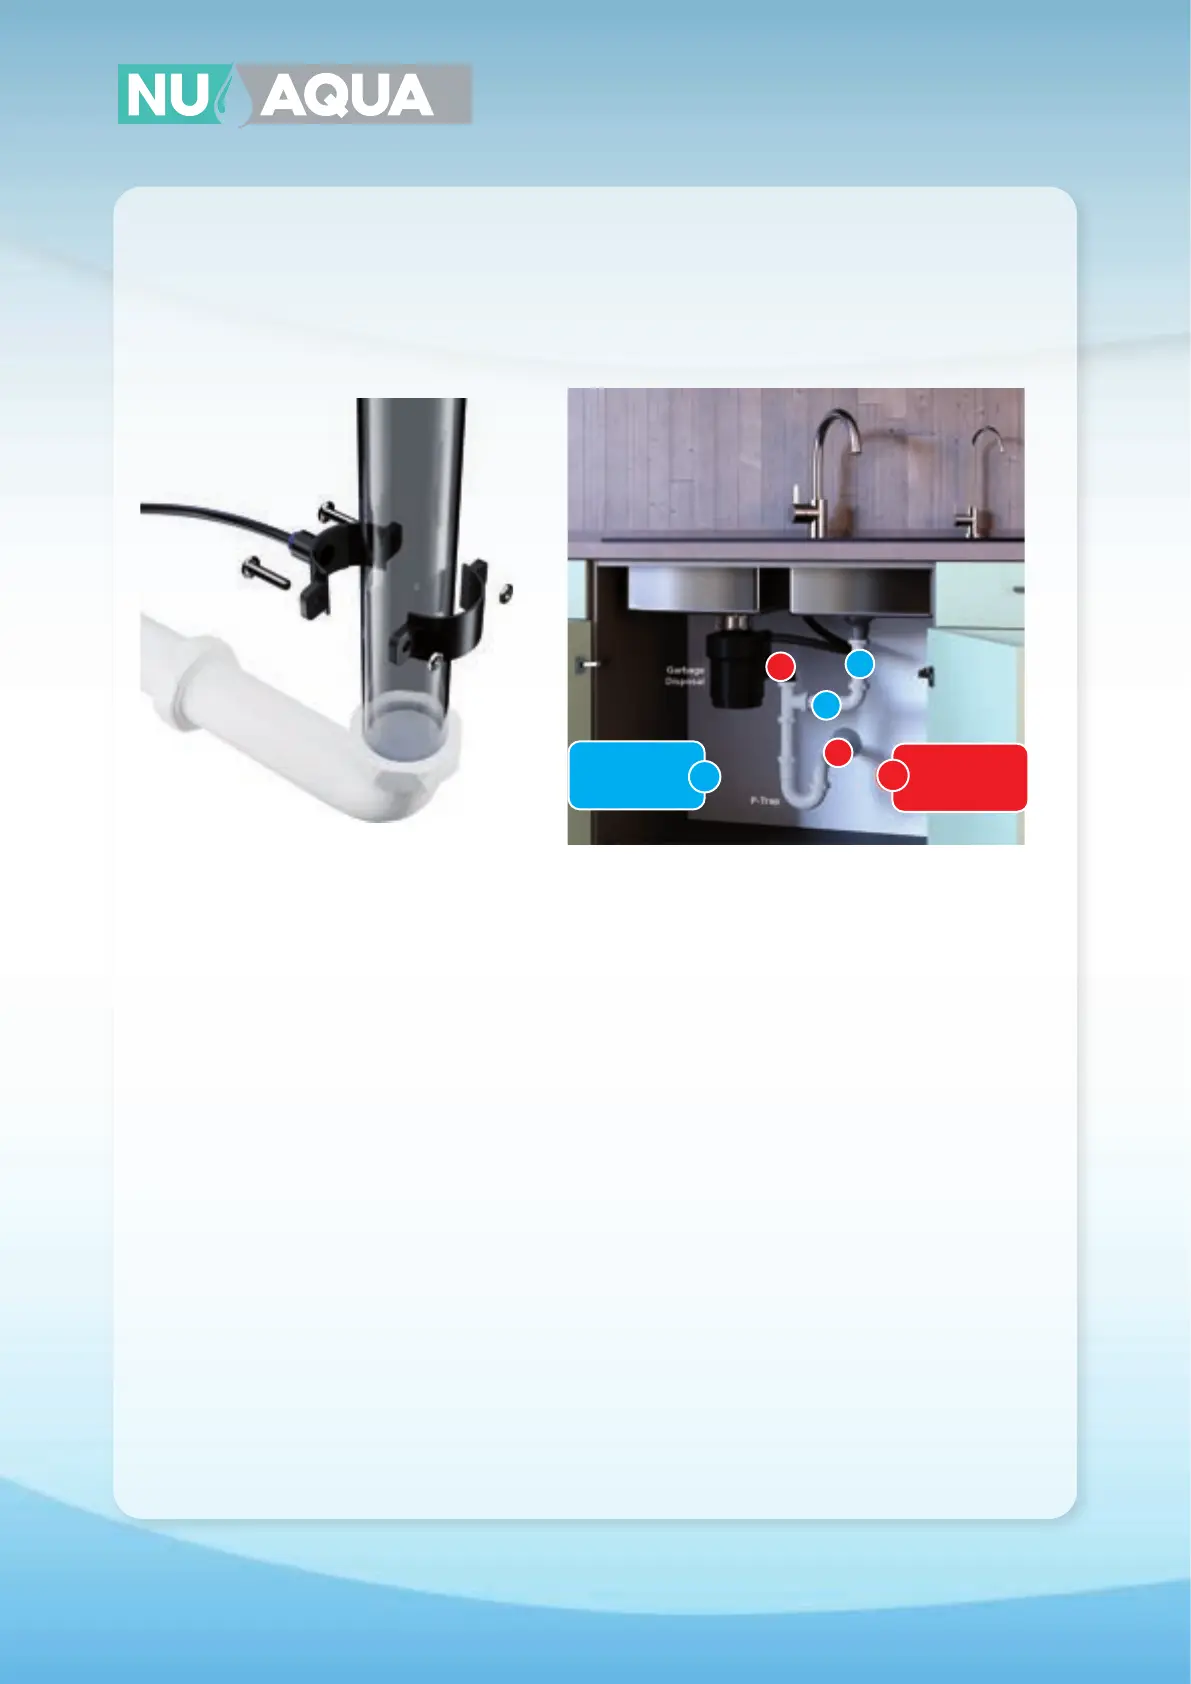
OK
OK
X
X
OK
Mount Drain
Saddle at either
location
WARNING!
Never mount
there!
X