12
System Installation
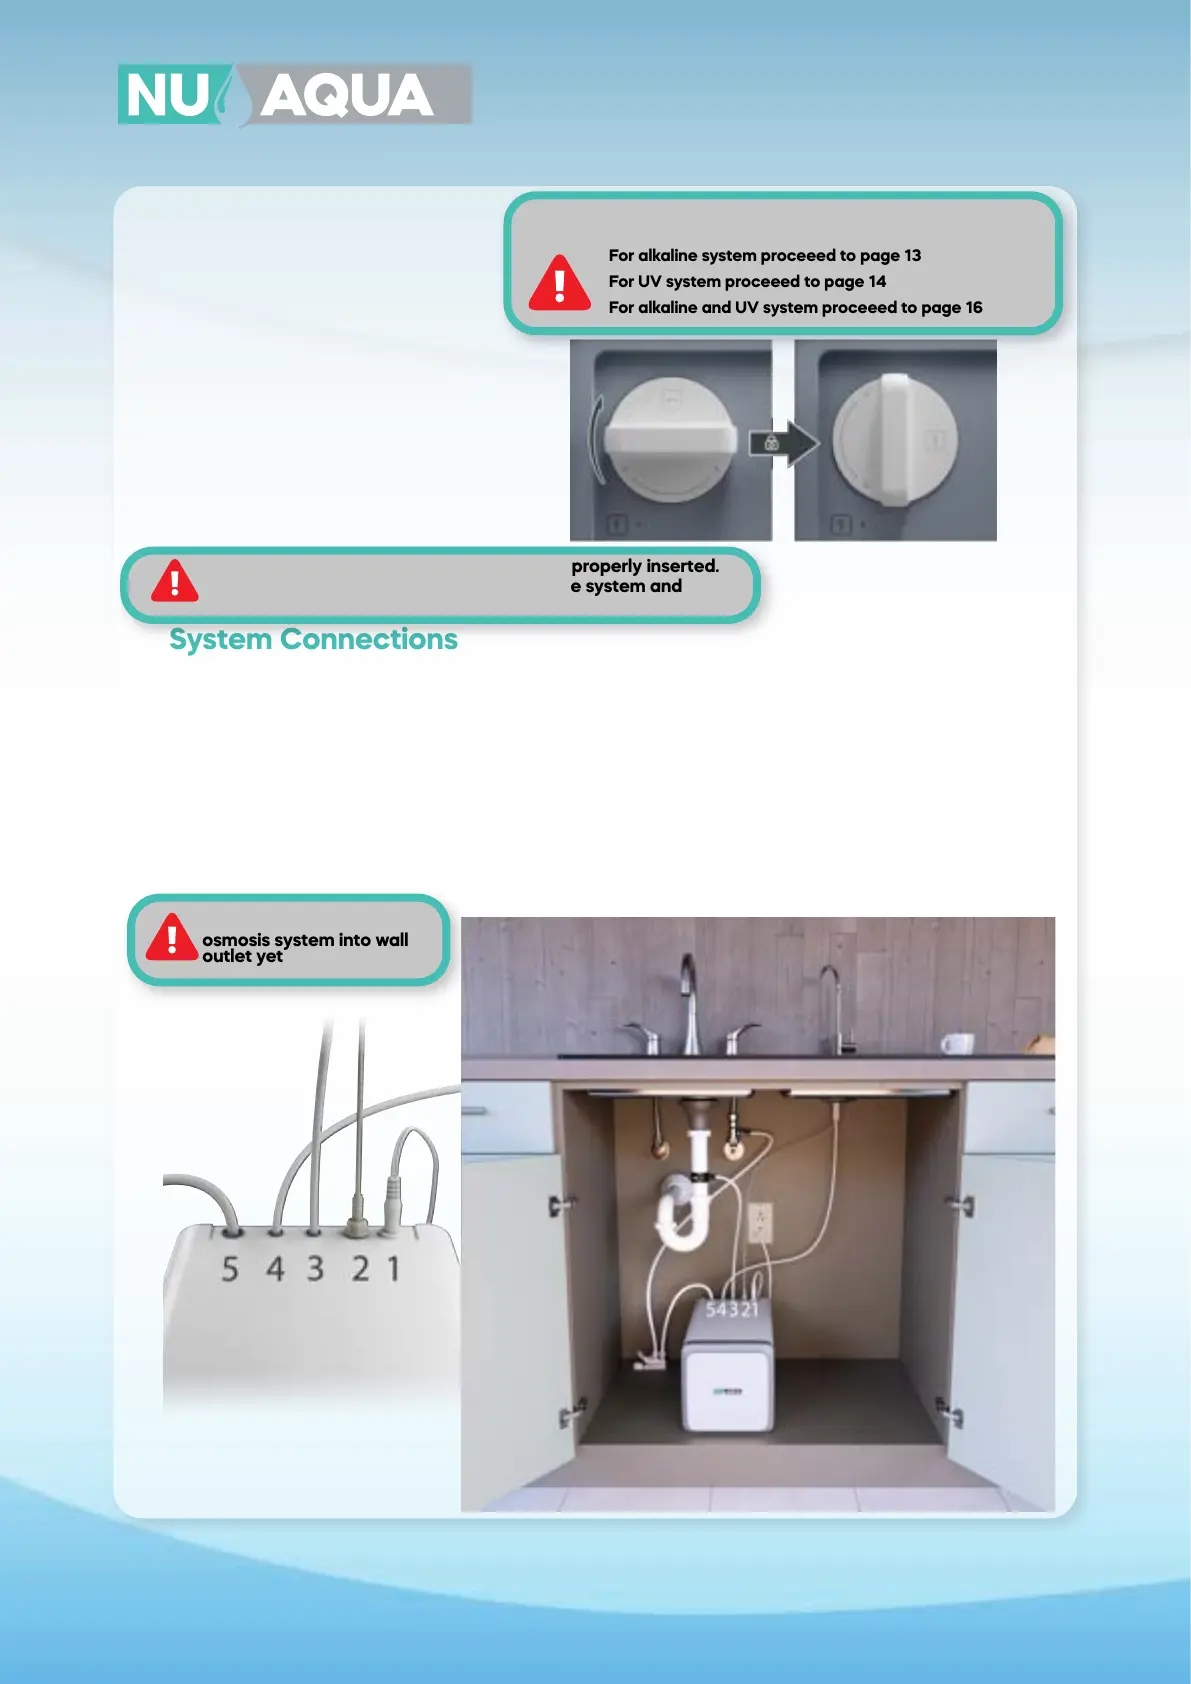
System Connections
Filter Installation
WARNING: Double check that filters are properly inserted.
Check that the lock icon is aligned on the system and
filter.
For alkaline system proceeed to page 13
NOTICE: If your system comes with the alkaline or UV filter you may
skip this page
For UV system proceeed to page 14
For alkaline and UV system proceeed to page 16
1. Place your reverse osmosis system
under your sink in a location thats easily
accessible.
2. Insert each filter into its corresponding
placement in the reverse osmosis system
and rotate clockwise to lock in position.
Gently pull on the filter to ensure the filter
is locked in place.
1. Connect the 3/8” tubing coming from the leak detector into the IN connection on the back of the reverse
osmosis system. Secure the tubing in place with a retaining clip.
2. Connect the 1/4” tubing coming from the drain saddle into the DRAIN connection on the back of the rever-
se osmosis system. Secure the tubing in place with a retaining clip.
3. Connect the 1/4” tubing coming from the faucet into the OUT connection on the back of the reverse osmo-
sis system. Secure the tubing in place with a retaining clip.
4. Plug the faucet power cord into the FAUCET connection on the back of the reverse osmosis system.
Notice: Do not plug reverse
osmosis system into wall
outlet yet