10
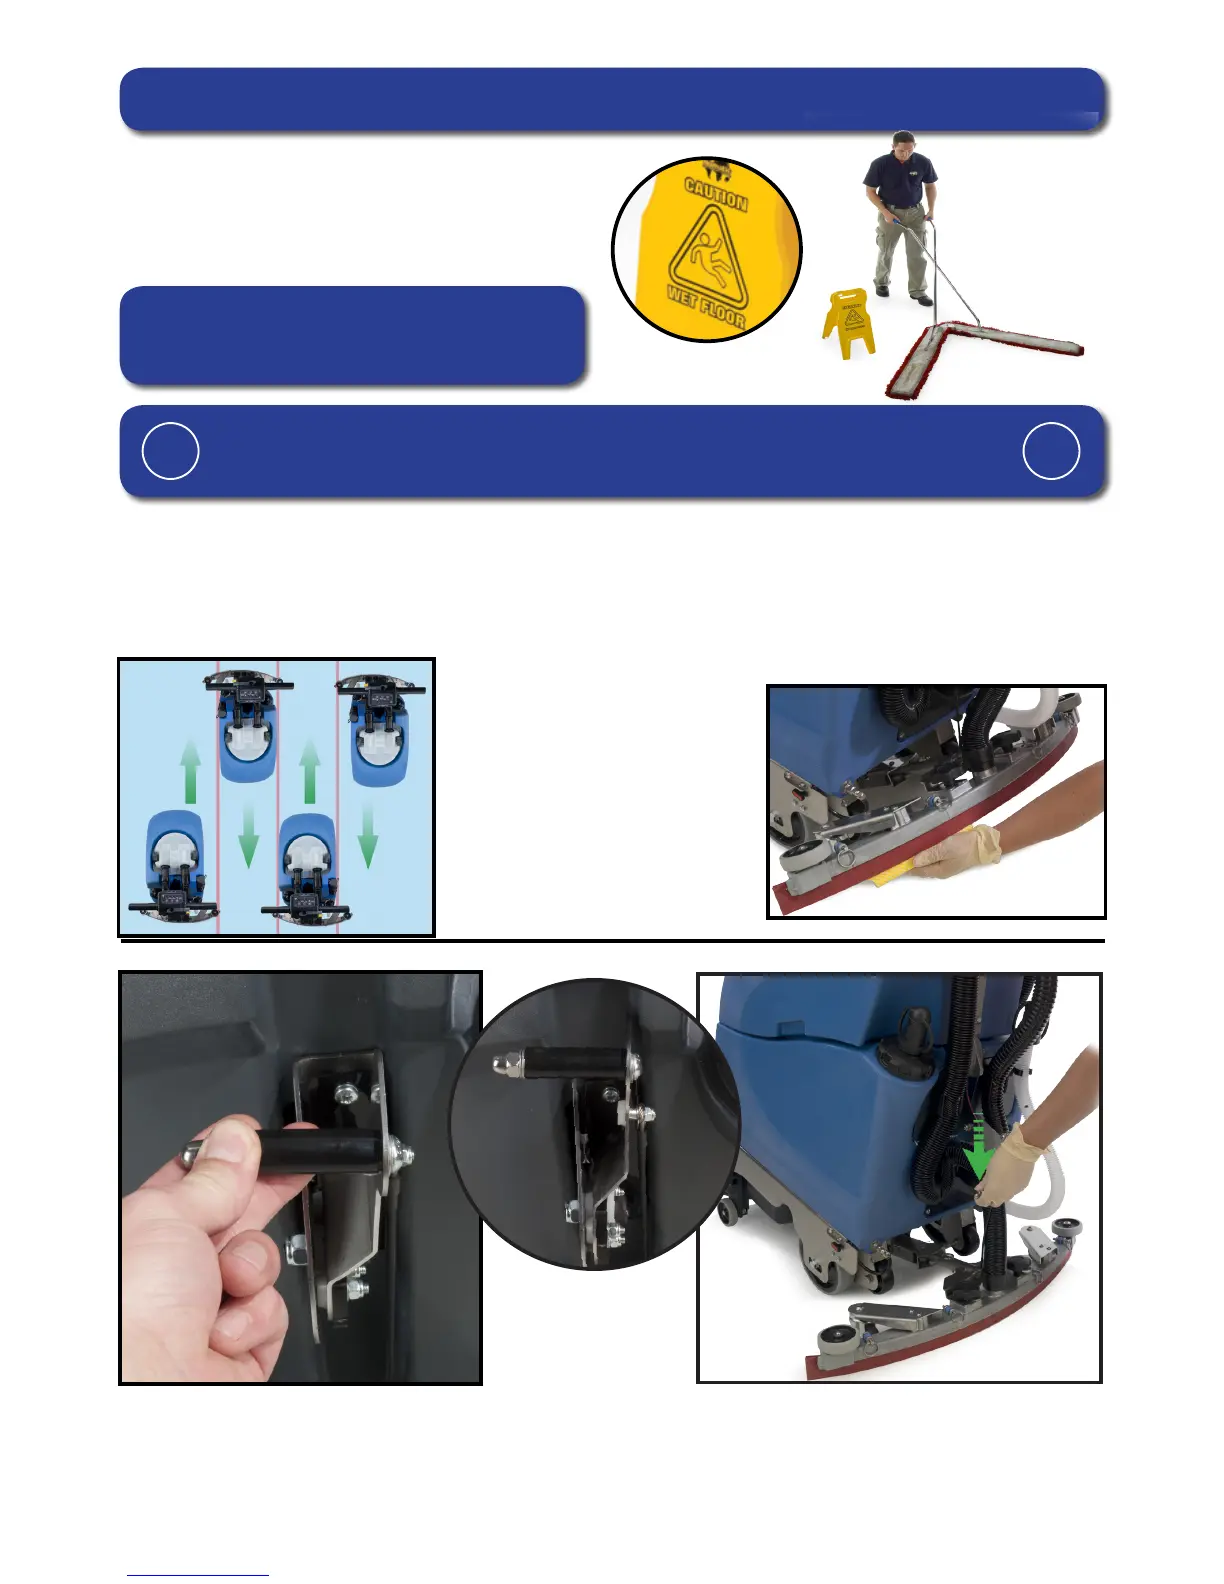
Lowering the oor tool
Fig.16
After preparing the oor (see previous section), we are now ready to set the controls to suit the cleaning conditions.
Before any settings can be applied, ensure the brush deck is lowered.
Move the Floor tool lever (see g.16), to it’s lower position (see g.17).
Note: The machine will still reverse with the oor tool in the lowered position, this could possibly damage the
blades. Raise the oor tool before reversing.
Fig.17
Machine Operation
Pre-scrub mode
The TT / ET Range have been designed to cope with a variety of oor types and different levels of soiling.
On heavily soiled oors use a ‘double scrub’ technique.
First pre-scrub the oor with the oor-tool in the raised position, allow the chemical time to work, then scrub the area a
second time with the oor-tool lowered.
The clean-water / chemical mix is
dispersed via ‘THRU-FEED’ system.
The waste water is then retrieved by
the oor-tool.
Overlap the scrubbing path by 10cm
to ensure an even clean (Fig 14).
If streaking occurs, wipe the oor-tool
blades clean (Fig 15).
Floor tool in use
Fig 15
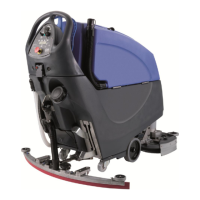
ALWAYS ENSURE THAT THE FLOOR IS PRE-SWEPT
AND RELEVANT SAFETY SIGNS ARE DISPLAYED.
! !
Numatic part (629044) Wet Floor sign
(available if required)
Pre-cleaning advice.
Before performing the cleaning operation, place out
appropriate warning signs and sweep or dust-mop the oor
(Fig 13).
Fig 13
Fig 14