13
! !
ALWAYS ENSURE THAT THE BATTERY IS DISCONNECTED PRIOR TO ANY
MAINTENANCE
Note:
The blades are designed to be reversible, thus extending their useful working life.
Changing the Floor Tool Blades
The oor-tool
Fig.29
Fig.30
Fig.28
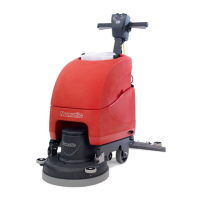
To clean the oor-tool, remove securing-pin and disconnect the lifting strap and remove the oor tool securing pin
pull-free the oor tool from the rear of the machine.
Rinse the oor-tool assembly with clean water and ret.
Periodically the oor-tool blades should be examined and checked for wear and damage.
The blade removal is easy. Simply start by removing the four retaining pins (see Fig 28), turn the oor-tool over and
separate the blade carrier from the body (see Fig 29). Peel away the blades from their locating lugs (see Fig 30) and
examine or renew as required.
Replacement is a reversal of the removal process.
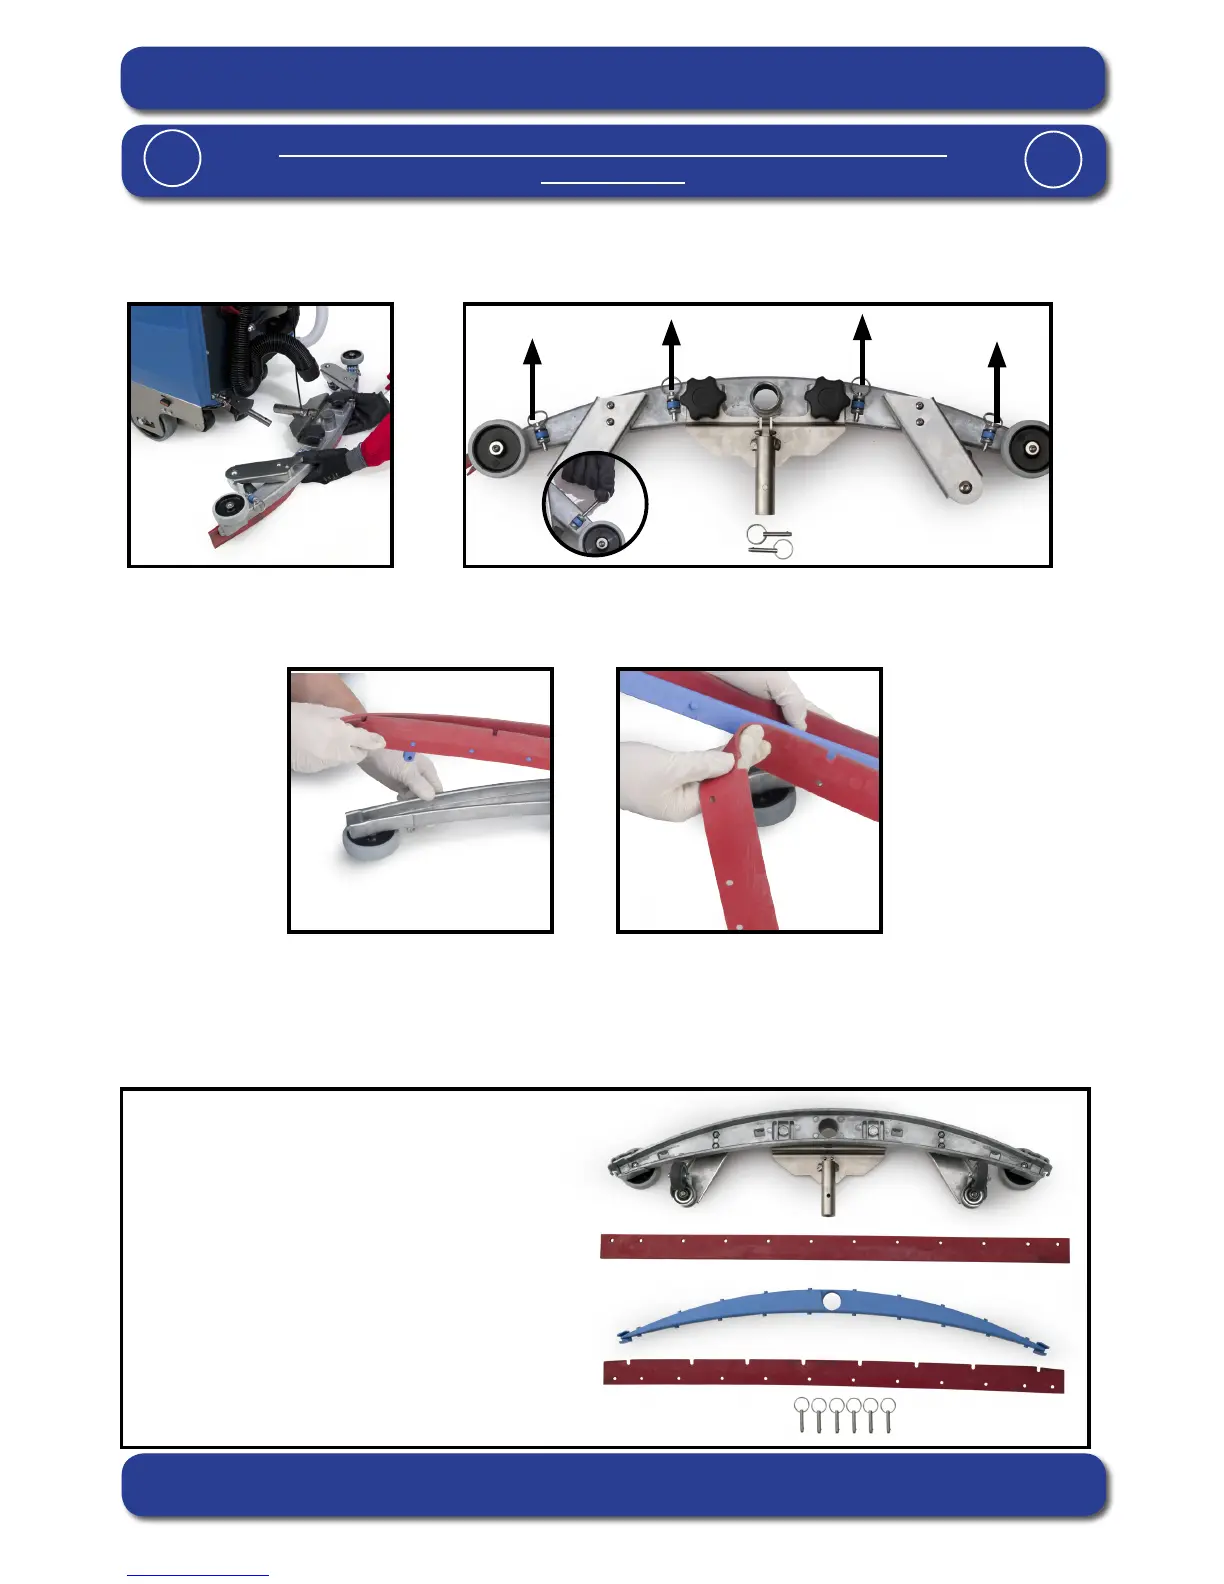
Floor-tool overview
1. Floor-tool main body
2. Rear blade
3. Blade carrier
4. Front blade (slotted)
5. Retaining pins x 4
1
2
3
4
5
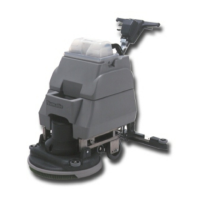
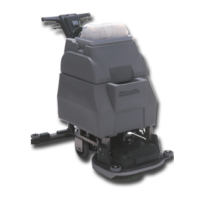
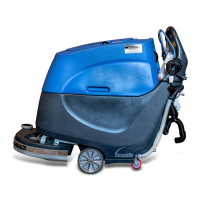
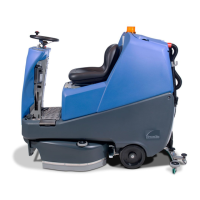
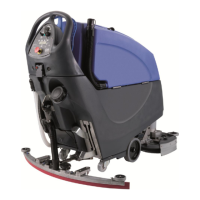
The TT range is provided with the aluminium oor tool shown.
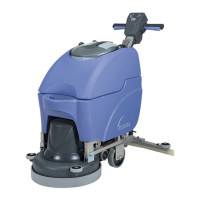
The ET range is provided with the Eco Range oor tool.