12
ALWAYS ENSURE THAT THE BATTERY IS DISCONNECTED
PRIOR TO ANY MAINTENANCE OPERATION
! !
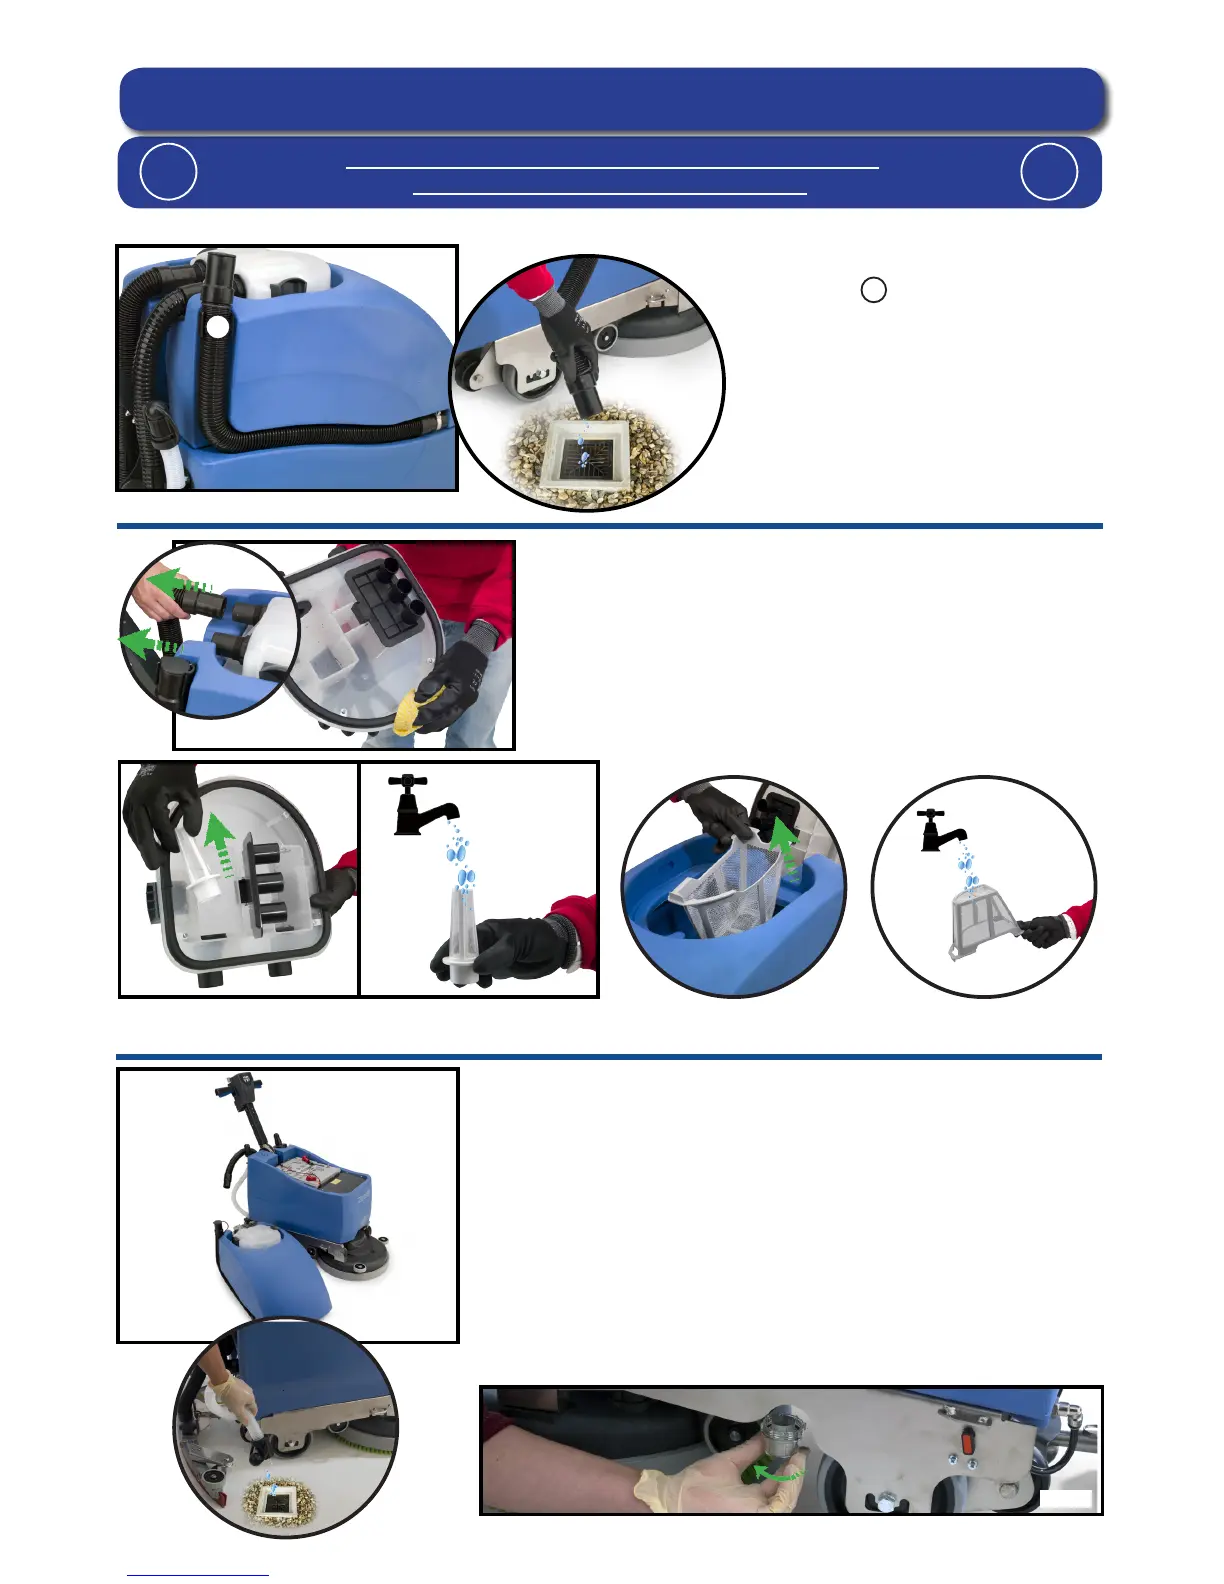
After use, empty waste-water tank using
emptying hose and ush-out with clean
water (Fig 19).
A
Remove the two hoses to disconnect the separator from the
machine (Fig 20).
Lift off the separator. The separator has a sealing-rubber
which should be examined at every clean-down (Fig 21).
Rinse using clean water.
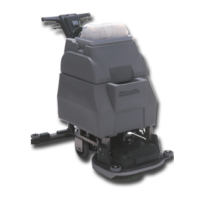
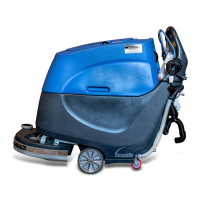
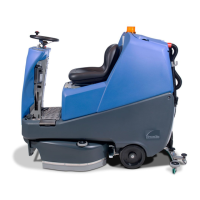
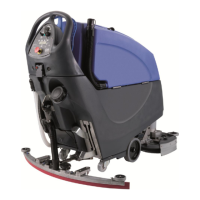
The TT / ET Range has been designed with ease of use in mind, this included easy stripping-down and cleaning.
Remove the lter tted into the separator and ush with clean water (Fig 22)(Fig 23).
Placed into the top tank is grey lter basket, clean and ush with clean water (g 24) (Fig 25).
A
Regular Maintenance
The Bottom (Clean Water) tank is attached to the chassis and should only
be removed by a competent service engineer (Fig 26).
Clean by ushing with clean water if required.
Excess water can be drained using the clear dump hose tted to the rear
of the machine.
Located under the left hand side is a clean water lter, ensure the clean
water tap is turned off before removing this lter (Fig 27).
Clean and ush with clean water if required.
Fig 19
Fig 20
Fig 21
Fig 22
Fig 23
Fig 26
Fig 24
Fig 25
Fig 27